

A few years ago (before I ventured into writing here—never mind doing videos) I did a solo episode of my podcast discussing how to make Risotto. It’s one of my favourite comfort foods that can be made in so many different styles to suit every taste and dietary restriction or preference. Risotto is kind of a savoury, cheesy rice pudding (don’t worry, no raisins!) that uses a medium-grain, starchy Italian rice. It’s cooked in broth and finished with grated cheese, typically Parmigiano.
If you’re the type of person (like me) who prefers to listen while doing something else, rather than sitting down and watching or reading, you can listen to that episode here (or on your favourite podcast platform, just look for Season 3, Episode 2 from November 17, 2022):
But if you’re a more visual or text-based person, I’ve got you covered, too.
Background
The first couple of times I made risotto it was a bit of a thick, gluey mess. I’d tried making it ahead of time and re-heating it in the oven, and that was a disaster. I hadn’t yet learned the phrase “Risotto waits for no one.” What does that mean? Well, risotto is best served as soon as it’s made. It can’t be left on the stove or kept warm in the oven until you’re ready to serve it; it needs to be served when IT is ready. The longer it sits, the more liquid the rice will absorb, until it turns into a thick, sticky blob (just like some porridge.) Second helpings or leftovers also won’t be as good for the same reason (though if you happen to have some leftover risotto, you can make arancini, and I talk a bit about that at the end) so using the right amount of rice per serving (as described below) is important.
That said, there are some tips I will share that will help you ensure that your risotto is perfect and ready when both you and it are.
Timing: Depending on the number of servings you’re making, it takes about 20-25 minutes to make risotto from the time you start adding ingredients to the pan and when it’s ready to be served. So, if you’re planning on serving this at a particular time, start your cooking 25 minutes ahead of time. You can also give your dinner guests/family a 5-minute warning to set the table and sit down so that you can serve it right away. In order to benefit from that timing and not feel rushed, tip #2 is crucial.
Mise-en-place (meez ahn plass): I’m sure I’ve mentioned it before, which literally translates to “put in place.” This is the French cooking term for prepping and measuring all your ingredients ahead of time. In restaurant kitchens it’s simply called “mise” (meez) and it’s a critical part of keeping a kitchen running smoothly. While I pretty much always do this when I’m cooking, it’s especially important to do it when making risotto. As you’ll see in the video, each ingredients is added at a specific time. The risotto also needs to be stirred a few times (especially after adding the broth,) so if you’re busy chopping or measuring something, it might not be ready when you need to add it. This step is also really helpful because it can be done hours, or even a day ahead of time, so that you’re not stuck in the kitchen prepping while you have guests over.
Video
This video explains a lot of the prep I’m talking about here, so if you’d prefer to watch rather than read, here you go:
Key Ingredients
When I’m thinking of making risotto, the first thing I do is a quick check of my pantry to ensure I have all the key ingredients.
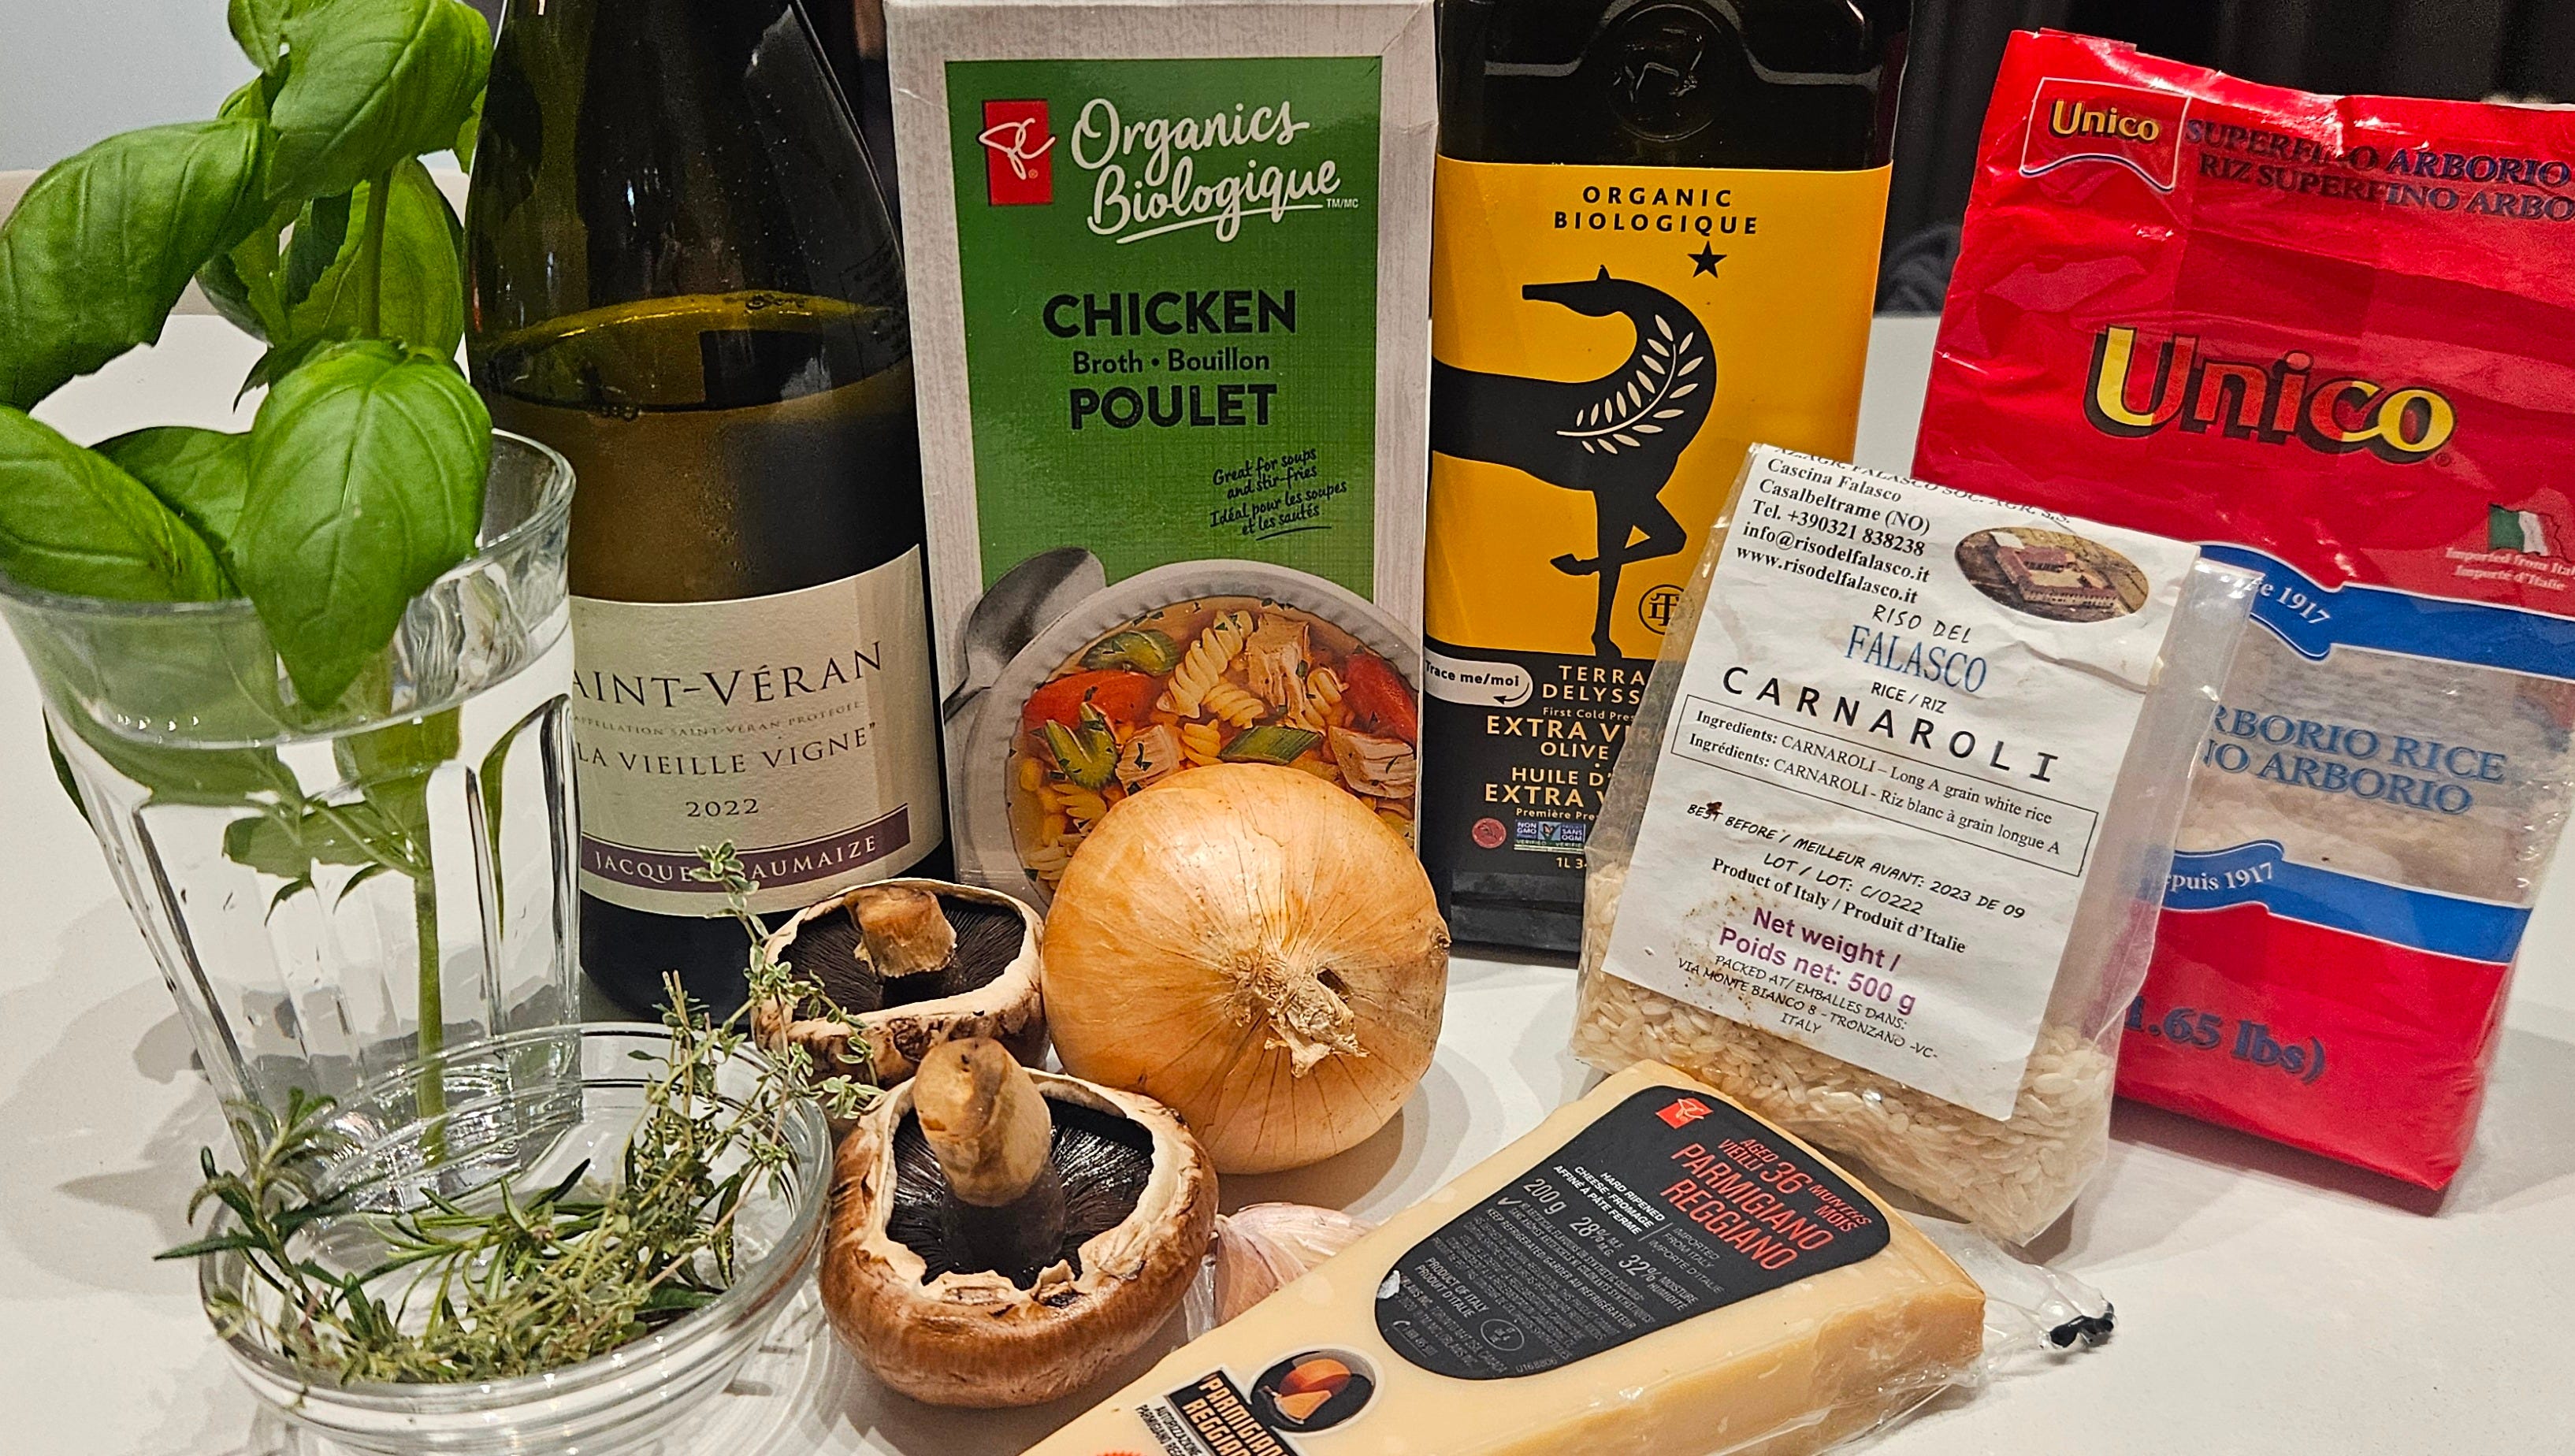
Arborio or Carnaroli rice: This is critical. You can only make risotto with one of these two types of rice. They are both medium-grain rice with a high starch content, which is what makes the finished risotto so creamy. There are slight differences between the two, with Carnaroli holding its shape a bit more through the cooking process, while Arborio is much easier to find at any grocery store and is a bit less expensive.
Broth: Risotto is cooked in broth of any type: chicken, vegetable, mushroom, or even beef. You can use home-made, from a tetra pack, from a stock base (like Better Than Bouillon, or a bouillon cube/packet) or even from a can. Just make sure that you use unsalted (if you can) to allow you to control the salt level. If you’re using a product that is already salted, I’d likely dilute it a bit, but that’s really up to you. The Milanese-style of risotto (from Northern Italy) uses a broth infused with saffron, which gives it a beautiful golden colour.
Cheese: When I was getting ready to make risotto this past weekend, I realized that I was out of parmesan, so I had to run out to the store to buy some. You can use any type of hard cheese (or vegan equivalent) like Romano, Grana Padano, etc. The real stuff that you grate yourself will always be best. I like to grate mine really finely (using a micro-plane) so that it melts quickly and thoroughly when added.
Aromatics: Typically, onions and garlic, but other vegetables such as leeks, shallots, mushrooms, celery, fennel, and carrots can be considered as aromatics. Personally, while I could live without garlic, I just can’t make risotto without onions (or something similar like leeks or shallots.)
Wine: I prefer white wine (red kind of turns the risotto pink) but you could also use dry vermouth, white wine vinegar, white Balsamic vinegar, or even Champagne. Whichever wine you choose, always pick something you also want to drink, perhaps whatever you’re serving with dinner. If you’re using vinegar or vermouth, use half the amount as you would wine or Champagne.
Olive oil: While you can make it with any type of oil, olive oil is traditional. I wouldn’t use butter as it could burn, though adding a tablespoon or so of butter toward the end of cooking will elevate the richness, so I’m all for that!
Those are the basic ingredients to all risotto. There are SO many different variations you can made by adding different ingredients or flavours, which is entirely up to you. A few of my favourites are:
Fresh herbs: I add these right at the end so they stay as fresh as possible. If you use dried herbs, it’s best to add those near the beginning, or add them to the broth, as they need time to release their flavour.
Lemon zest/juice: A nice little hit of acid right at the end can brighten up the dish.
Protein: Whether added to the risotto (I usually do this at the end) or served along side or over top, if you’re serving the risotto as a main course,
Vegetables: The list here is endless—add whatever you like! Personally, I prefer to add roasted or sautéed vegetables because raw veggies have a lot of water in them that will be released when added to the risotto. That said, if you add them right at the end, just before serving, this will be less of an issue, but it will change the texture of the finished dish (i.e., soft and creamy mixed with hard and crunchy,) so keep that in mind. Fresh or frozen peas are a good example of something you would add right before serving.
Proportions
Rather than giving you exact measurements, I prefer to give proportions or ratios for risotto, based on the amount of rice you’re using. The quantity of rice will depend on number of servings you are making, whether it’s as an appetizer or main course, and all the other ingredients will be in proportion to that.
If you’re serving risotto as a main dish, I usually plan for 1/3-1/2 cup of dry rice per serving (depending on how hungry people are.) For an appetizer, I use about 1/4 cup of dry rice. Depending on the size of your pot, the maximum number of servings you can realistically do is 4-6 for a main course, and 6-8 for an appetizer. I’ve done more, but I had two pans going at the same time, which takes a lot of attention.
Side note: we haven’t yet talked about pots or pans. I generally prefer a wide pot/pan with medium-high sides so that nothing spills out while I’m stirring. You could use an enamel-coated cast iron pot or pan (like Le Creuset) or a stainless steel frying pan or sauteuse. Just keep in mind that the width and depth of your pan will affect how quickly the liquid evaporates, so you might need more broth if using a shallower, wider pan.
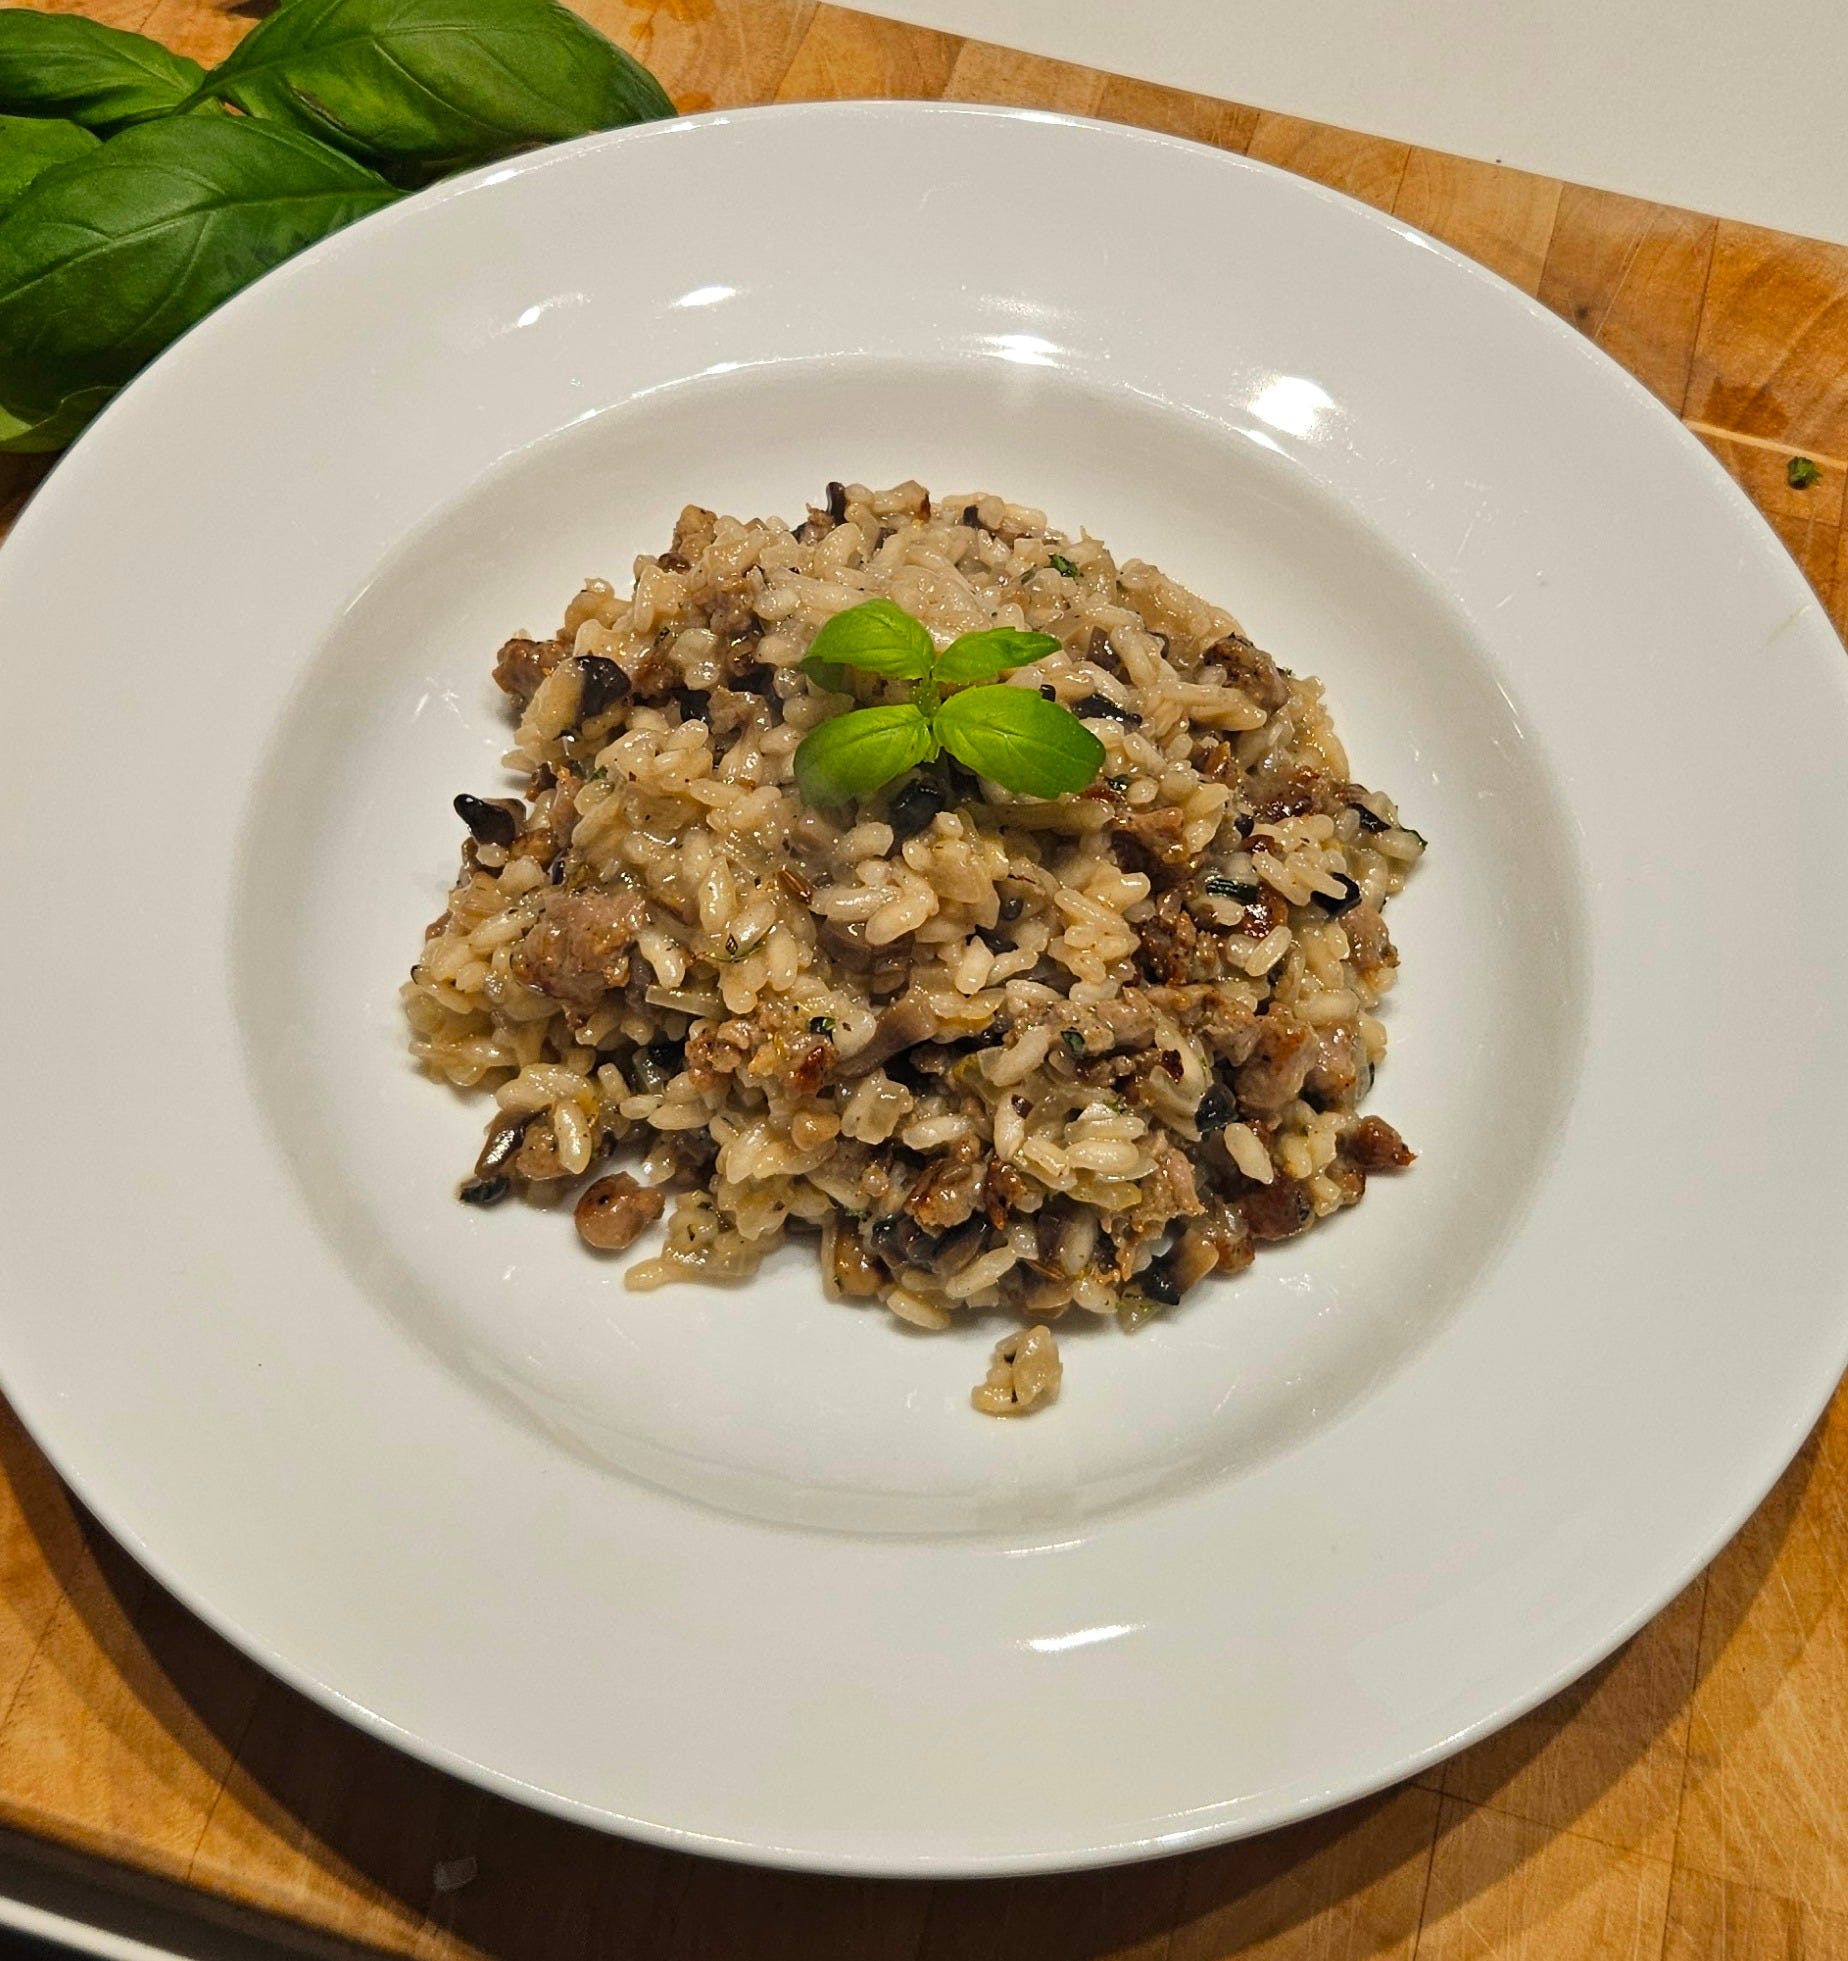
All of the measurements below are based on the one serving I made for myself for dinner on Sunday, using 1/2 cup of Carnaroli rice.
4-6x the amount of broth to rice (by volume) so in this case, I needed about 3 cups (6x 1/2 cup) of broth. It’s better to have more broth than needed, though in a pinch you could add boiling water (so I always turn my kettle on when I start, just in case.)
Equal parts wine, aromatics, and cheese, so in this case, I used 1/2 cup of each (note that I used /2 cup of onions and 1/2 cup of chopped mushrooms, plus 2 cloves of garlic.)
Equal part cooked protein (if desired.) I added 1/2 cup of cooked, crumbled Italian sausage.
1-2 Tbsps of oil per serving (if doing a large quantity, 1 Tbsp per serving is probably enough.)
1-2 Tbsps of fresh, chopped herbs and lemon zest, or to taste.
Video
This video shows the method from beginning to end (though it’s edited and sped up in places to save time):
Method
Do your mise-en place (chopping onions, grating cheese, chopping herbs, measuring rice, etc.) You can do this well ahead of dinner time so that everything is ready to go when you’re 25 minutes away from sitting down to dinner.
Prepare your broth and put it on the stove to heat up. Regardless of the type of broth I’m using, I always put the ends or discards of whichever aromatics I’m using into the pot for extra flavour. In this case, I had a slice of lemon, the ends and skins of my onion, the stems of the mushrooms, and the leftover stalks of the rosemary and thyme. You could also throw a few black peppercorns in there. You want your broth to be hot, but not boiling. Keep it at a simmer on medium-low.
Heat up your pan on medium-high heat, then add the olive oil. Once that’s heated up, add your aromatics (onion, garlic, mushrooms) and cook that down so that it “sweats” out a lot of the water.
Add your dry rice, and give it a good stir so that it’s coated with the oil and aromatics. Continue to cook it, stirring occasionally so that it doesn’t burn or stick, for about 2 minutes. This coating of oil slows the absorption of the broth into the each grain of rice so that it doesn’t get too mushy.
Add your wine and stir it around thoroughly. This is the last time you’ll add cold liquid to the pot. The heat of the pan will help a lot of the alcohol to burn off as it evaporates.
Once the wine has been absorbed or evaporated, add some broth. The amount I add will depend on how much dry rice I used, so anywhere from 1/2 cup to 1 cup of broth at a time. Give the rice another stir, and reduce the heat to medium. You want the risotto to be bubbling around the edges, but not a rolling boil.
Side note: since I have a bunch of aromatics in the pot of broth, I pour it through a sieve when adding it to the risotto so that I don’t end up with onion skins or mushroom stems in the pan.
When each addition of broth has been mostly absorbed, add another. Continue doing this until the rice is tender and does not have a hard, chalky bit in the centre (about 20 minutes.) While we want the rice to be al dente, we don’t want any hardness or crunchiness. The best way to test this is to taste it (good cooks always taste as they go along—but no double dipping! Use a clean spoon each time, unless you’re just cooking for yourself.)
When the rice is ready, I check to see how saucy it is. If it’s a bit runnier than I want the finished product, that’s perfect. If it’s quite thick or dry, I add a splash more broth. The reason for this has to do with the next step…
Add the cheese and give it a really good stir. When the grated cheese is added, the sauce with thicken up, which is why we wanted the risotto to be a bit wet or loose before adding the cheese.
Stir in any other add ins (I used fresh herbs, lemon zest, 2 tsp of lemon juice, and 1/2 cup of cooked Italian sausage.)
Spoon the risotto into a pile in the middle of a warmed up pasta bowl or other dish with high sides. You can top it with a drizzle of high-quality olive oil, fresh herbs, some more grated or shaved parmesan, or any other way you like.
Serve it with a glass of the same white wine you used in the risotto.
Final Thoughts
When I wrote above about the differences between Arborio and Carnaroli rice, that was after doing some reading, but after I’d already made my risotto. As I mentioned, I discovered that the Carnaroli rice keeps its shape a bit more, so I found that the finished product wasn’t as creamy as when I make it with Arborio. I made the mistake of assuming that they would yield the same results, but I was wrong. So, in the future I’ll stick with Arborio, because that’s the style I like (you might prefer the other.)
If you’re serving the risotto as a main course and want to add some protein, here are some suggestions:
Grilled or pan-seared salmon served over a lemon-herb risotto
Sliced grilled beef over risotto made with a hearty beef stock
Pesto chicken over risotto with fresh peas
For a vegetarian option, add chickpeas and grilled veggies such as eggplant, zucchini, and/or peppers
I mentioned that when choosing a wine for Risotto that you pick something you’d also want to drink. I’d originally planned to use the remainder of a bottle of Saint Veran (a chardonnay from France, shown in the photo above) since it would be lovely and smooth to go with the creamy, cheesy risotto. But when I tasted it, it seemed to have oxidized a bit and wasn’t as pleasant as I’d remembered. Could I have used it for cooking? Sure. But I much prefer to cook with wine that is good enough to drink, so I chose something else. I did a short video back in May and posted it to Instagram about the Lighthall 2022 Chardonnay “Béton” from Prince Edward County, Ontario, so if you want to know more about that wine, click the link above.
Finally, as mentioned above, leftover risotto isn’t really a thing. When it sits around (even for the time it takes to eat your first serving) it starts to get thick and gluey. It will still taste good, but won’t have the nice texture it has right out of the pot. That said, if you happen to have some left over, you can refrigerate it and the next day turn it into Arancini. To make them, take a small cube of firm but melty cheese like mozzarella, fontina, gruyère, etc. Then take some cold risotto and wrap it around the cheese, forming it into a ball. You can make them as big or small as you want (anywhere between a golf ball and a baseball.) Roll it in dry breadcrumbs, then fry it in oil until golden brown. Serve with marinara sauce. Yum!
Have you made risotto before? Had it in a restaurant? Maybe you’ll be making it soon? If so, let me know which ingredients you’ll be using.
I’ll be making risotto tonight. Thanks for the idea! I’ll be adding leeks and mushrooms. We will be having it with pork tenderloin I had cooked previously and pulled out of the freezer. The risotto will make a nice creamy side dish.