
Sourdough Bread
Simplifying a process that can seem daunting

Would it be a humble-brag to say that I started baking sourdough bread even before the pandemic? That’s true, but I didn’t really perfect it until I had the time to experiment during the pandemic lockdowns of 2020-21. And then I found a simplified, no-knead, sourdough bread recipe from King Arthur Baking that brought me to the place I’m at now, which is that I bake my own bread 100% of the time and have not bought bread (with the exception of one loaf of challah) in the last 3-4 years.
Back to King Arthur for a moment. They have several recipes for sourdough bread, but once I found their no-knead recipe*, that was a total game-changer for me. I’ve since modified it a bit to suit my preferences, but what I learned is that baking bread—even sourdough— doesn’t have to be overly complicated the way some recipes will make it out to be.
*To call it “no-knead” is a bit misleading because almost all sourdough bread recipes are made this way, without the kneading that you have in traditional bread making.
I also recorded a solo episode of my podcast a couple of years ago describing how I make my sourdough bread, so if you’d rather listen than read, just click the link. Full disclosure: I haven’t re-listened to that episode, so I might have made a few small tweaks since then.
If you don’t have sourdough starter on hand (more of that later) I highly recommend the “No-knead” bread recipe from the New York Times as an alternative. It was popularized by their food writer, Mark Bittman, but it’s based on a recipe by Jim Lahey that uses regular yeast, rather than sourdough, for leavening. It’s easy, fool-proof, and gives you that nice country-style loaf of bread with a perfect, thick crust. It’s on page 670 of “The Essential New York Times Cookbook” or you can find it online, here.
Sourdough Starter
The main difference between sourdough bread and traditional bread is how it’s leavened. Traditional bread uses yeast to help the bread rise, whereas sourdough bread uses a “starter” to accomplish the same task. Quick breads (like Irish Soda Bread) use baking soda to do this. Bread is simply a mixture of flour, salt, water, and some form of leavening agent. In this case we are using wild yeasts to make the bread rise. It takes much longer to do it this way, but it’s what gives the bread its characteristically tangy and slightly sour taste.
You can get a sourdough starter in one of the following ways:
Buy it online (it comes dried in a packet)
Get some from a friend (I’ve got one in my fridge that’s almost 8 years old, so if anyone in Toronto wants some, just let me know - I’m happy to share!)
Make your own from scratch (which is what I did when I started about 8 years ago.) The recipe linked here is not the one I followed, but it’s reliable so you can’t go wrong if you follow it. It takes about 5-10 days (depending on conditions in your house/kitchen) for the starter to develop to the point that you can use it to bake with.
To keep it alive and thriving, the starter needs to be fed regularly with equal parts (by weight) of flour and water. You can allow you started to go dormant in the fridge for months and then revive it by feeding it a few times over the next couple of days.
Equipment and Ingredients
A large pot that can withstand oven temperatures of 450-500F. I use my Le Creuset Dutch Oven, but any pot with a lid will do.
Proofing basket (aka, banneton,) or a colander with a kitchen towel will do
Kitchen scale (metric)
A large bowl, spatula or spoon, something to cover the bowl with
A plastic tub with tight-fitting lid large enough to hold the dough in the fridge overnight
Flour: you can make this with all-purpose flour or bread flour. I haven’t noticed a big difference between the two. You need 700g for this recipe (plus more for dusting your work surface.)
Kosher salt (about 1 Tbsp)
Water: Tap water is fine, best at room temperature and left out for about 30 minutes, or you can use spring water
Starter: right out of the fridge, even if it hasn’t been fed in a while, about 40g
Timing & Method
I usually work backwards from when I want to have my loaf ready to eat. It needs to come out of the oven at least an hour before you want to eat it so that it’s still warm, but not steaming hot. These days, I’m not that fussy about when my loaf comes out of the oven because I normally slice it and freeze it to use as toast. But you need to factor in that it takes about 30 minutes for the oven to pre-heat, an hour for the loaf to bake, and another hour to cool.
The other big factor in timing is that the dough needs to ferment and develop for at least 8 hours (overnight, or up to 48 hours,) so I usually start mixing my dough the day or morning before I want to bake it. I also need time to bring my starter back to life, which takes a few hours (depending on how long its been inactive,) so now we’re adding on another day or half day to the timing.
Wait. Didn’t I say that this was a “simplified” recipe?? It certainly sounds very complicated! Let me explain it this way, assuming you’d like to bake your bread on Saturday:
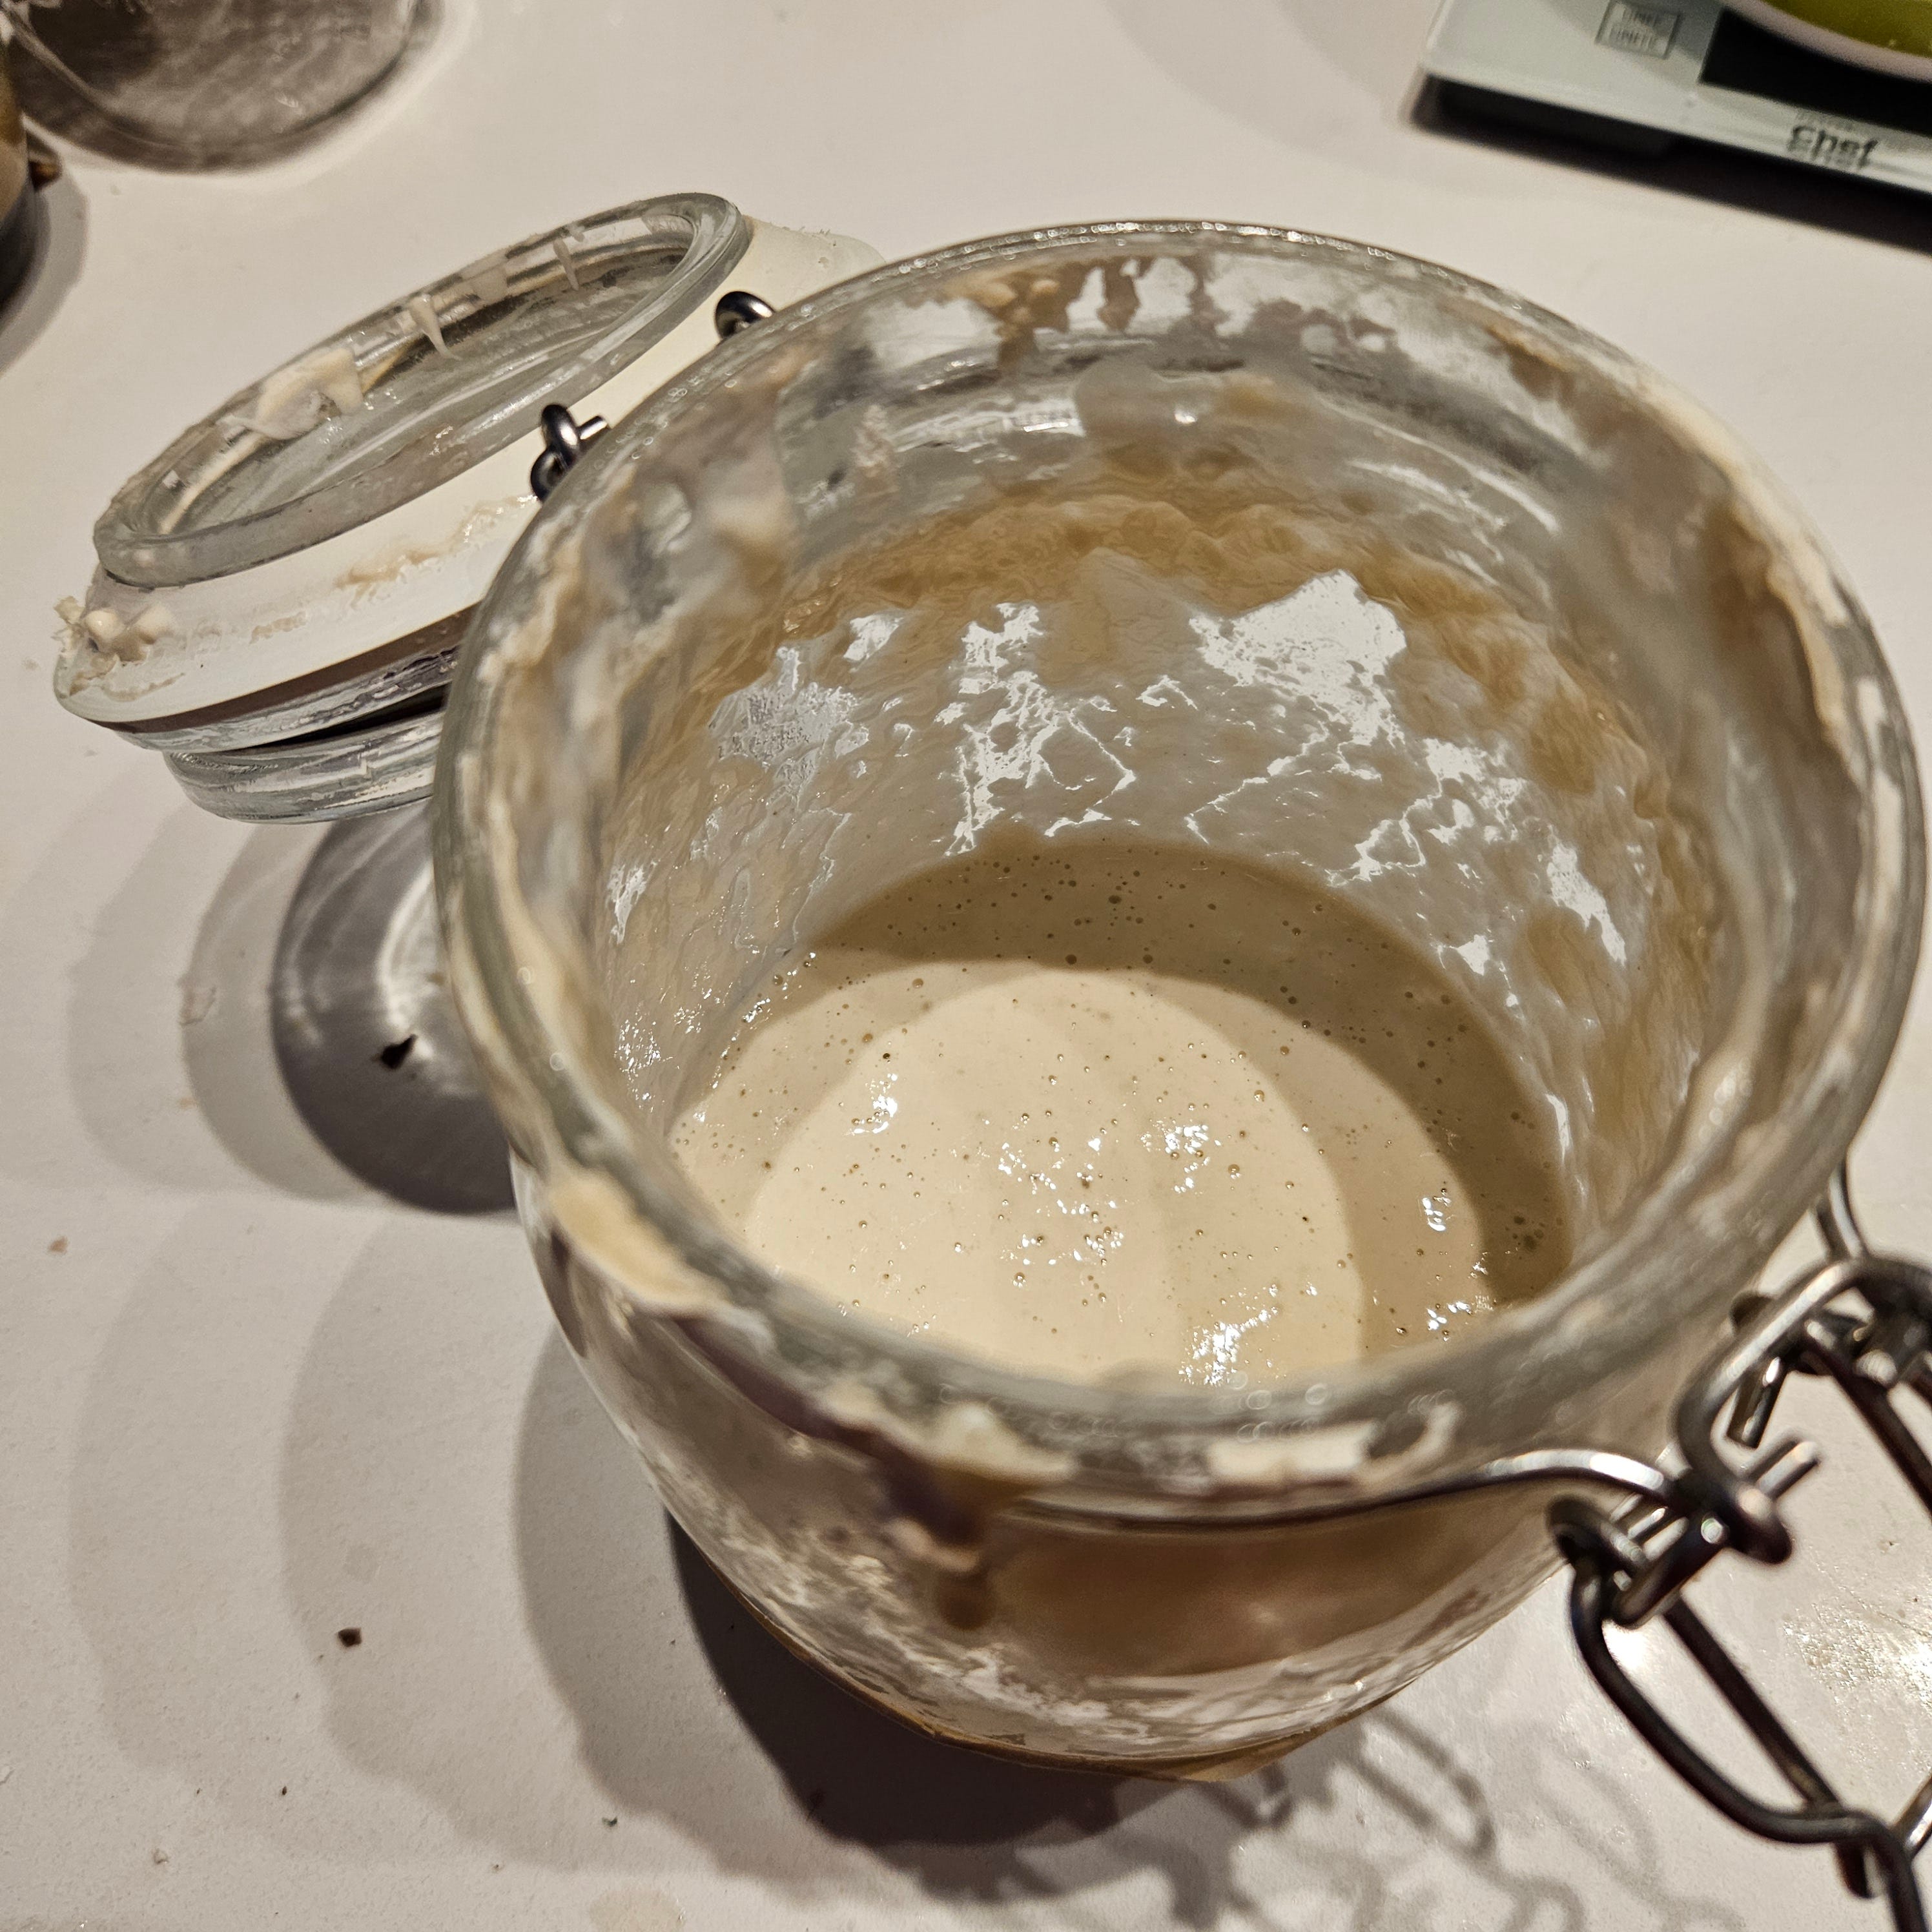
Friday morning, before work: I take my starter out of the fridge and make sure that it doesn’t have a layer of grey water on top (this is called “hooch.”) If it does, it’s going to need a couple of feedings to come back to life. Refer to the link above (Make your own from scratch) on how to feed your starter.
I weigh out 100g of flour, 100g of water, and 40g of starter and mix that together in a container with a lid. It will have the consistency of thick pancake batter.

A plastic margarine tub with a mixture of 100g flour, 100g water, and 40g of starter. Put the lid on and let it sit at room temperature until it starts to look bubbly. Friday, after work: the starter is likely nice and bubbly by now (if not, wait a bit longer) so I can start mixing my dough. This part of the process will take 3 hours, so make sure you start when have the time available to you.
Weigh out 600g of flour into a large mixing bowl
Add 1 Tbsp (about 14g) of Kosher salt and mix it through the flour
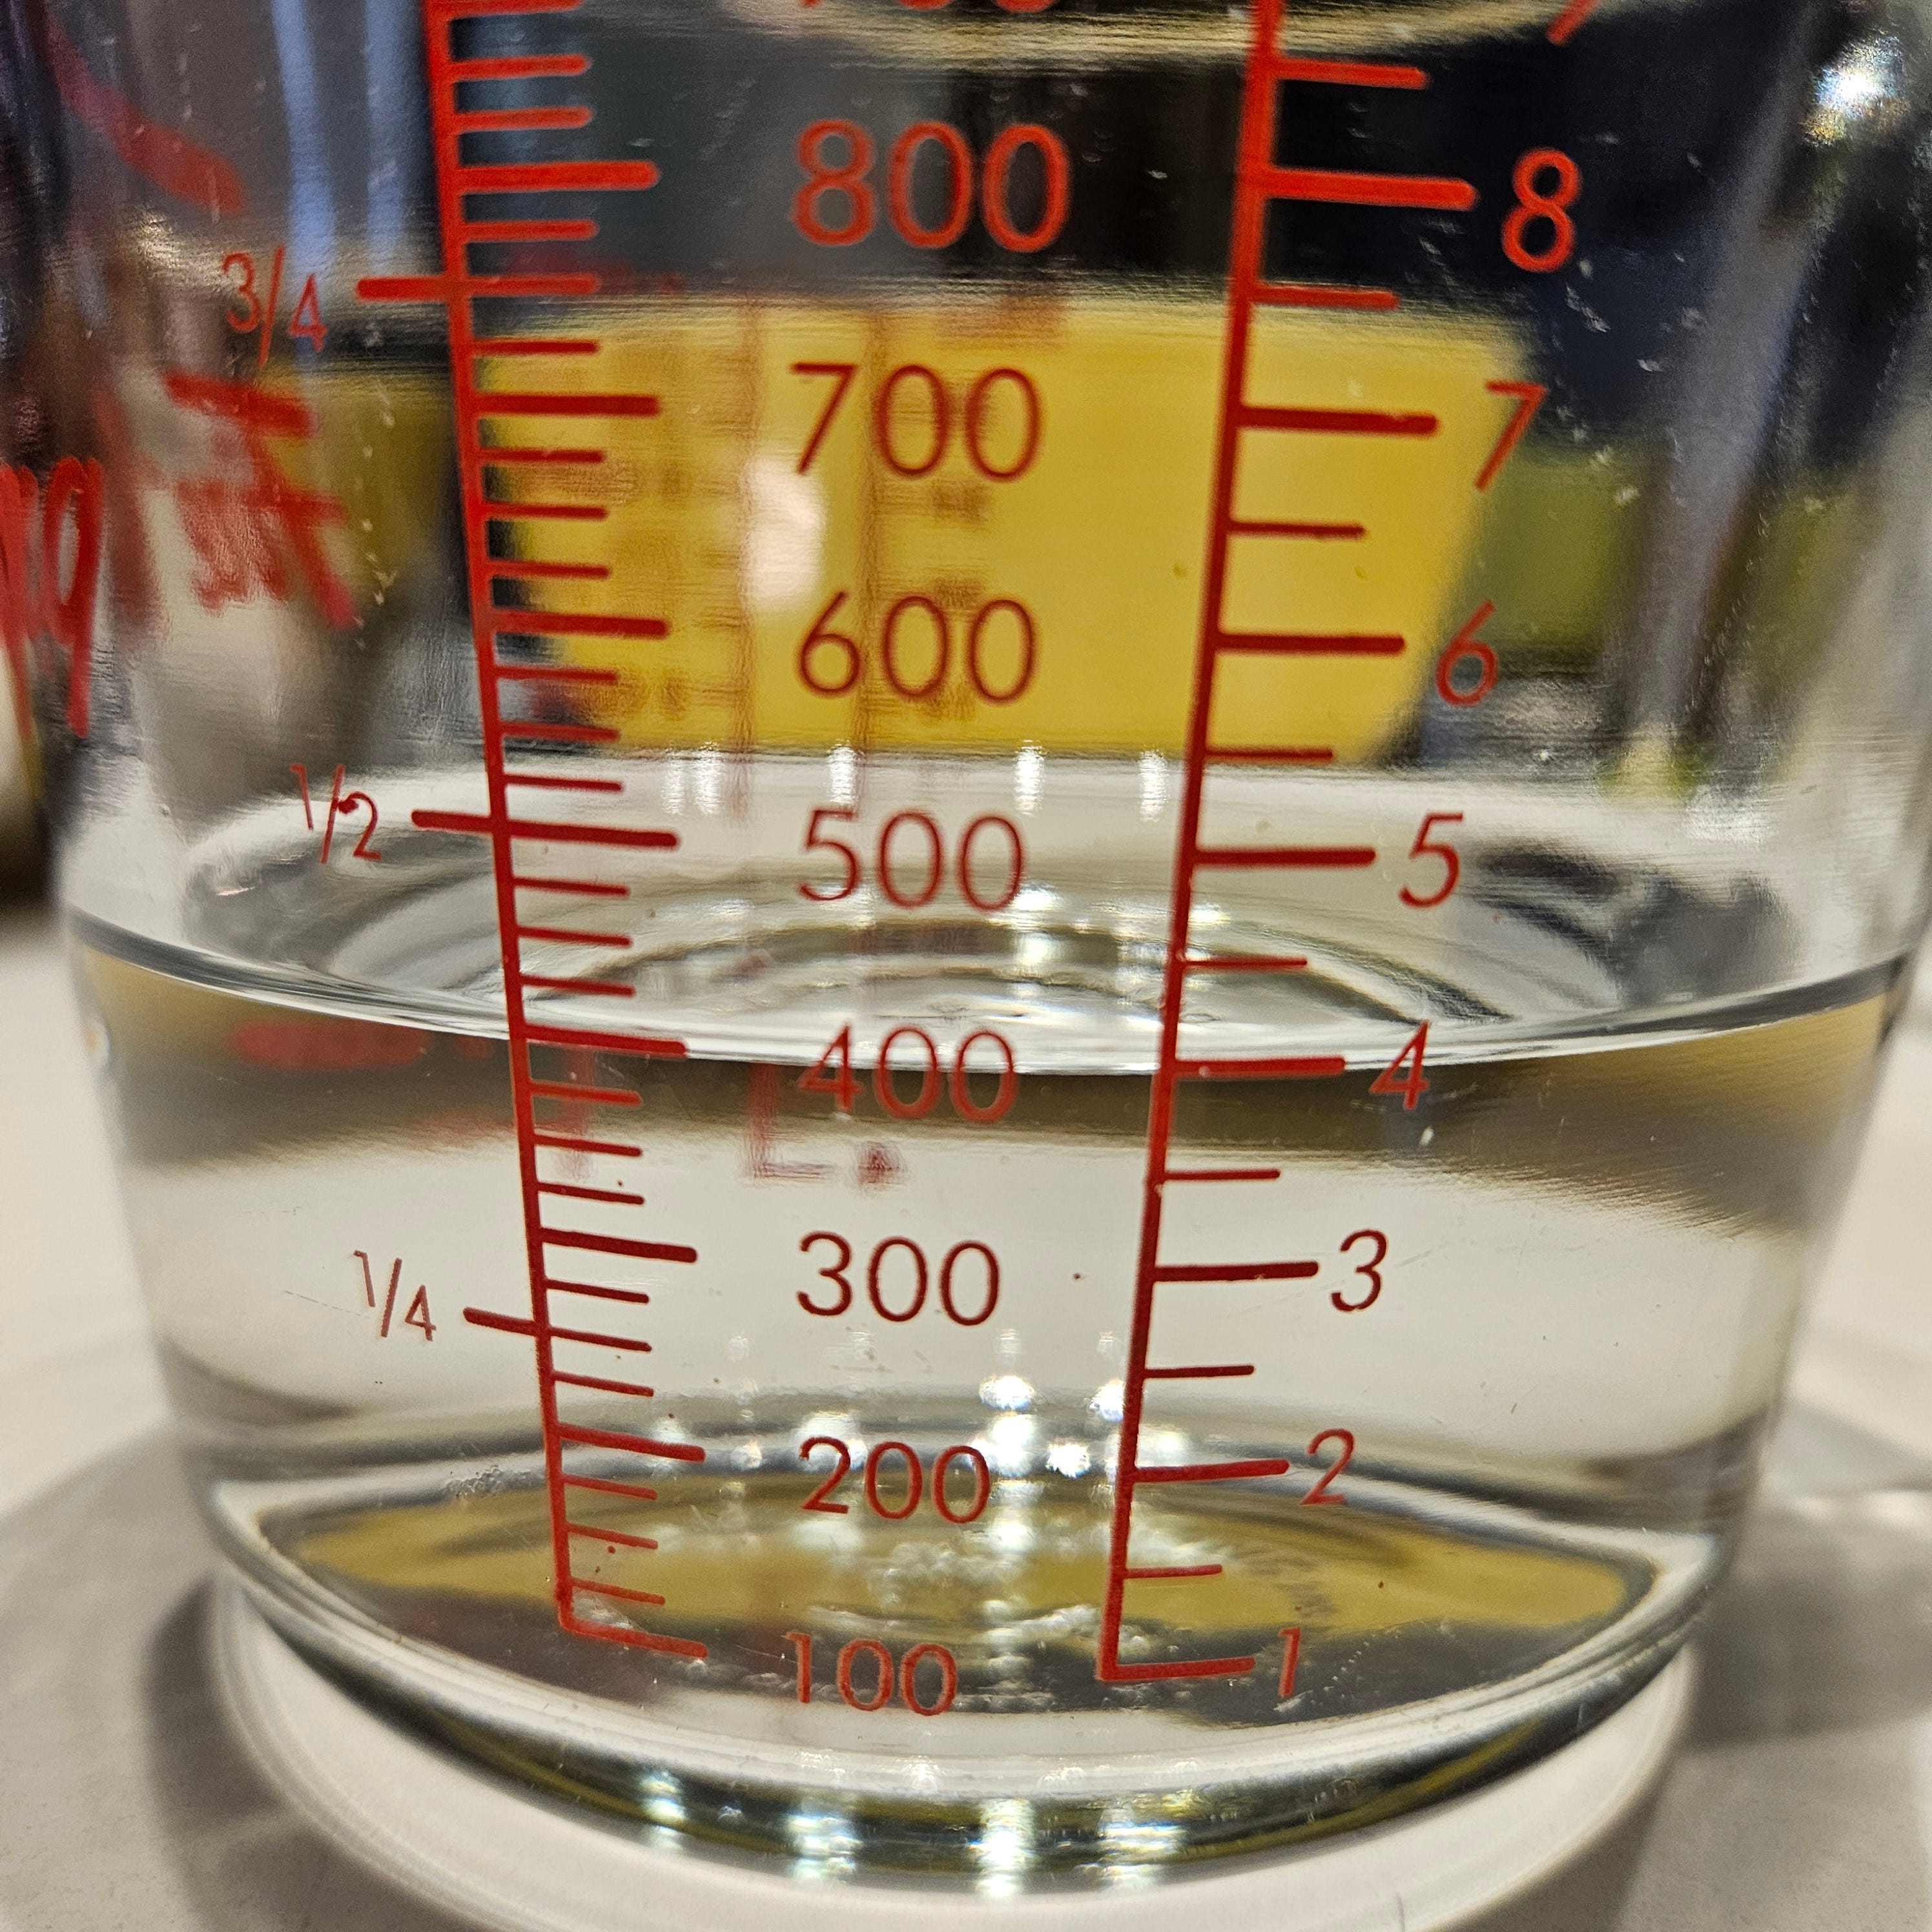
Put a large (1L) measuring cup (or bowl) on your scale and measure out 395g of room temperature water
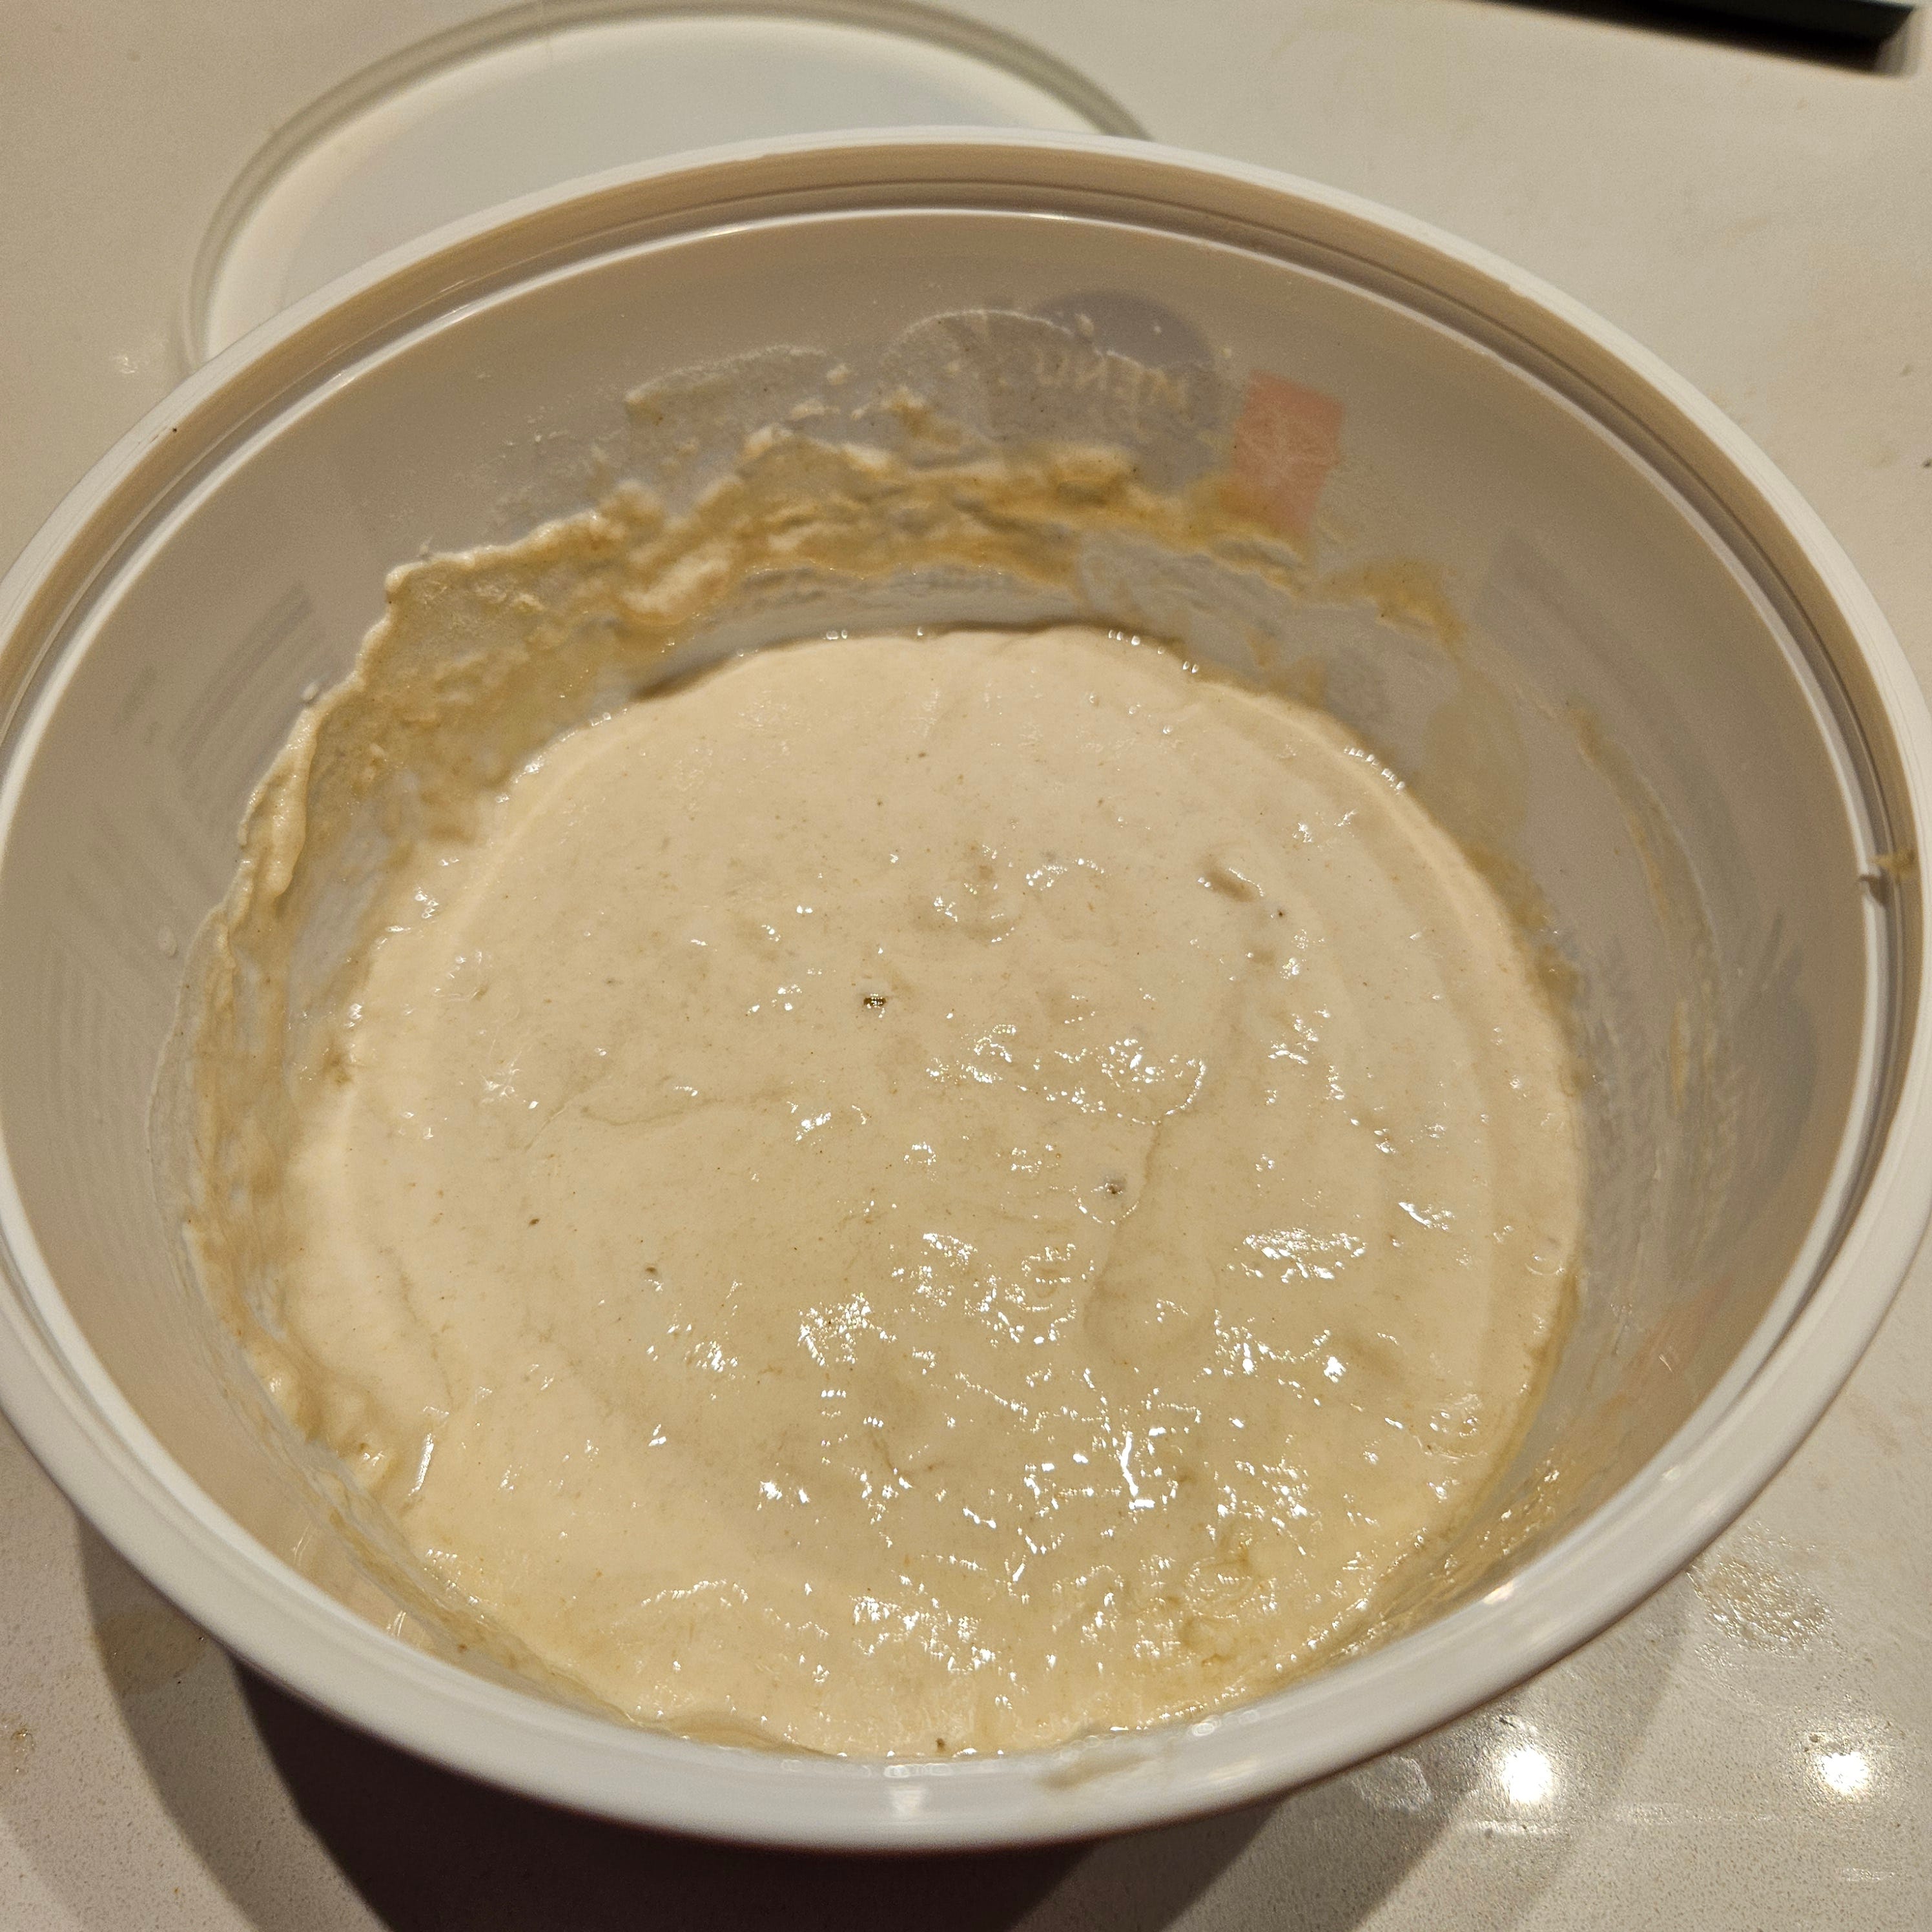
Empty the contents of the container of starter (the one you made earlier with 100g of water/flour and 40g of starter) into the water. You’ll know your starter is ready if it floats.
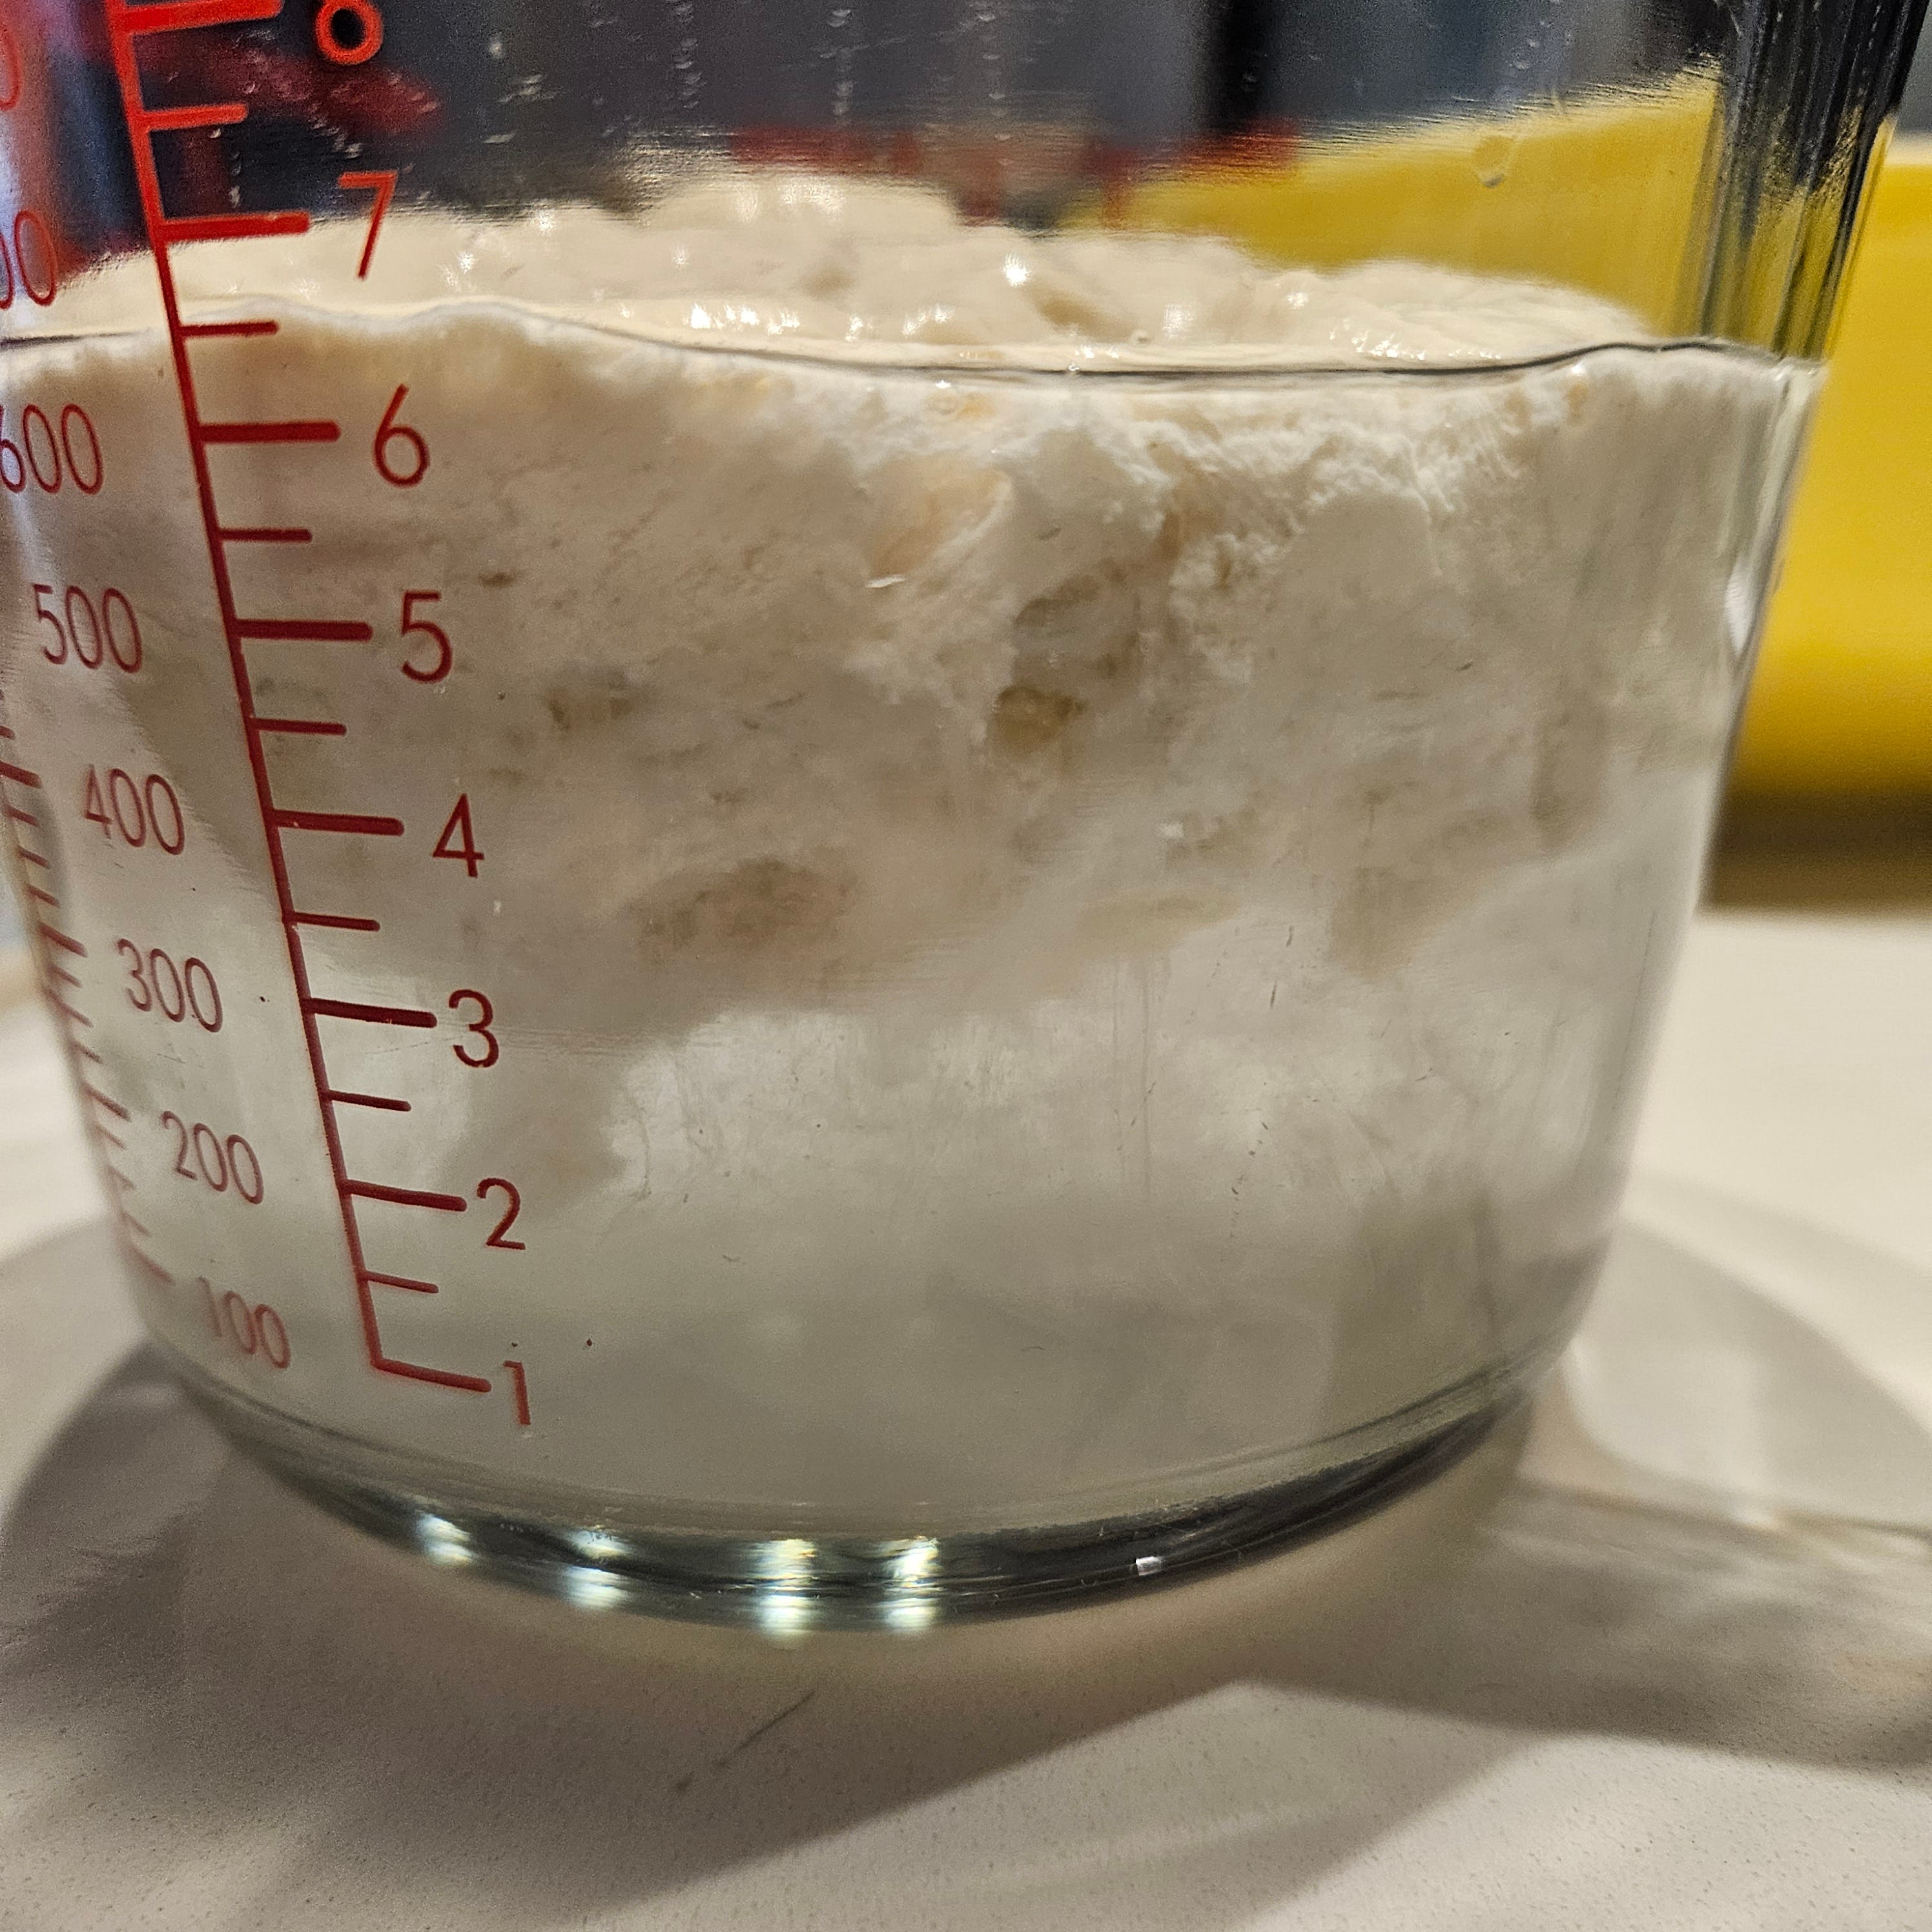
Mix the starter and water together until it’s all dissolved (it will look a bit like milk) and then add it to your mixing bowl containing the flour. The resulting dough will be a little shaggy looking.
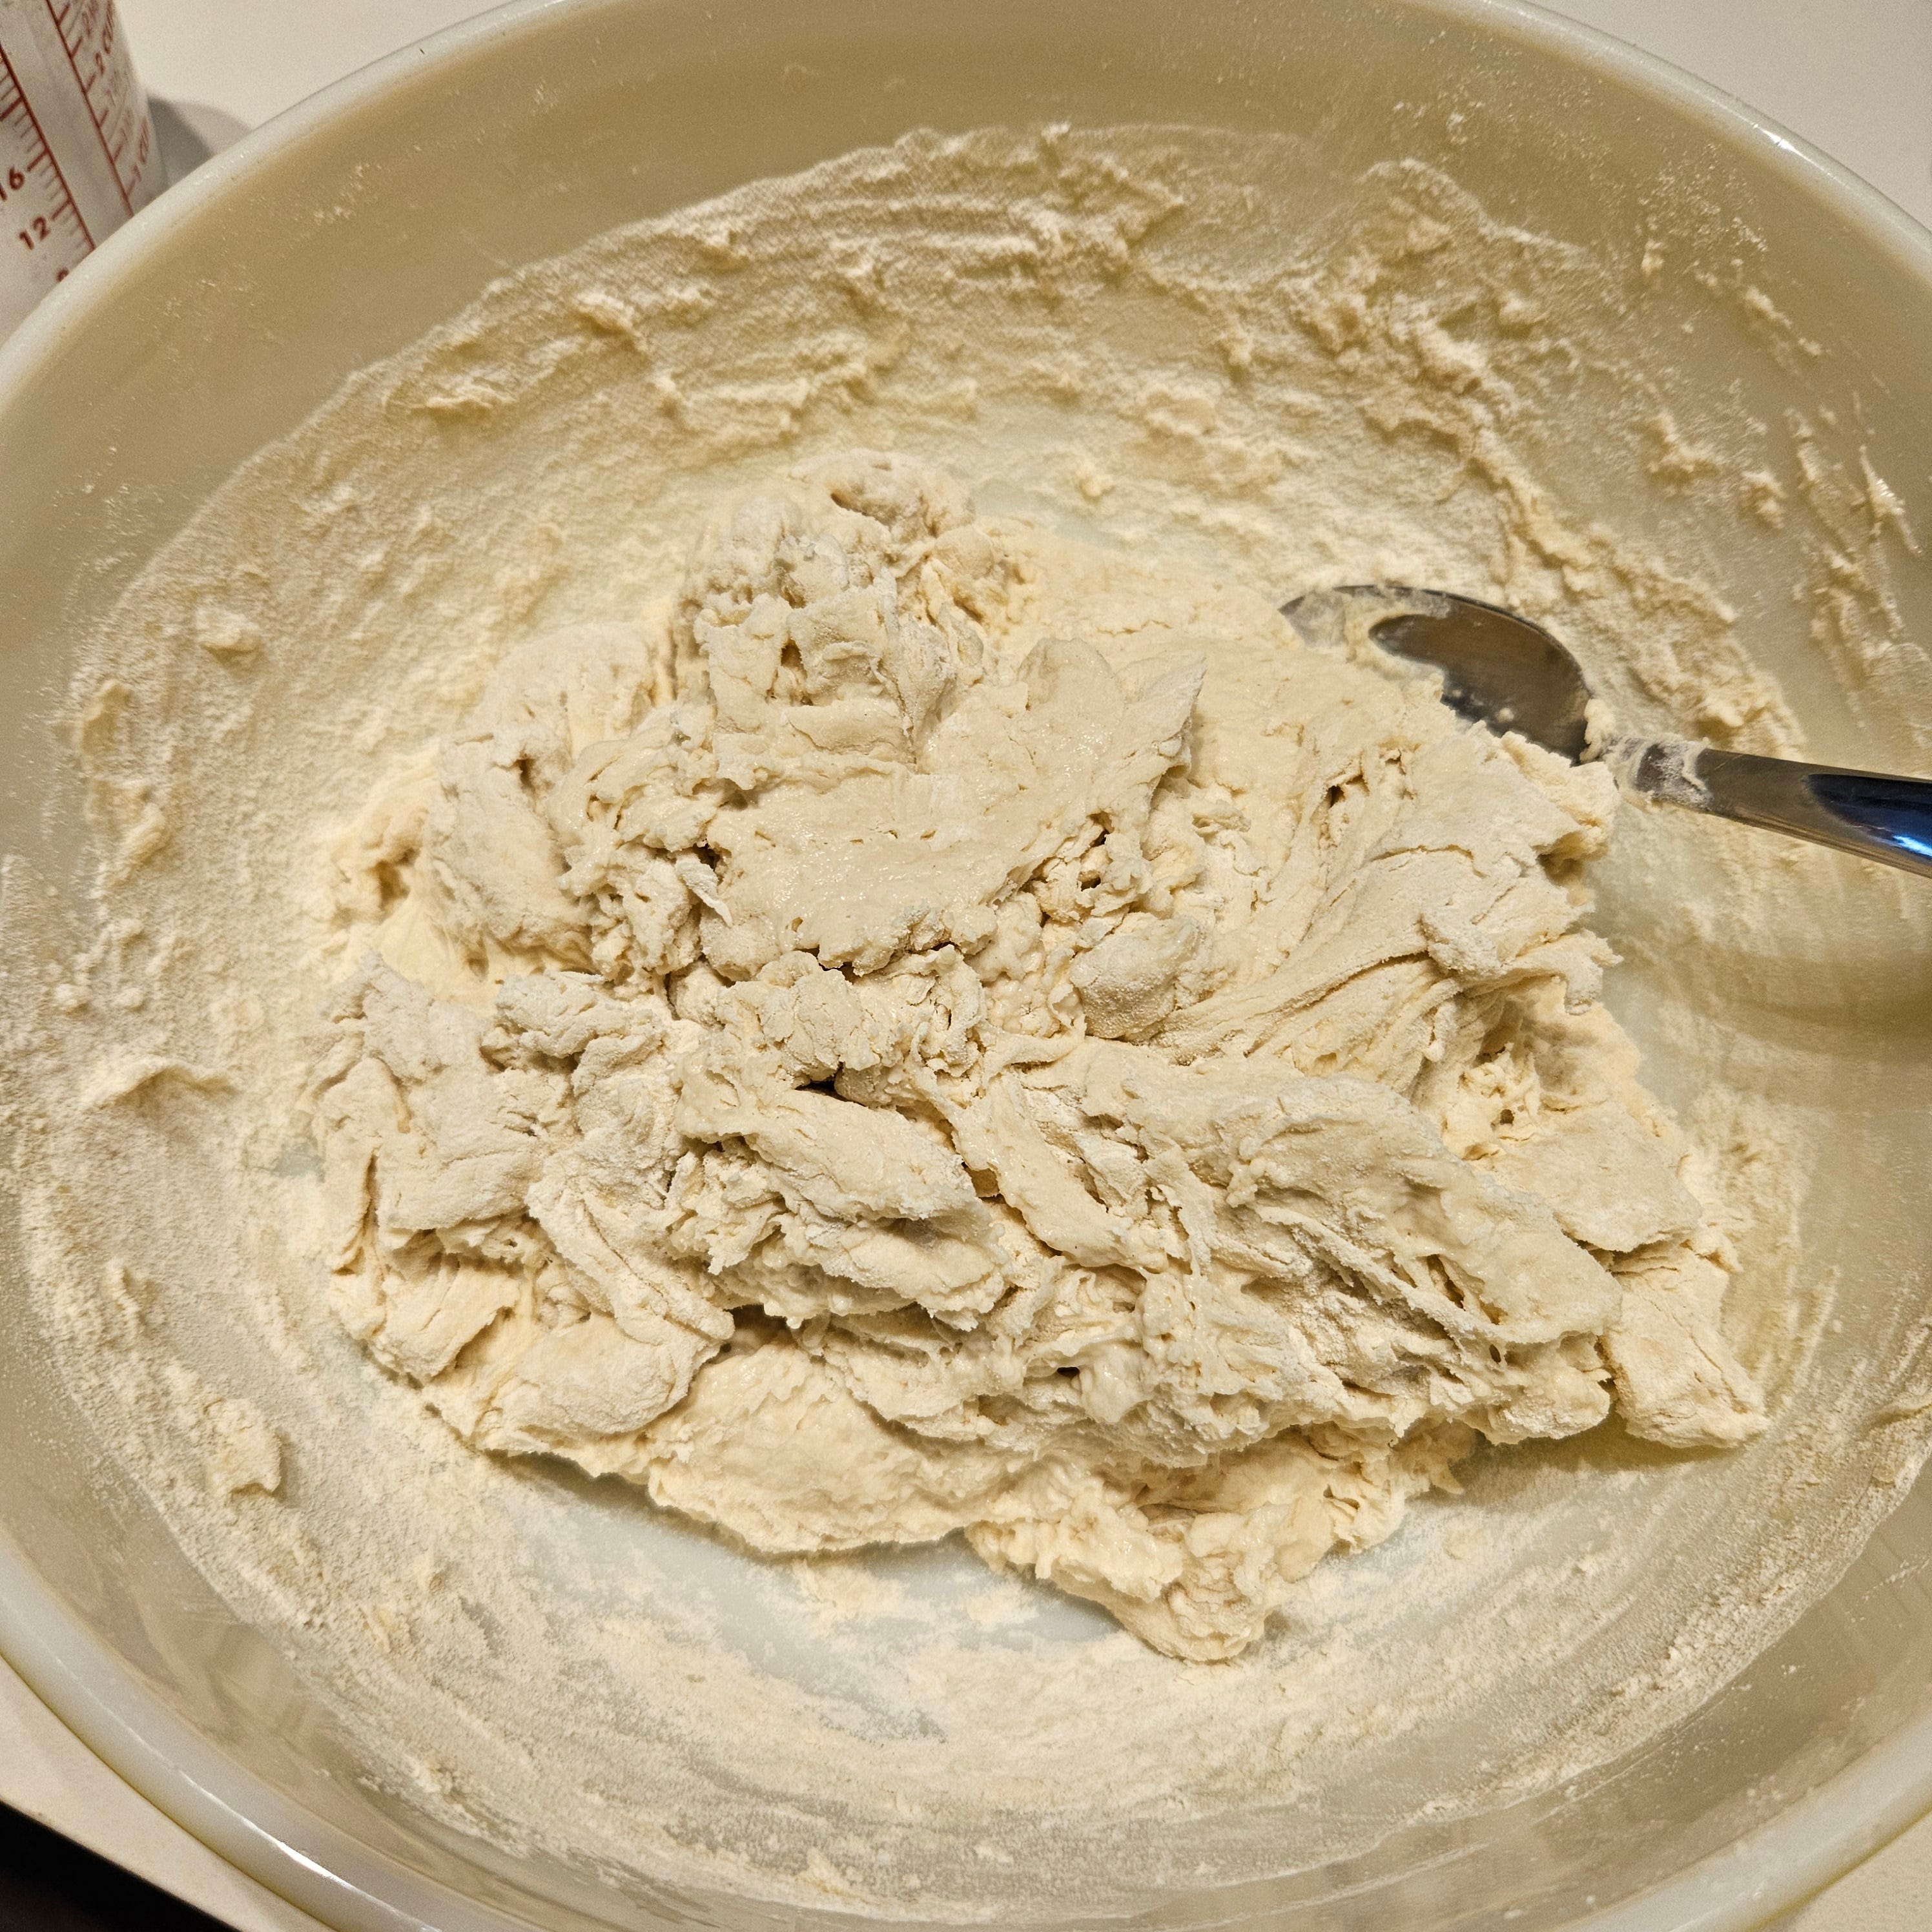
Cover the dough with a damp towel (clean kitchen towel or paper towel) and then put a lid or plate over the bowl. Set your timer for 60 minutes.
Stretch & Fold x3
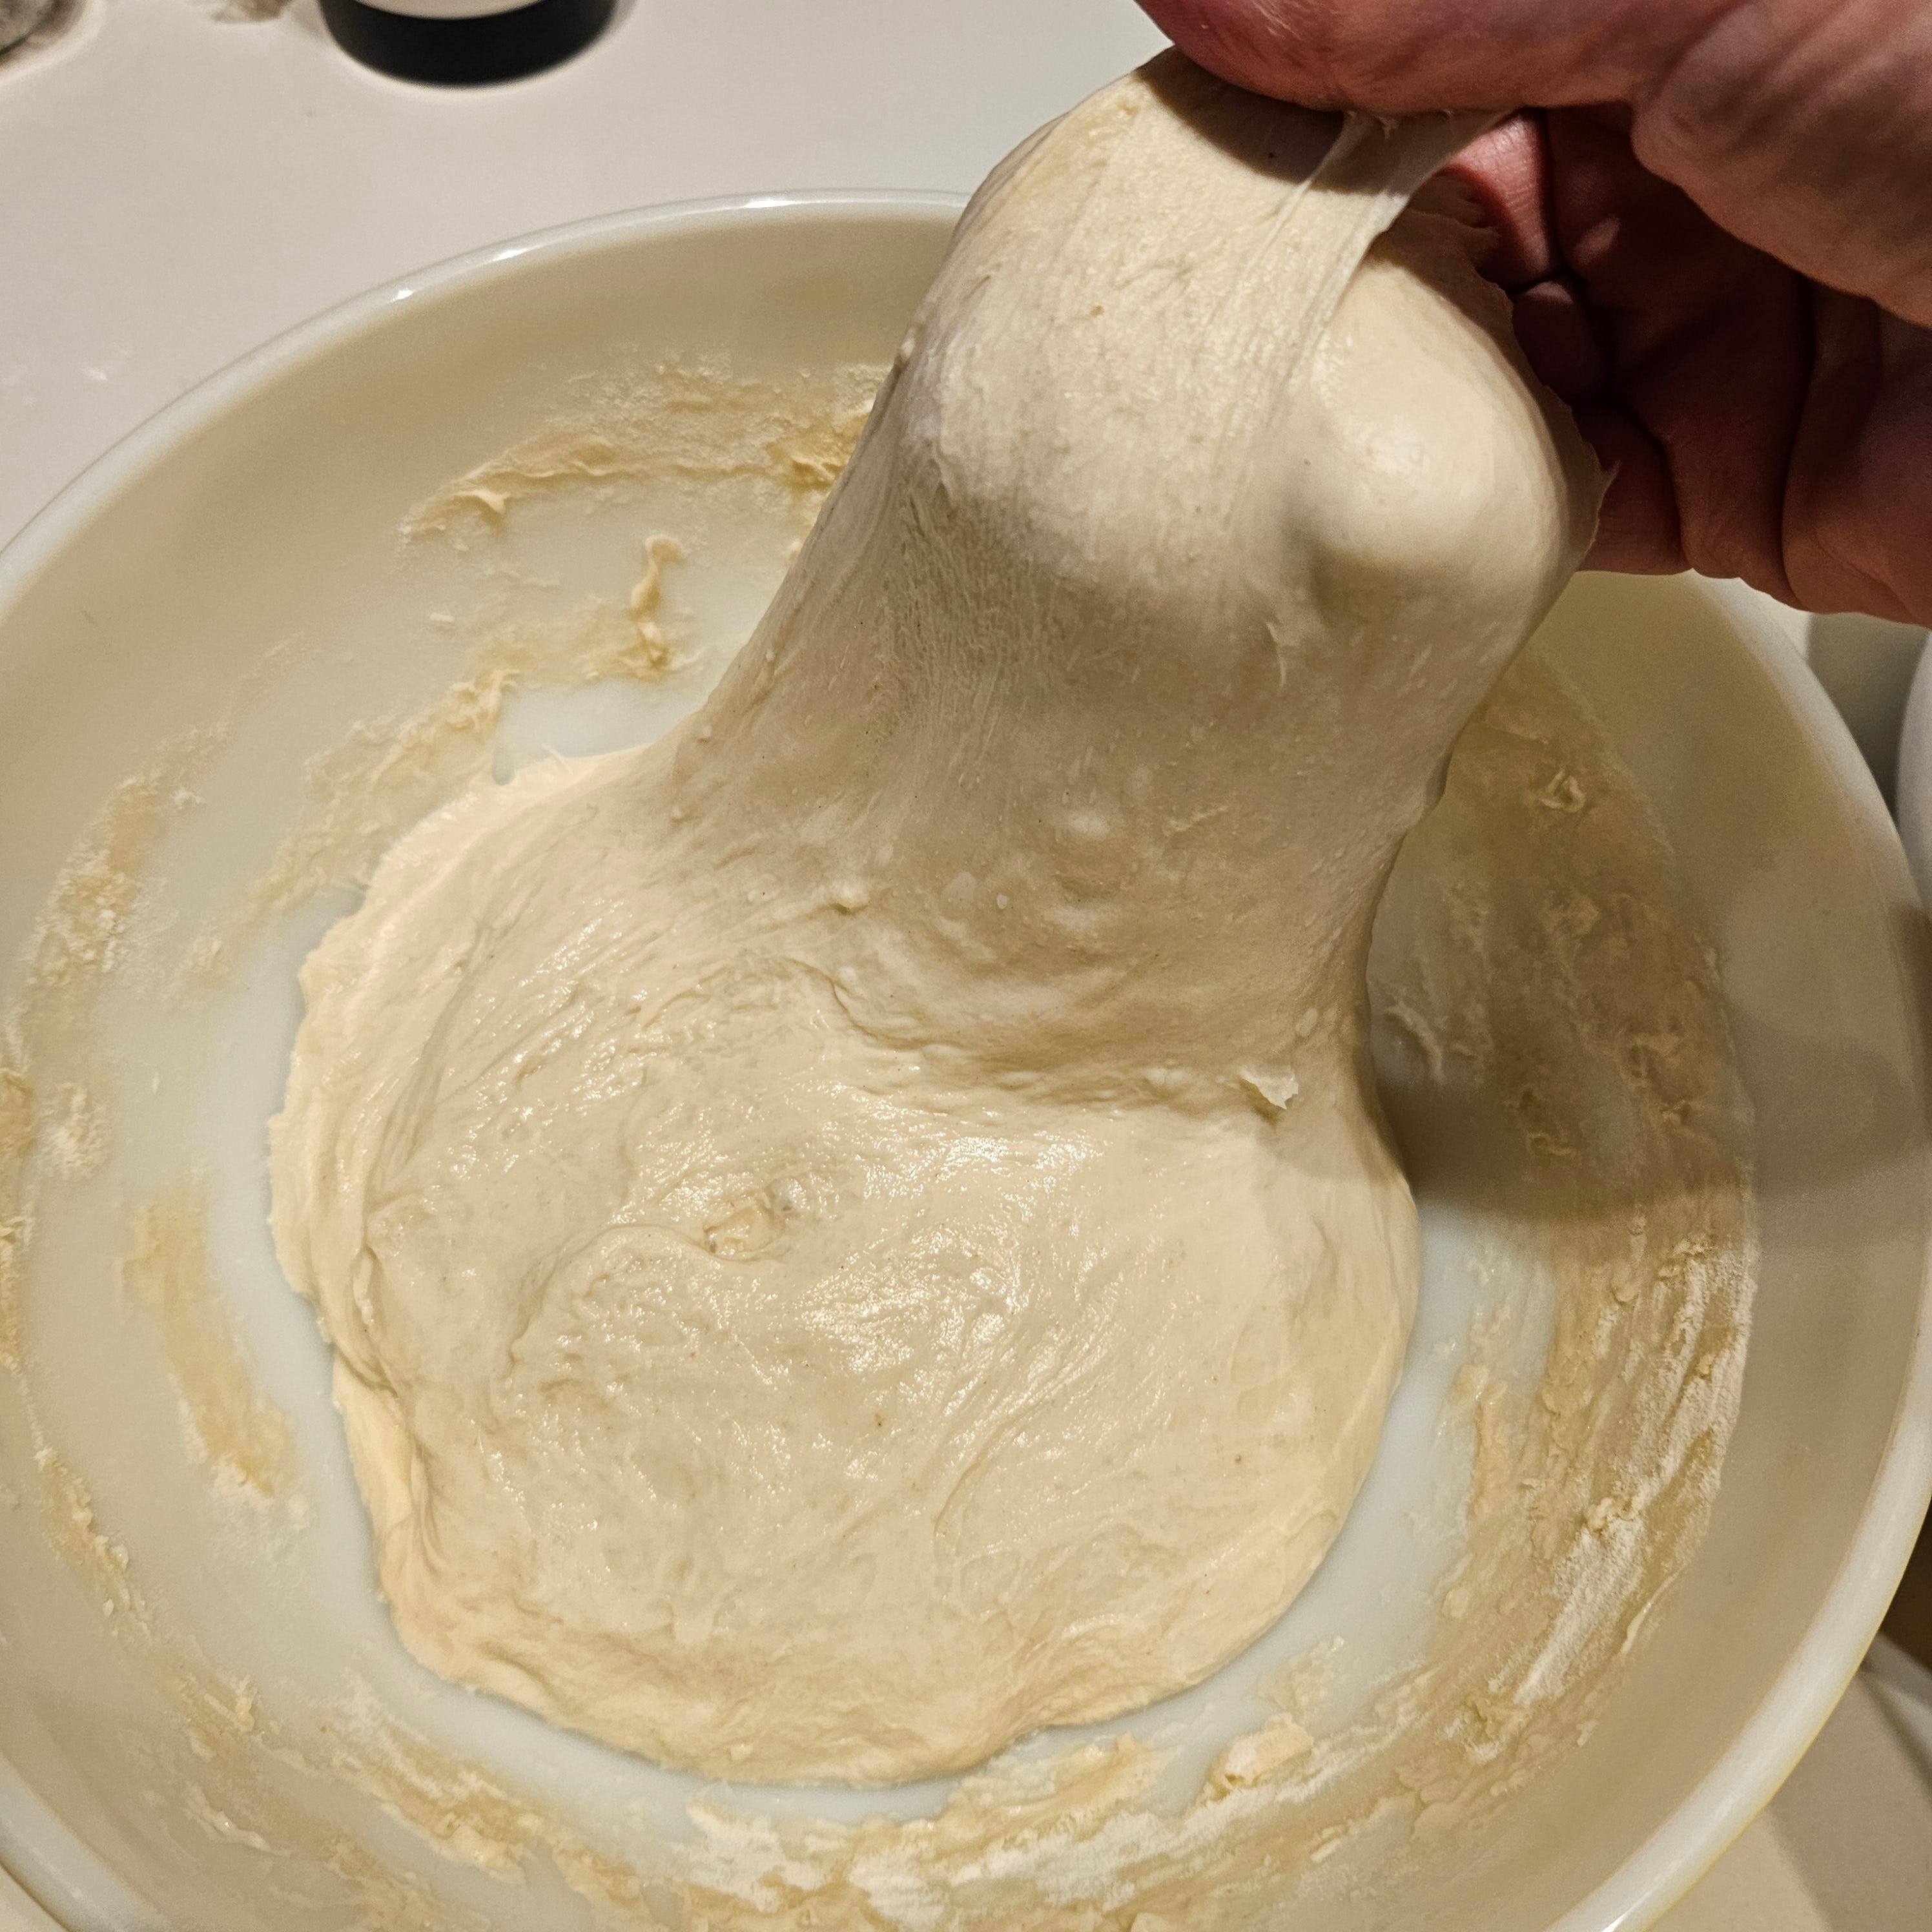
While this bread doesn’t need to be kneaded (don’t we all need to be needed?) we do need to perform a series of “stretches and folds” to help build the structure of the dough. I didn’t mention this at the beginning, but the thing that gives bread its chewiness is gluten, the protein found in flour, that develops when it’s mixed with water. I have not tried this recipe or method with gluten-free flour, so I don’t suggest you use it in this recipe. The stretching and folding (or kneading, as with traditional bread recipes) is what helps to develop the gluten in the dough.
First stretch/fold: remove the lid and towel from the bowl and pick the dough up from the side and pull/stretch it upwards, then down across/over itself. That’s the “stretch” and the “fold.”
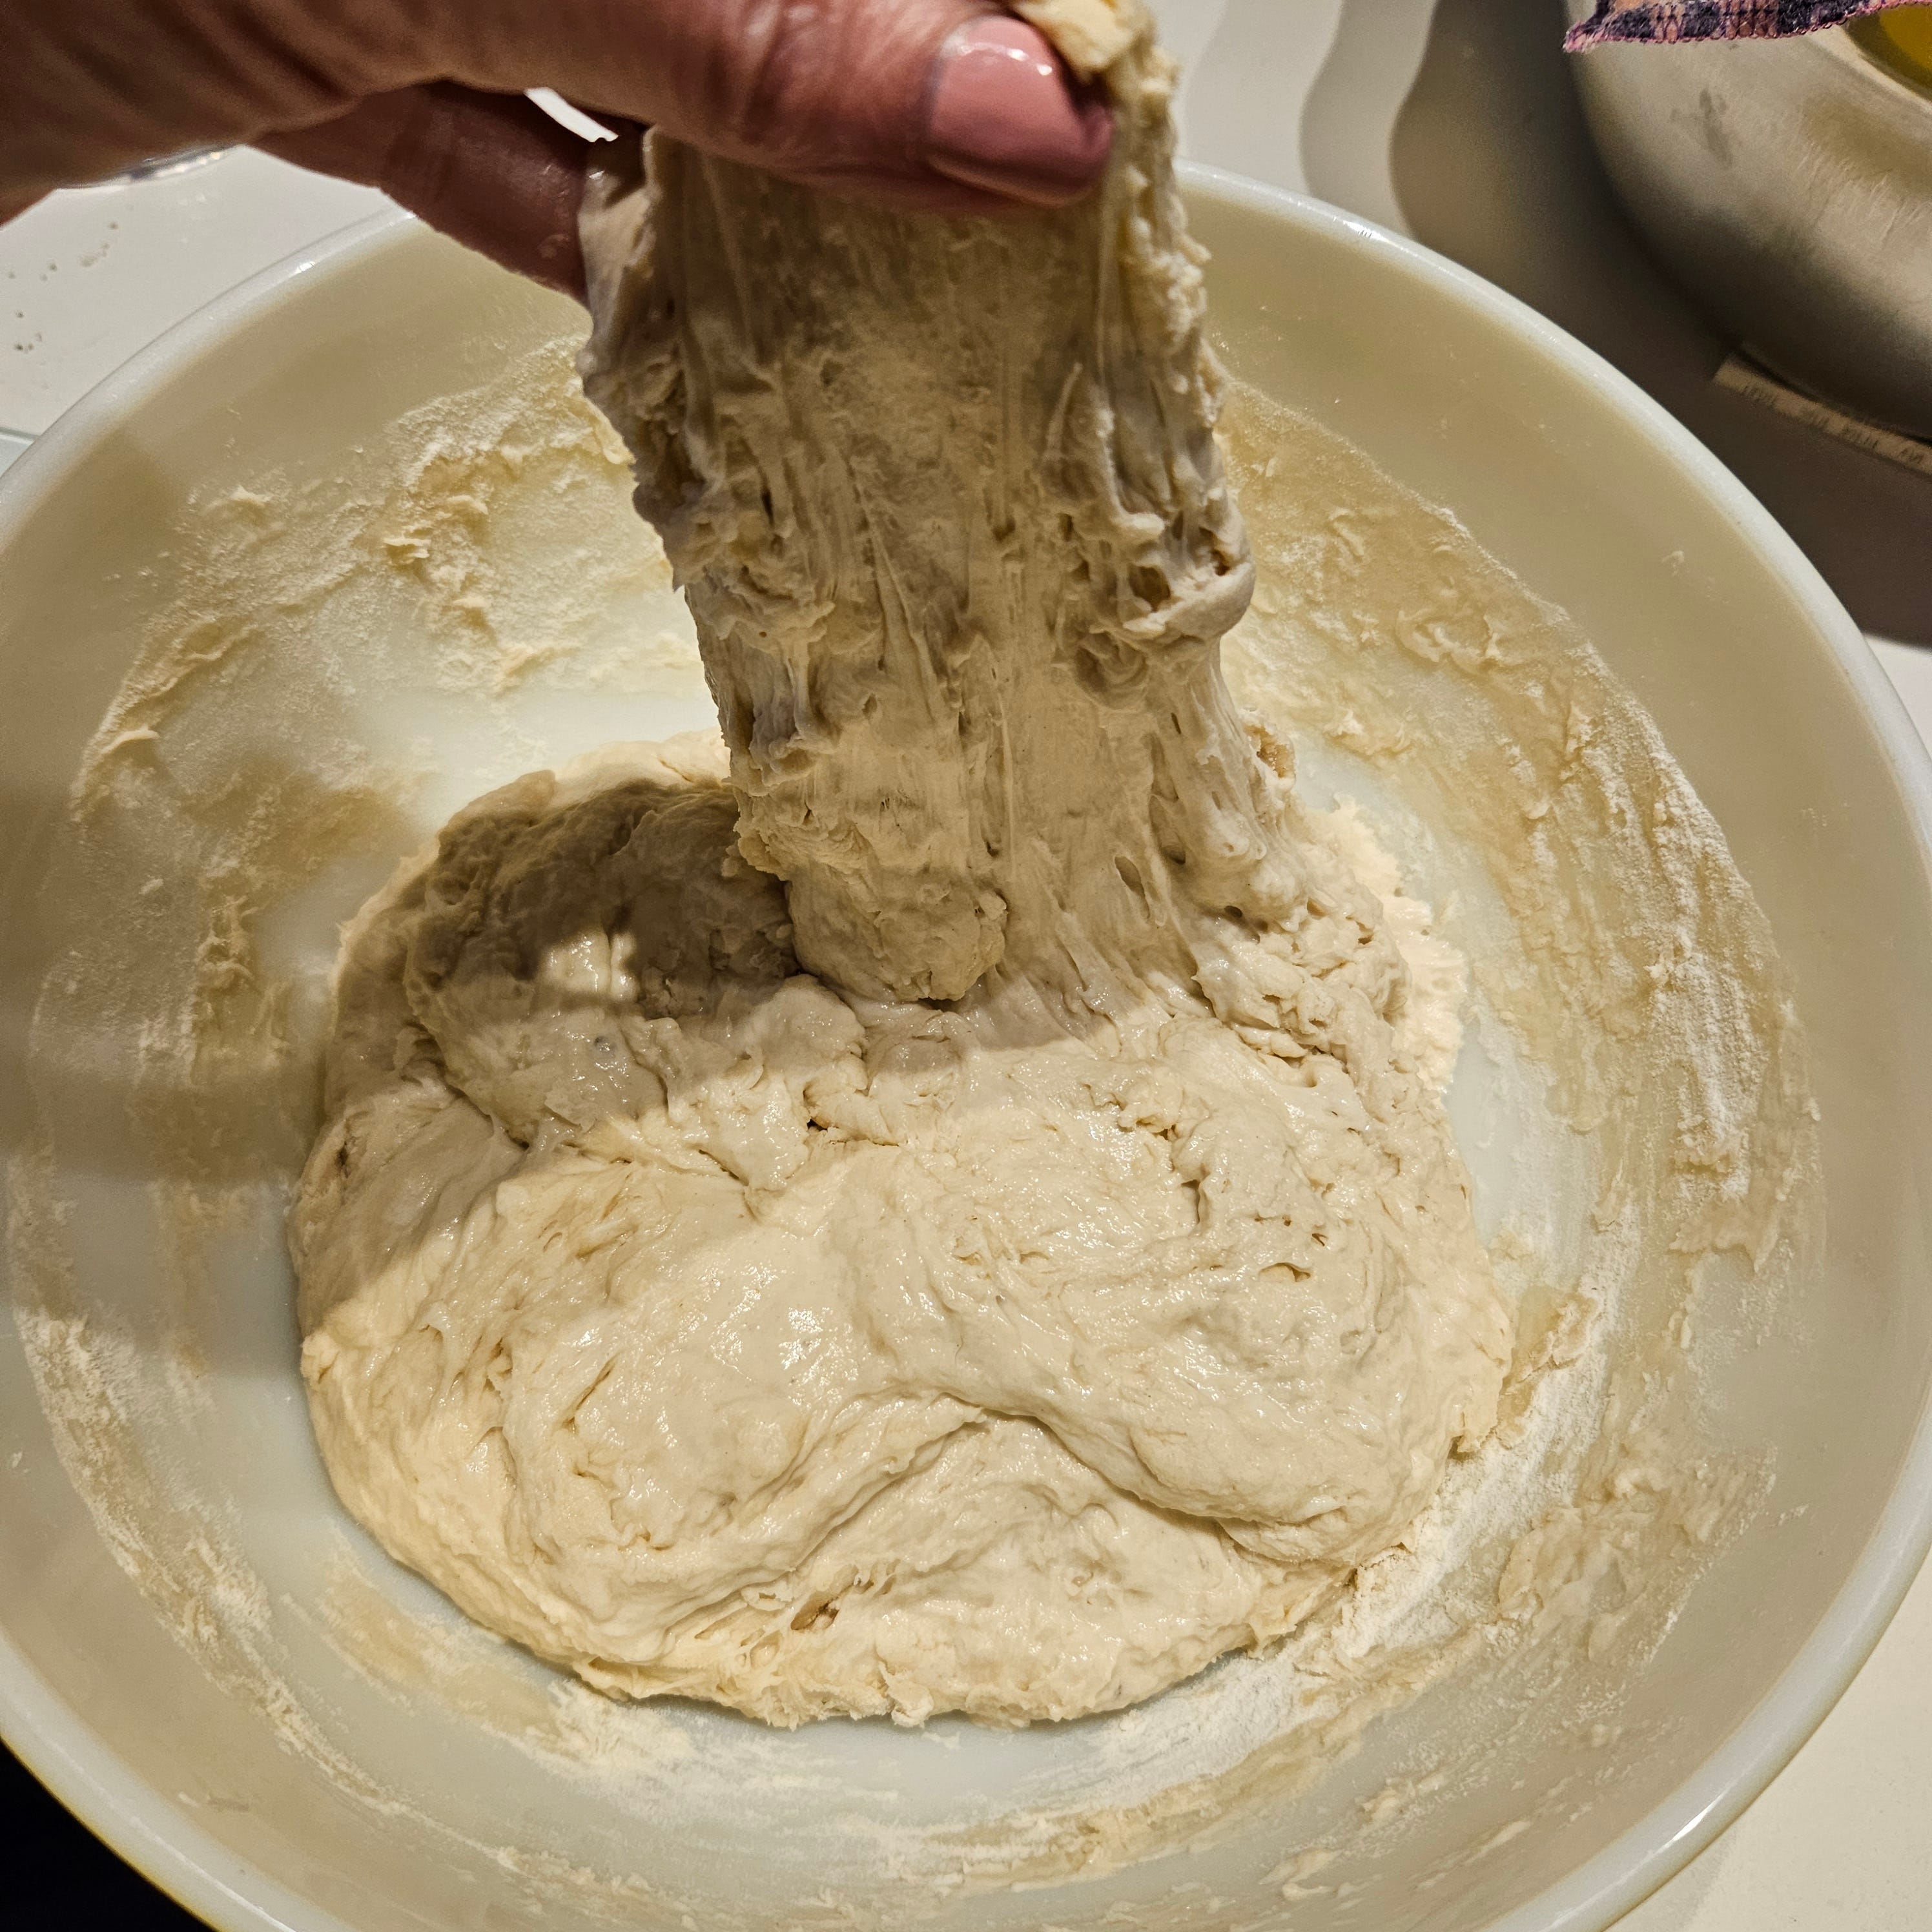
Turn the bowl 1/4 turn, pick up another section and stretch/fold that. Repeat this 3-4 times. Cover the dough and set your timer for another 60 minutes.
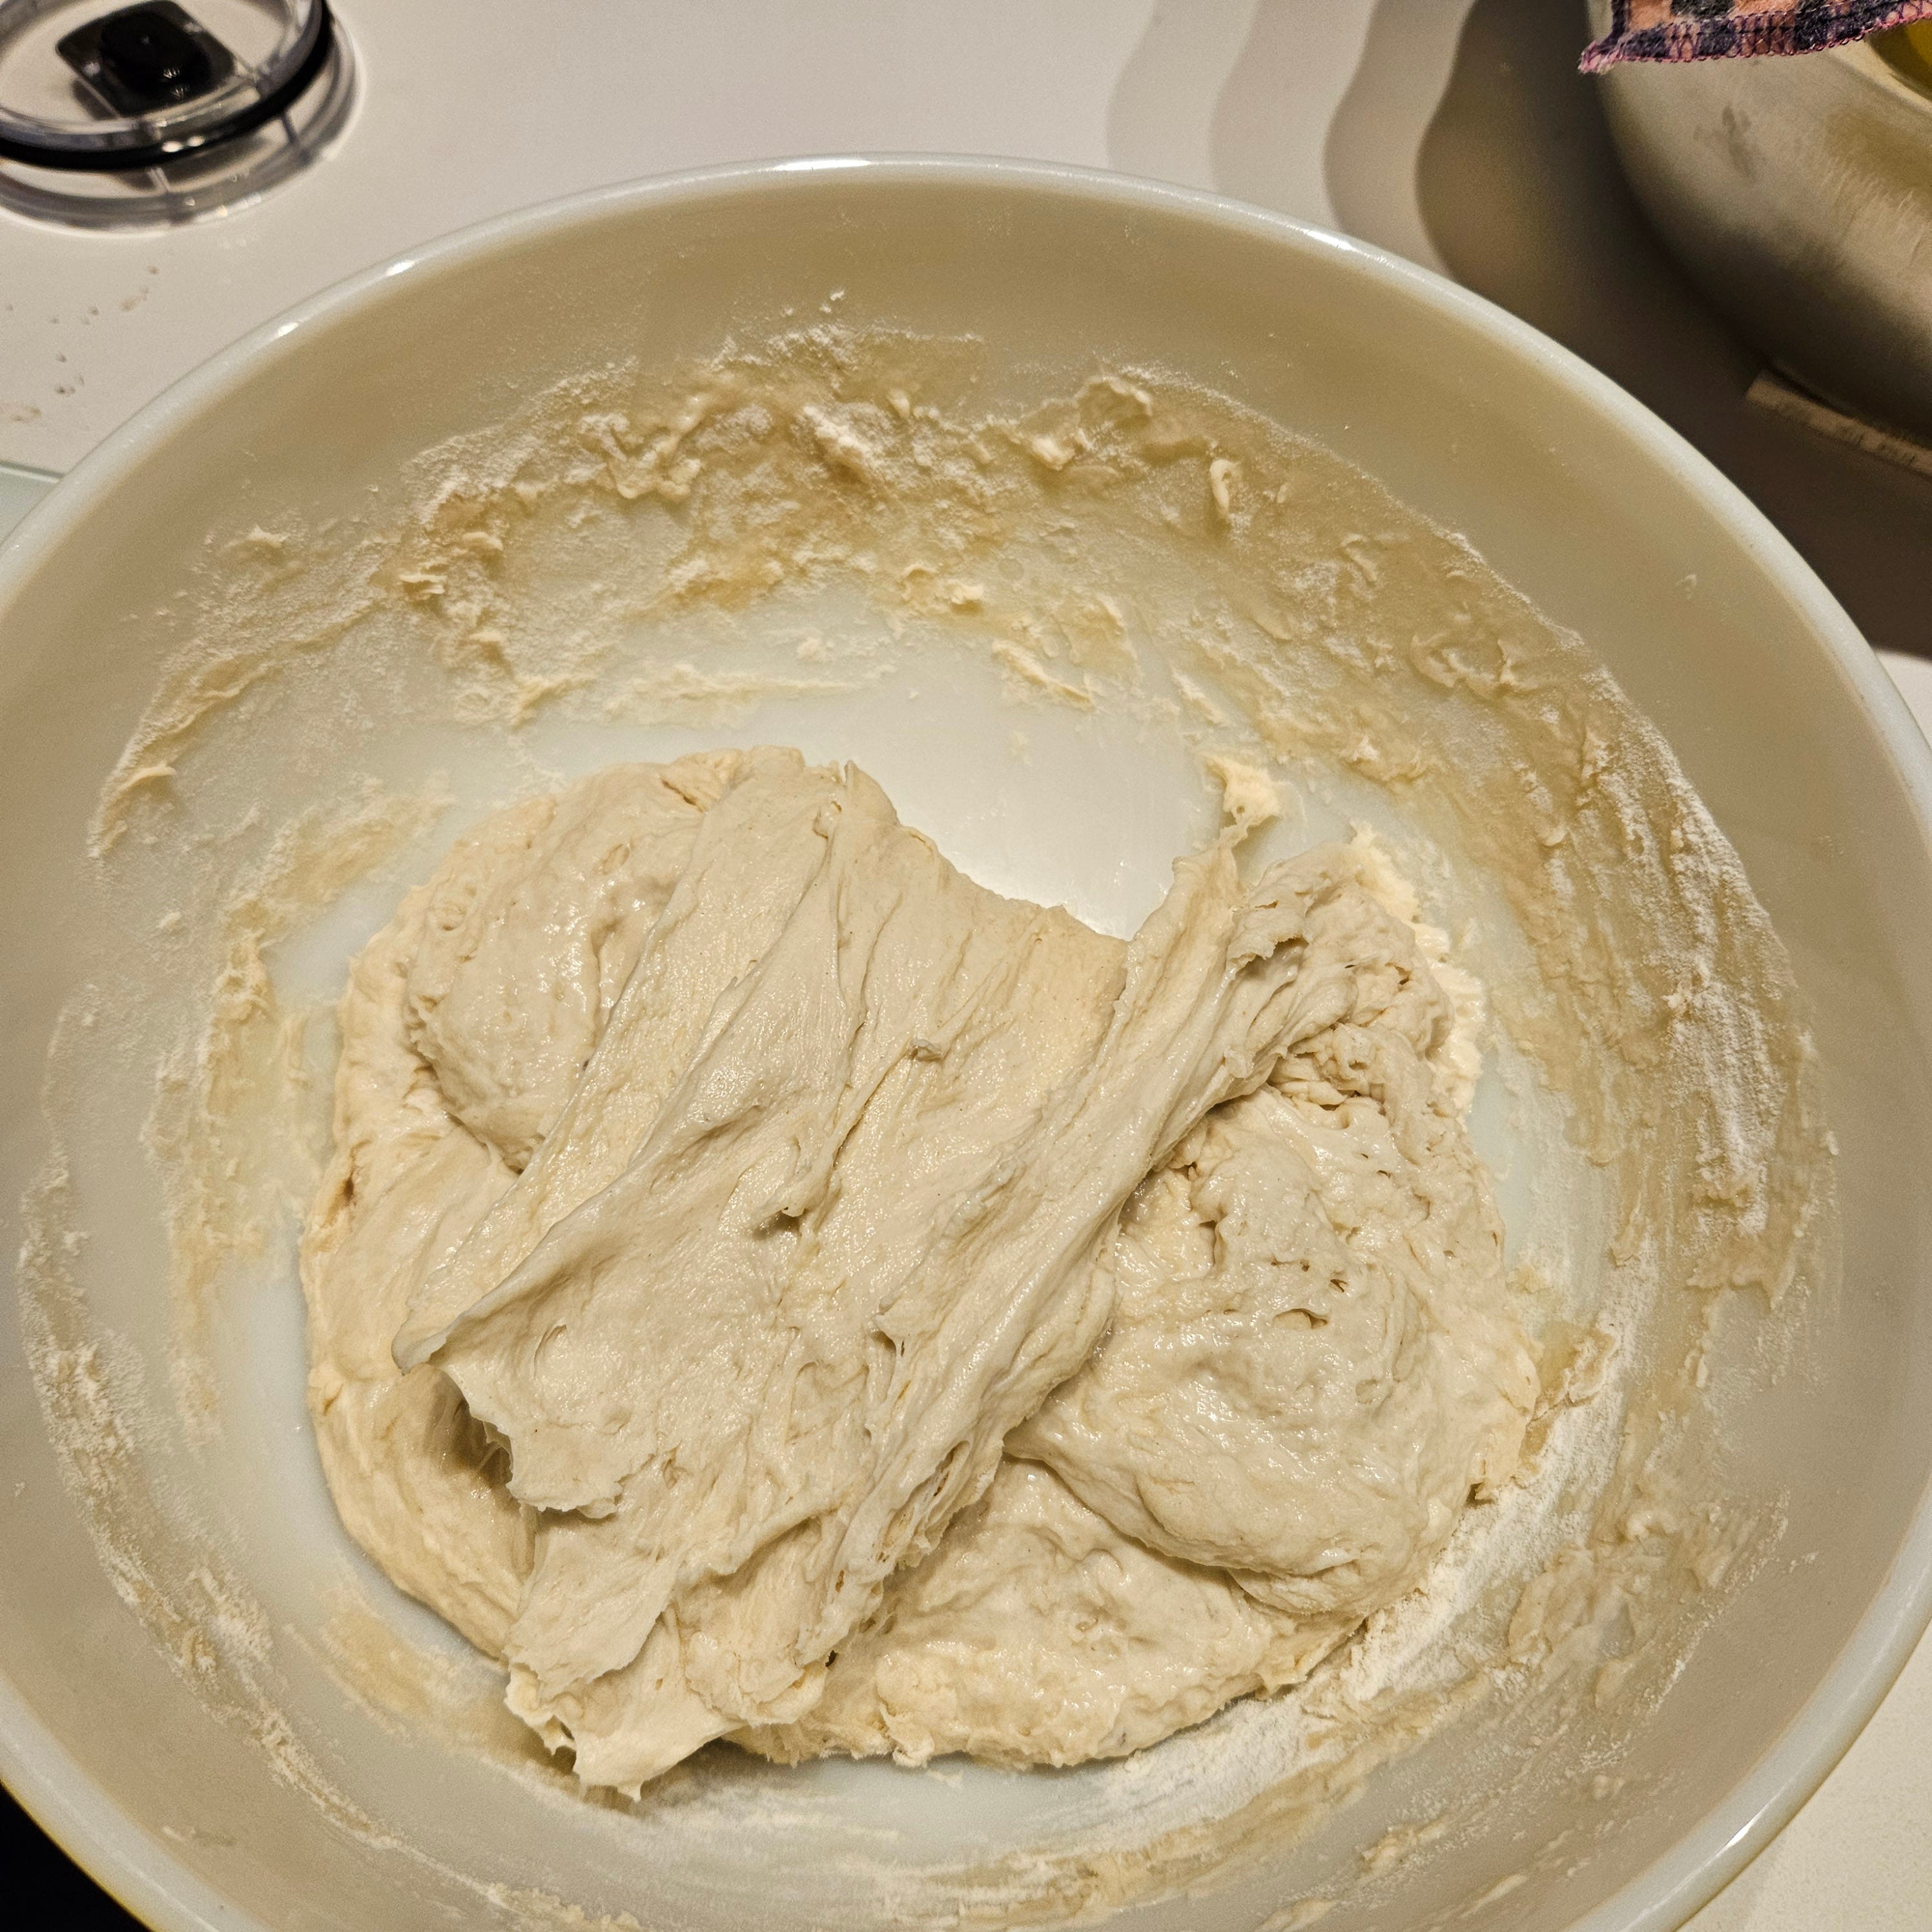
You’ll repeat this process two more times (for a total of 3 sets of stretch/fold over a 3-hour period.) Each time you let the dough rest and come back to it, you’ll see that it has changed and become more smooth and stretchy. This image is from the third and final set of stretch & fold.
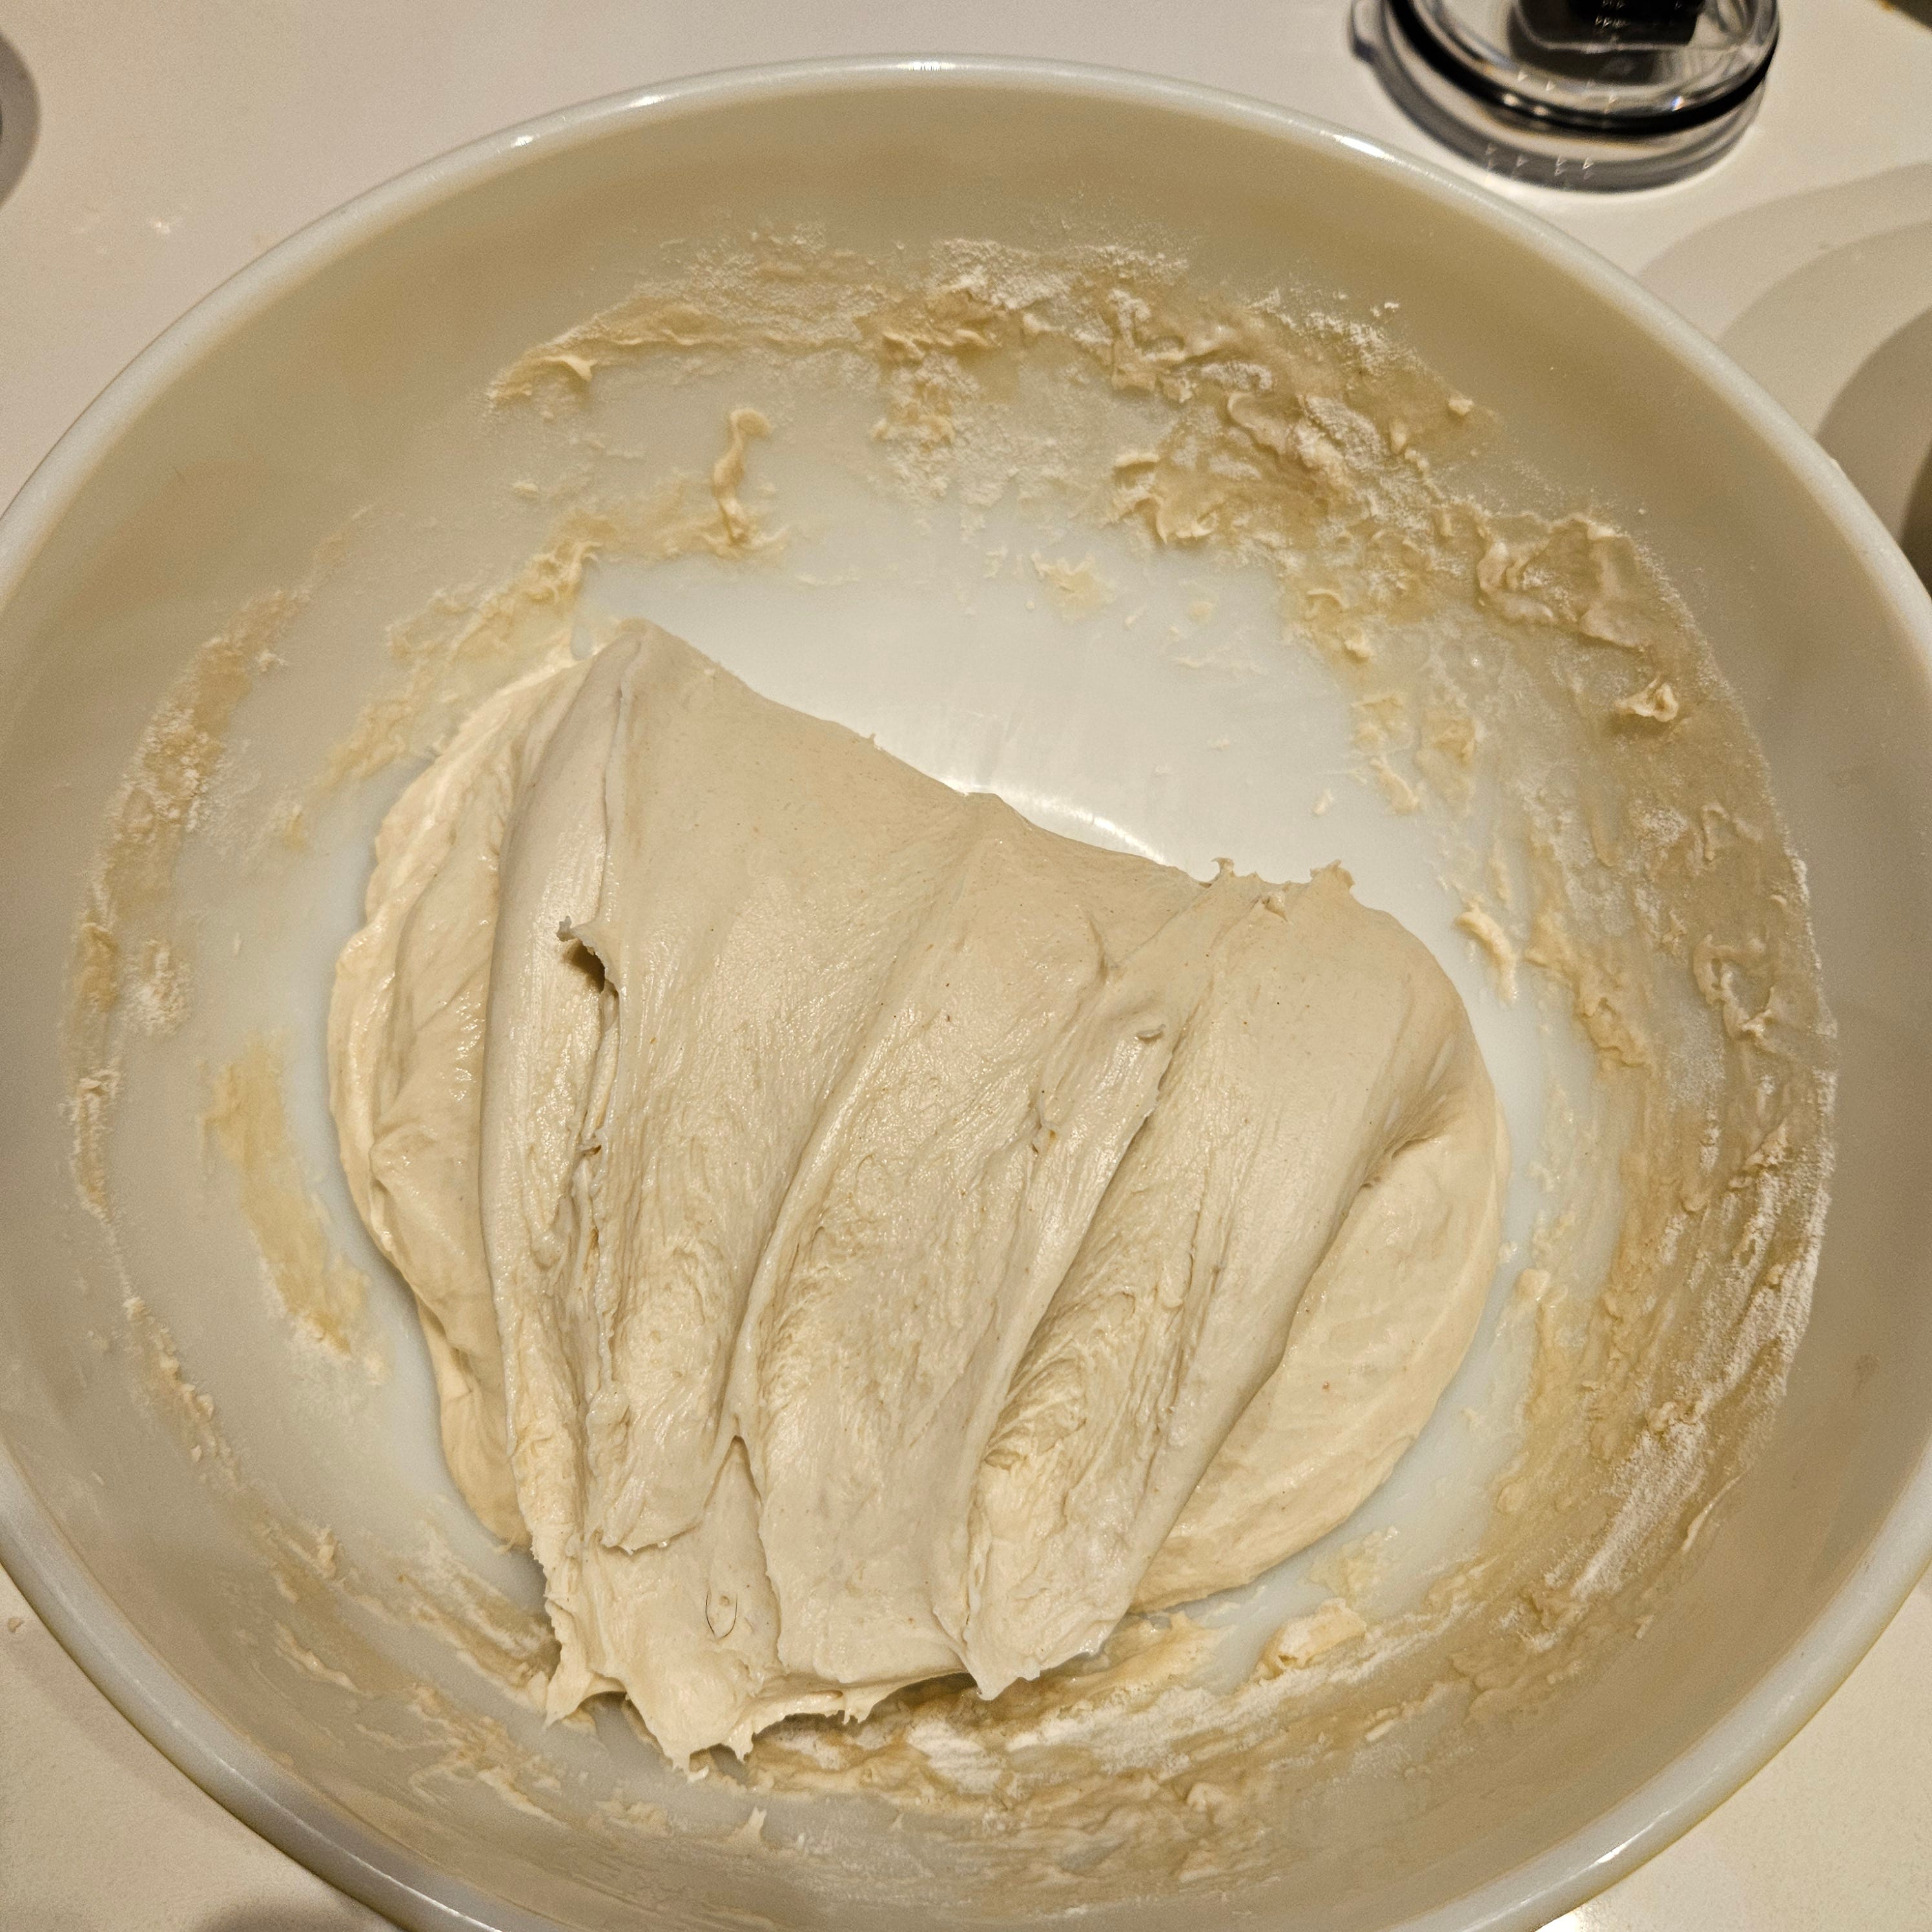
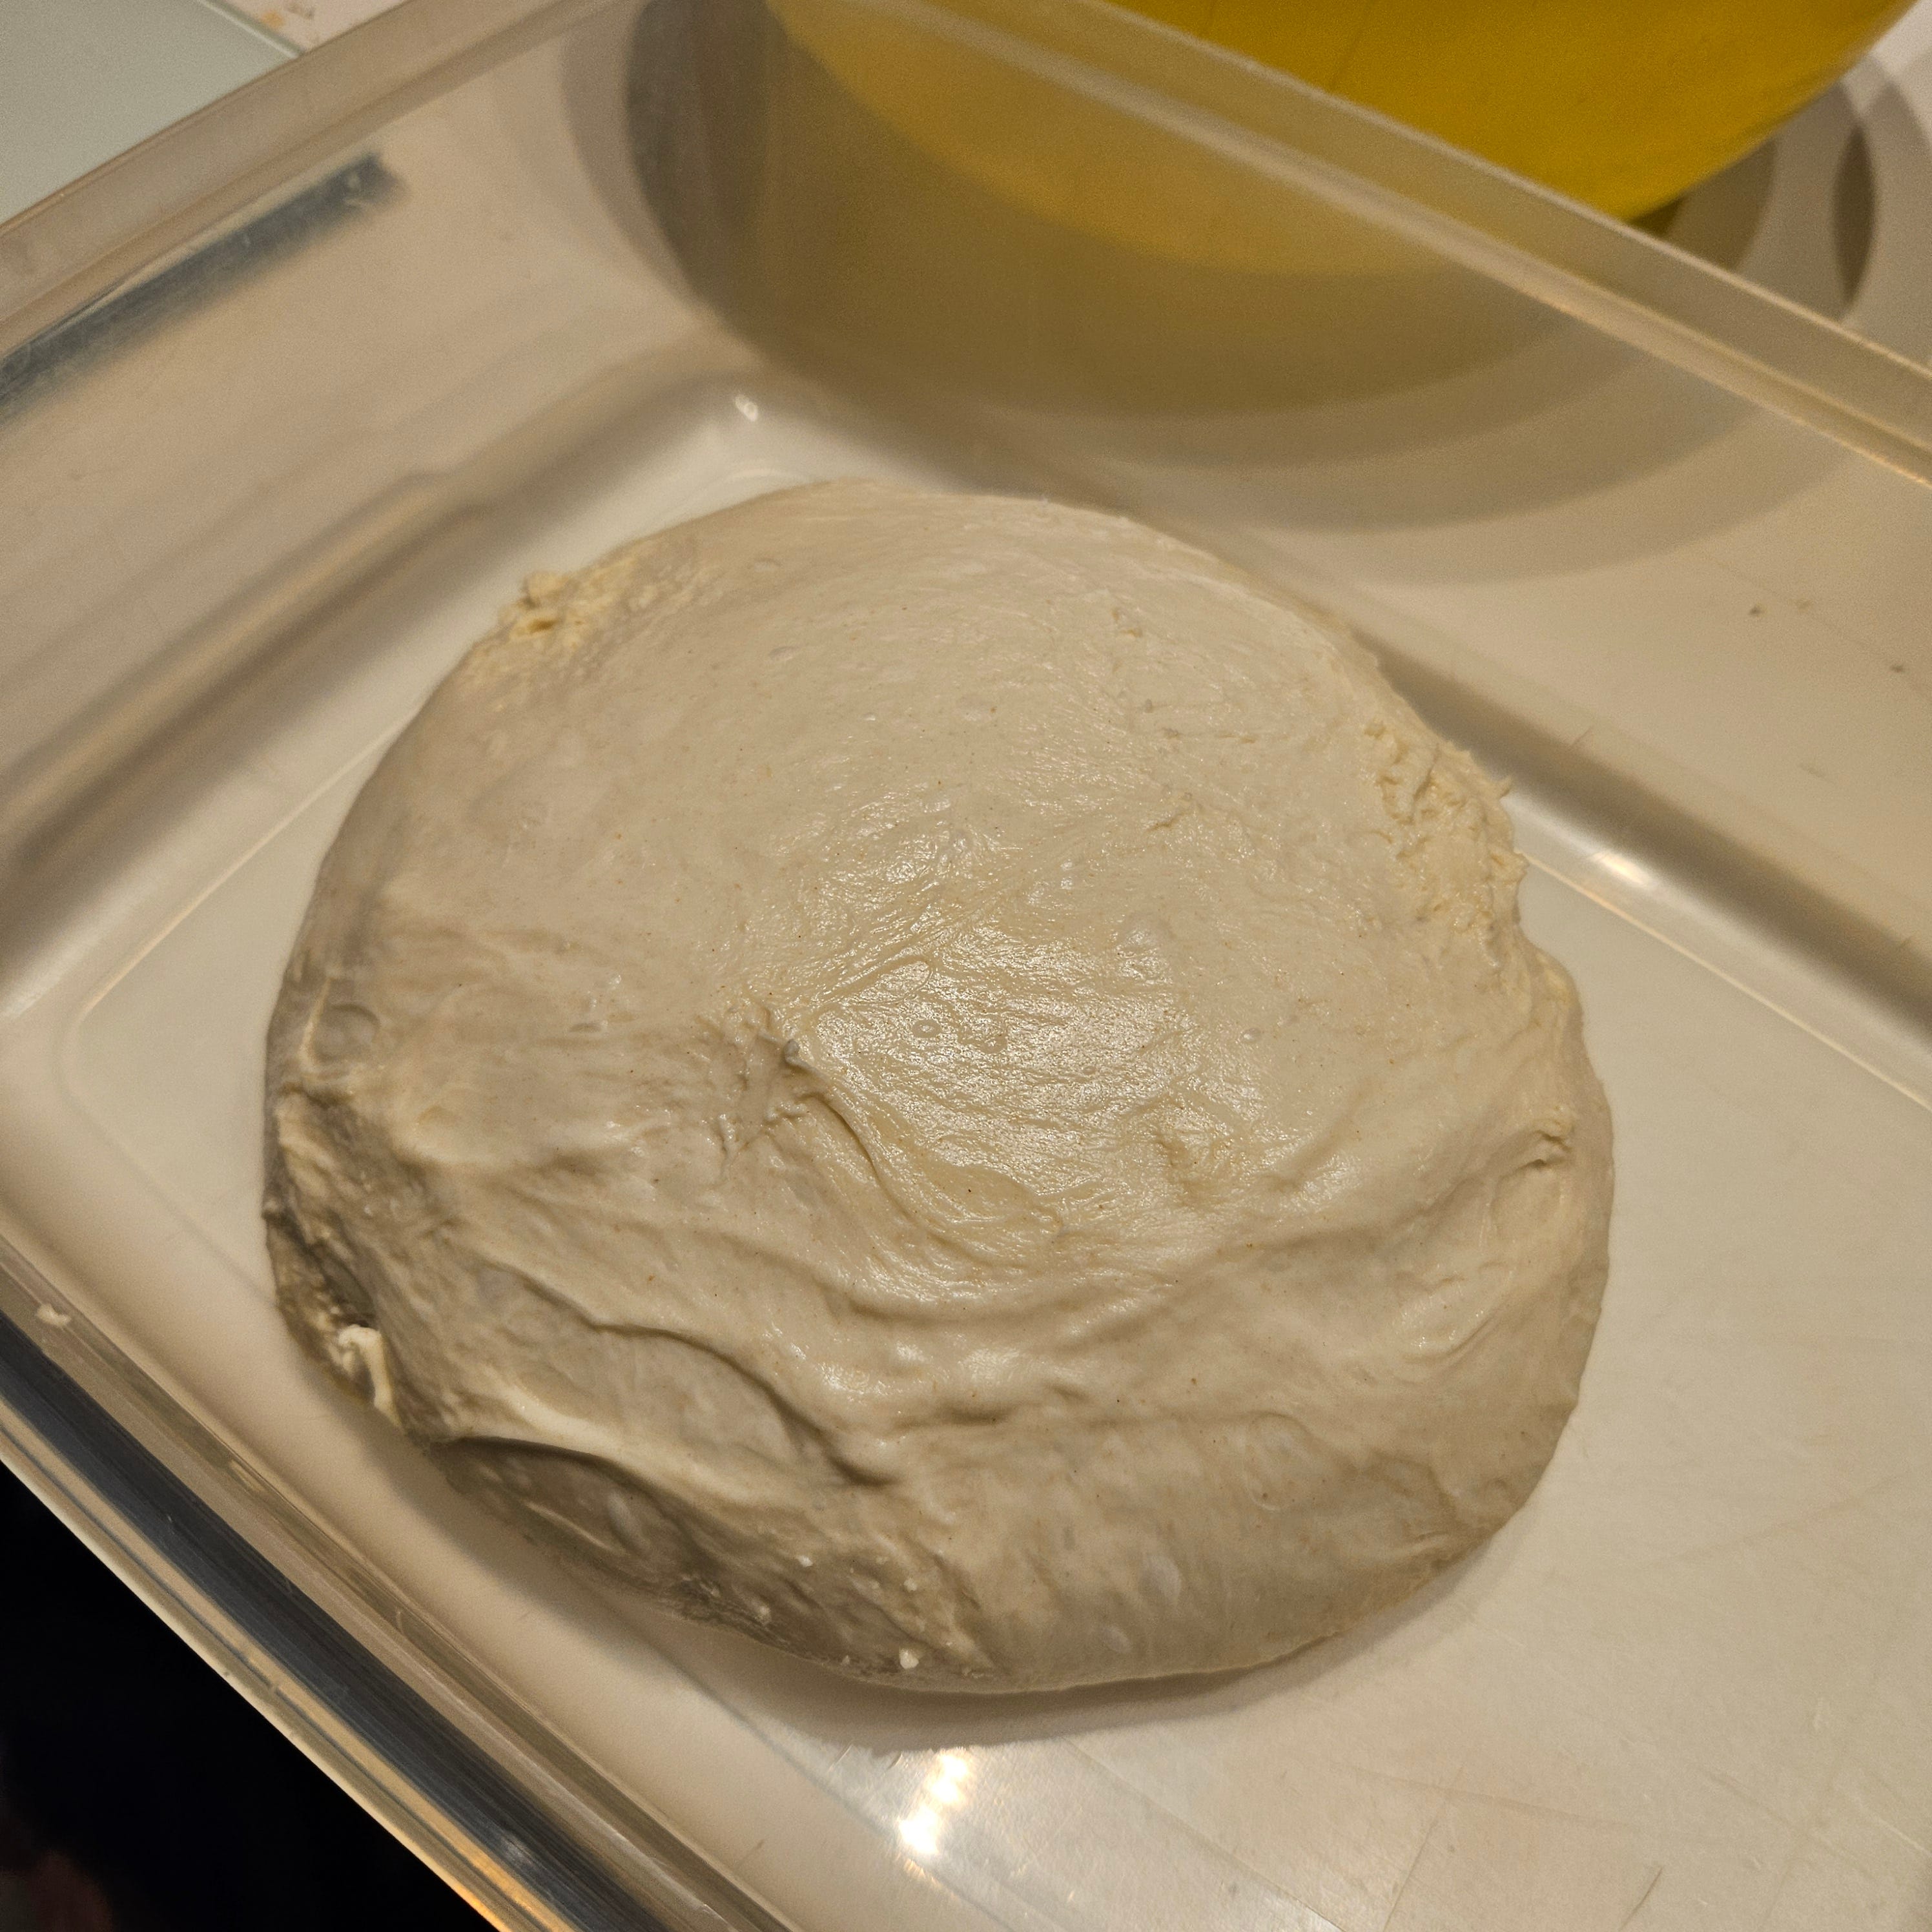
After the third hour of stretching/folding, take the ball of dough and place it into a container with a tight-fitting lid. Mine is plastic, but glass, ceramic, and metal are fine, too. Just make sure the lid is air-tight. Put the container in the fridge overnight.
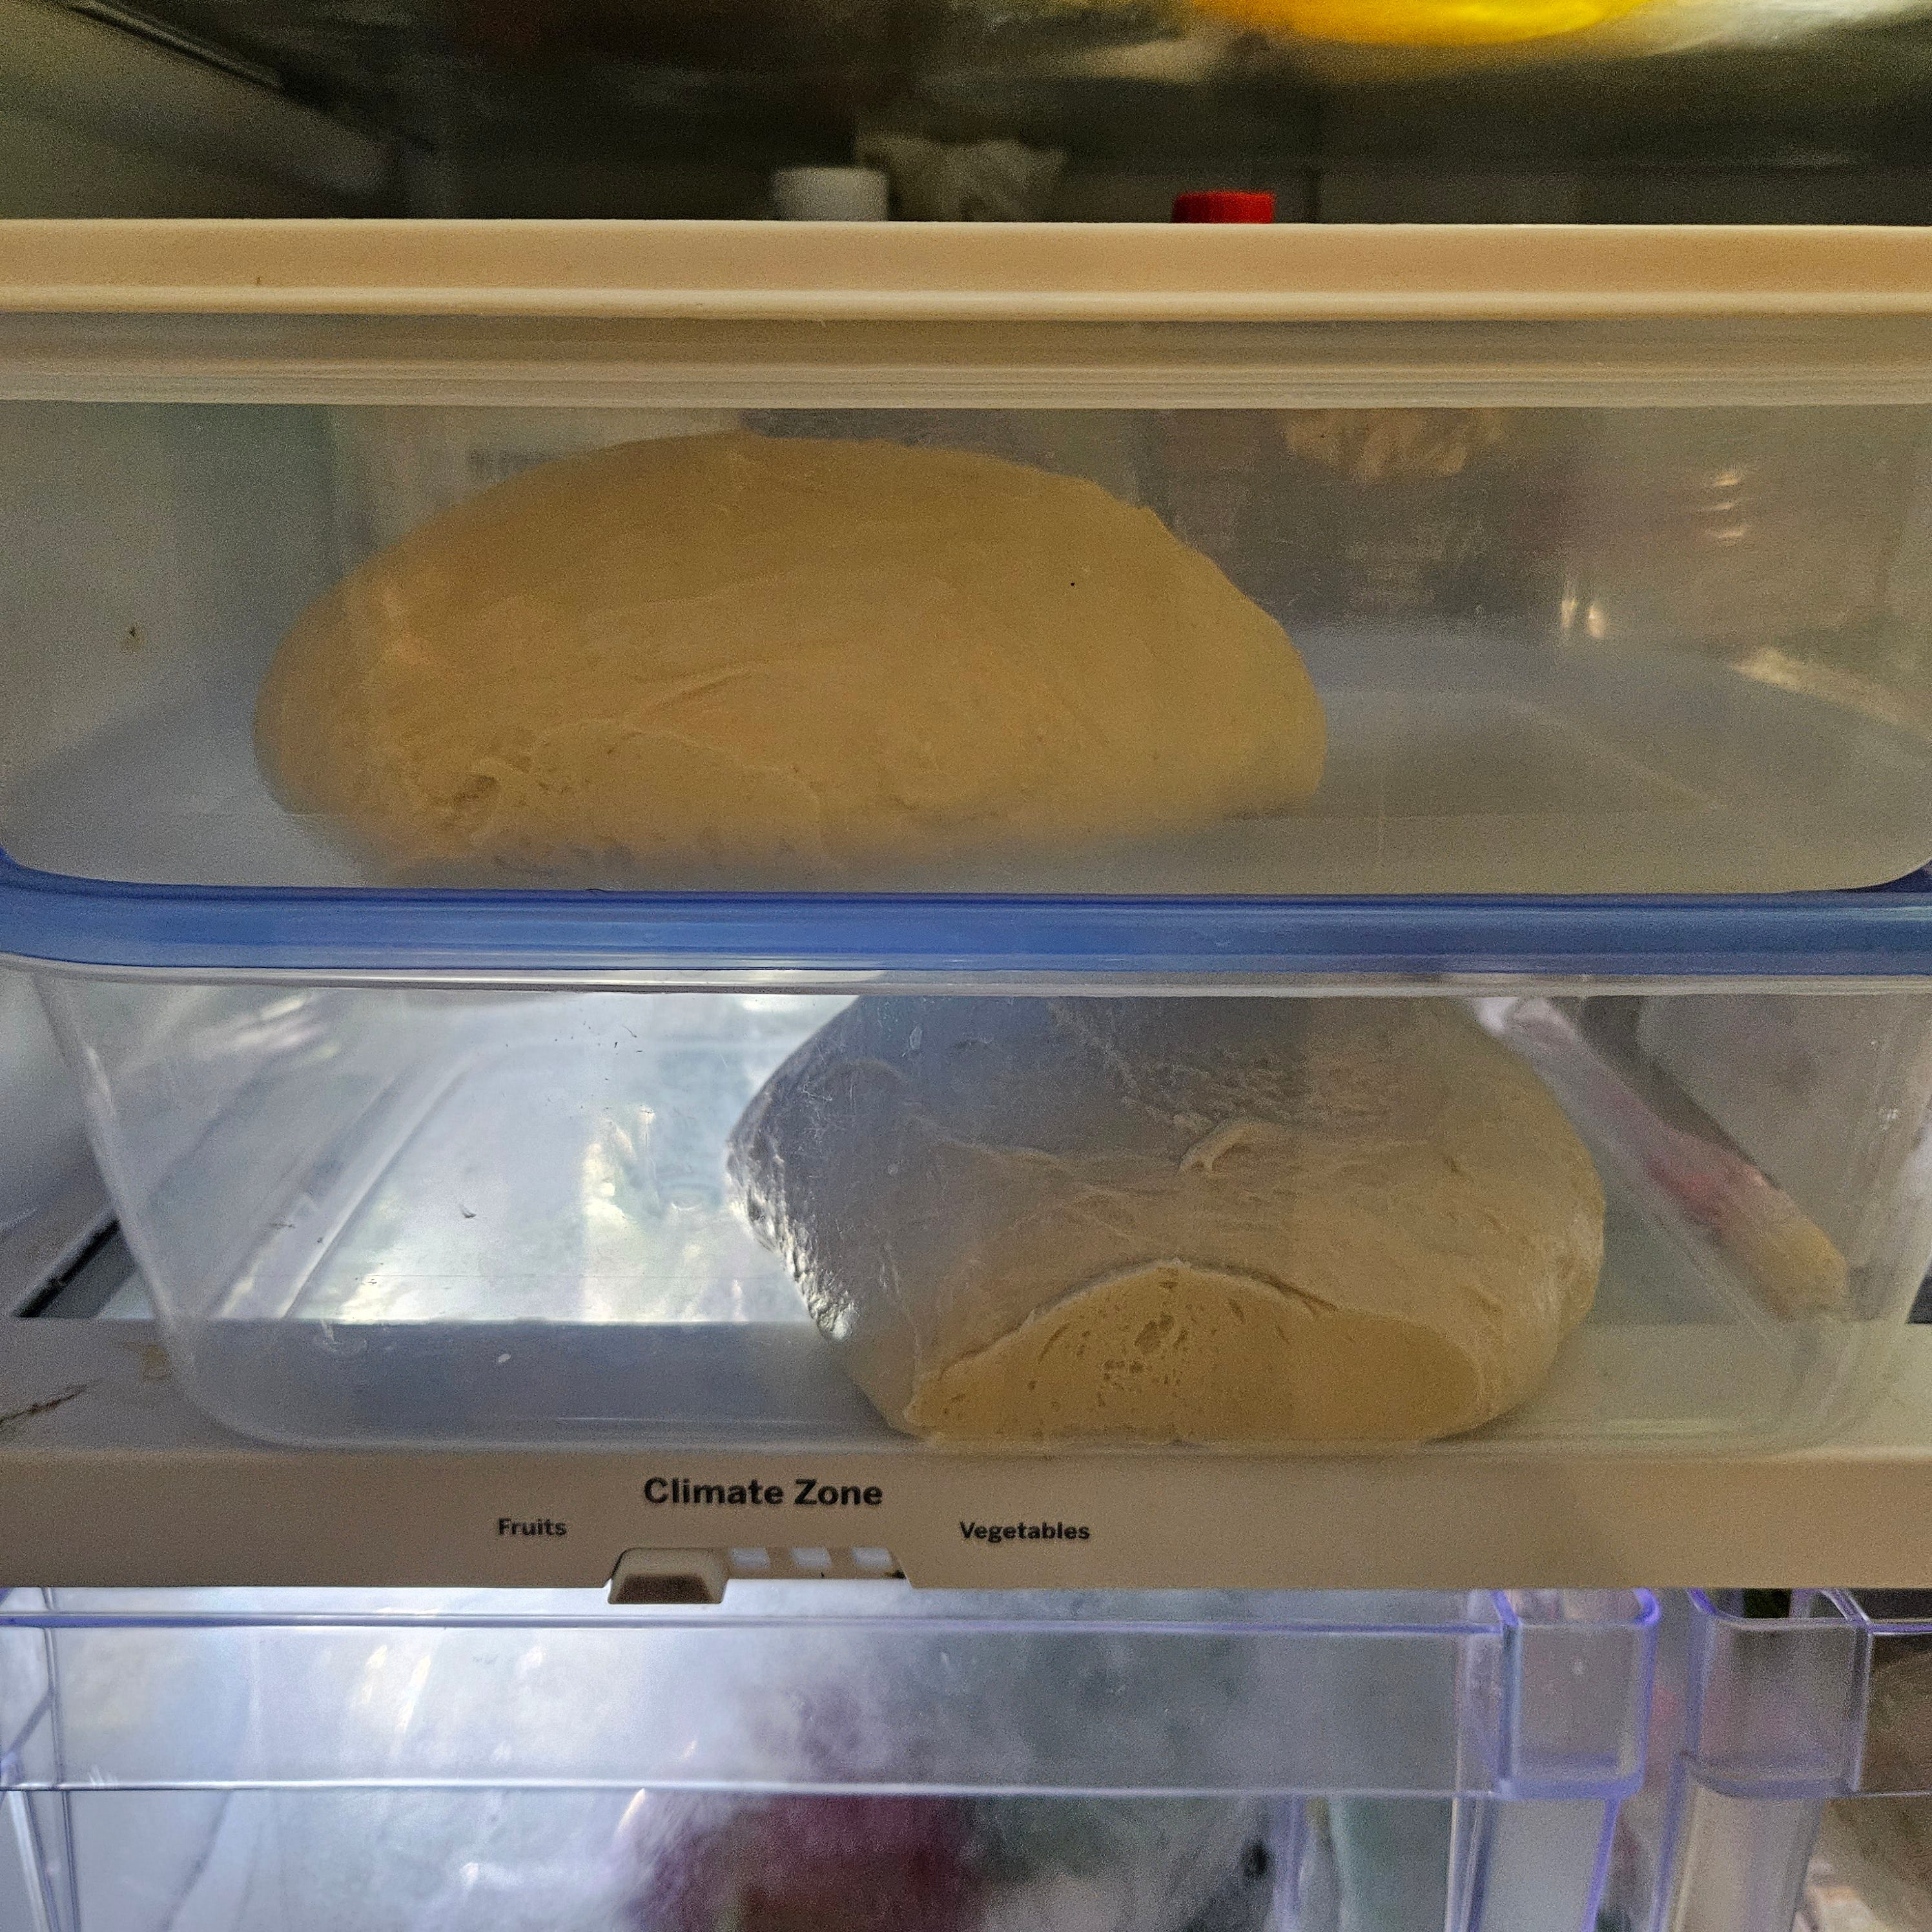
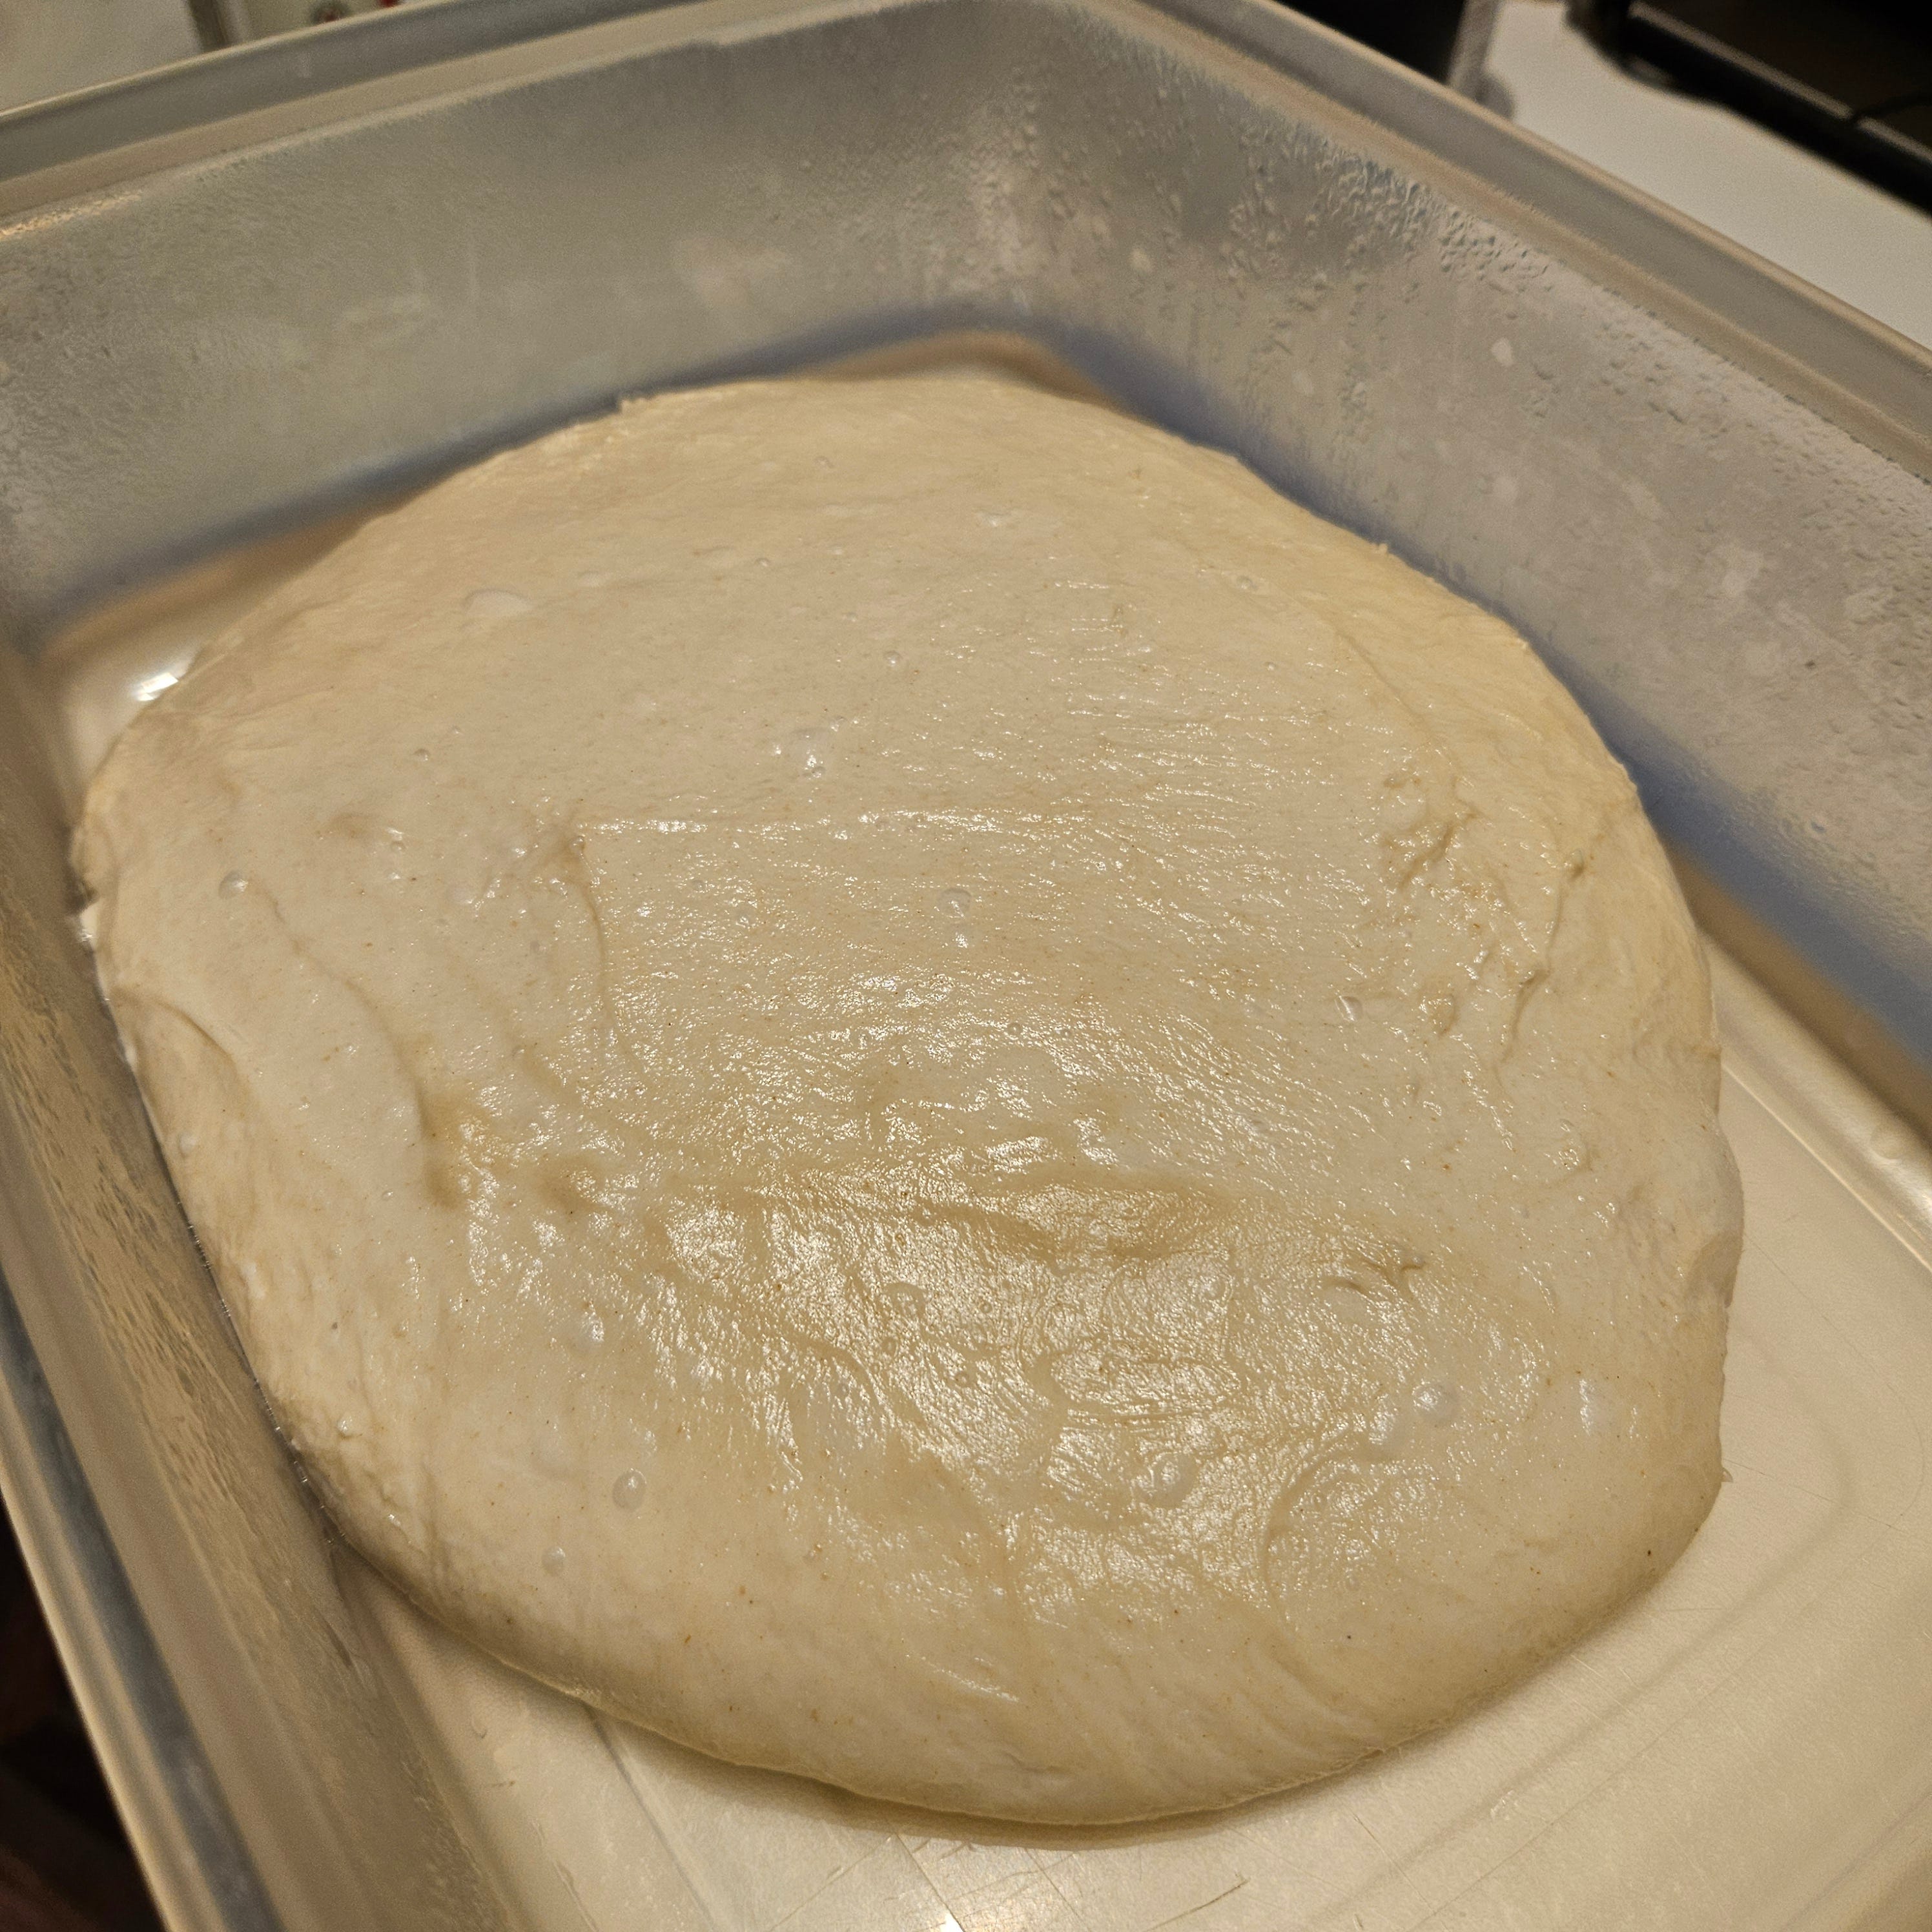
Saturday morning: Take the dough out of the fridge first thing in the morning and let it sit at room temperature for about 2 hours. Notice that it’s already expanded and risen a bit, but it needs some rising time at room temperature to proof a bit more.
Shaping Your Loaf
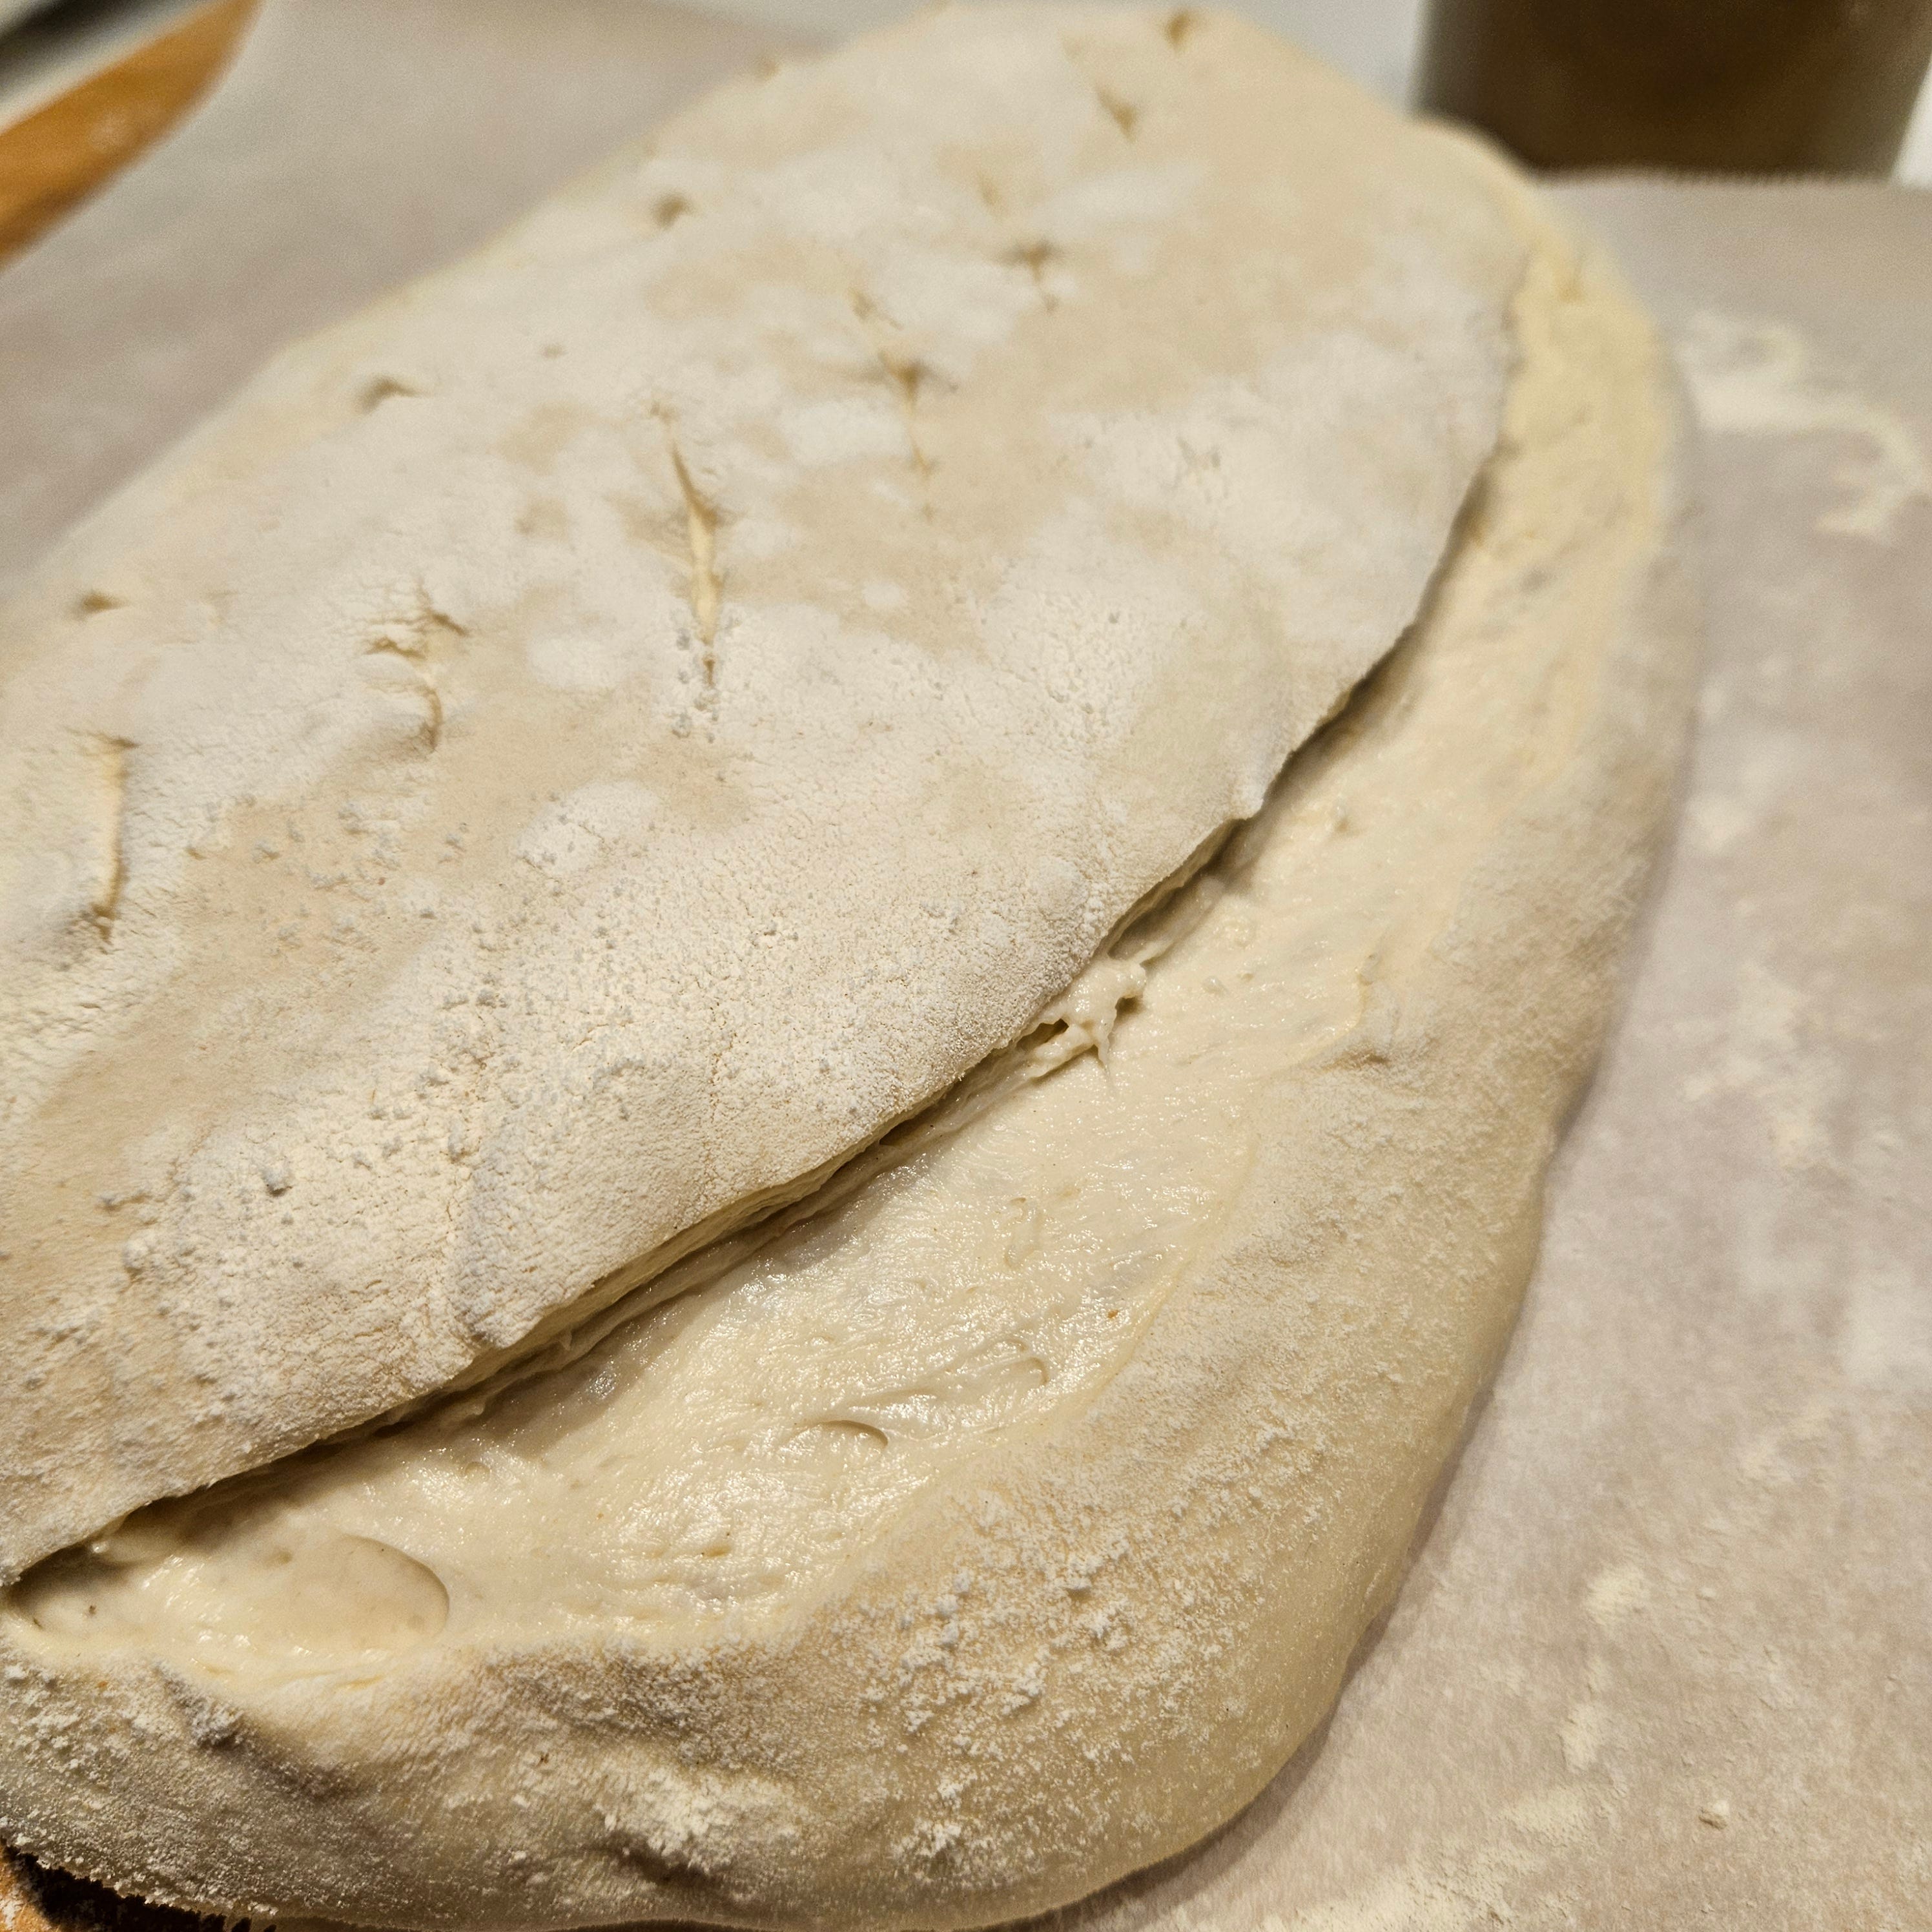
Saturday, late morning: turn the dough out onto a lightly floured surface and stretch it out again.
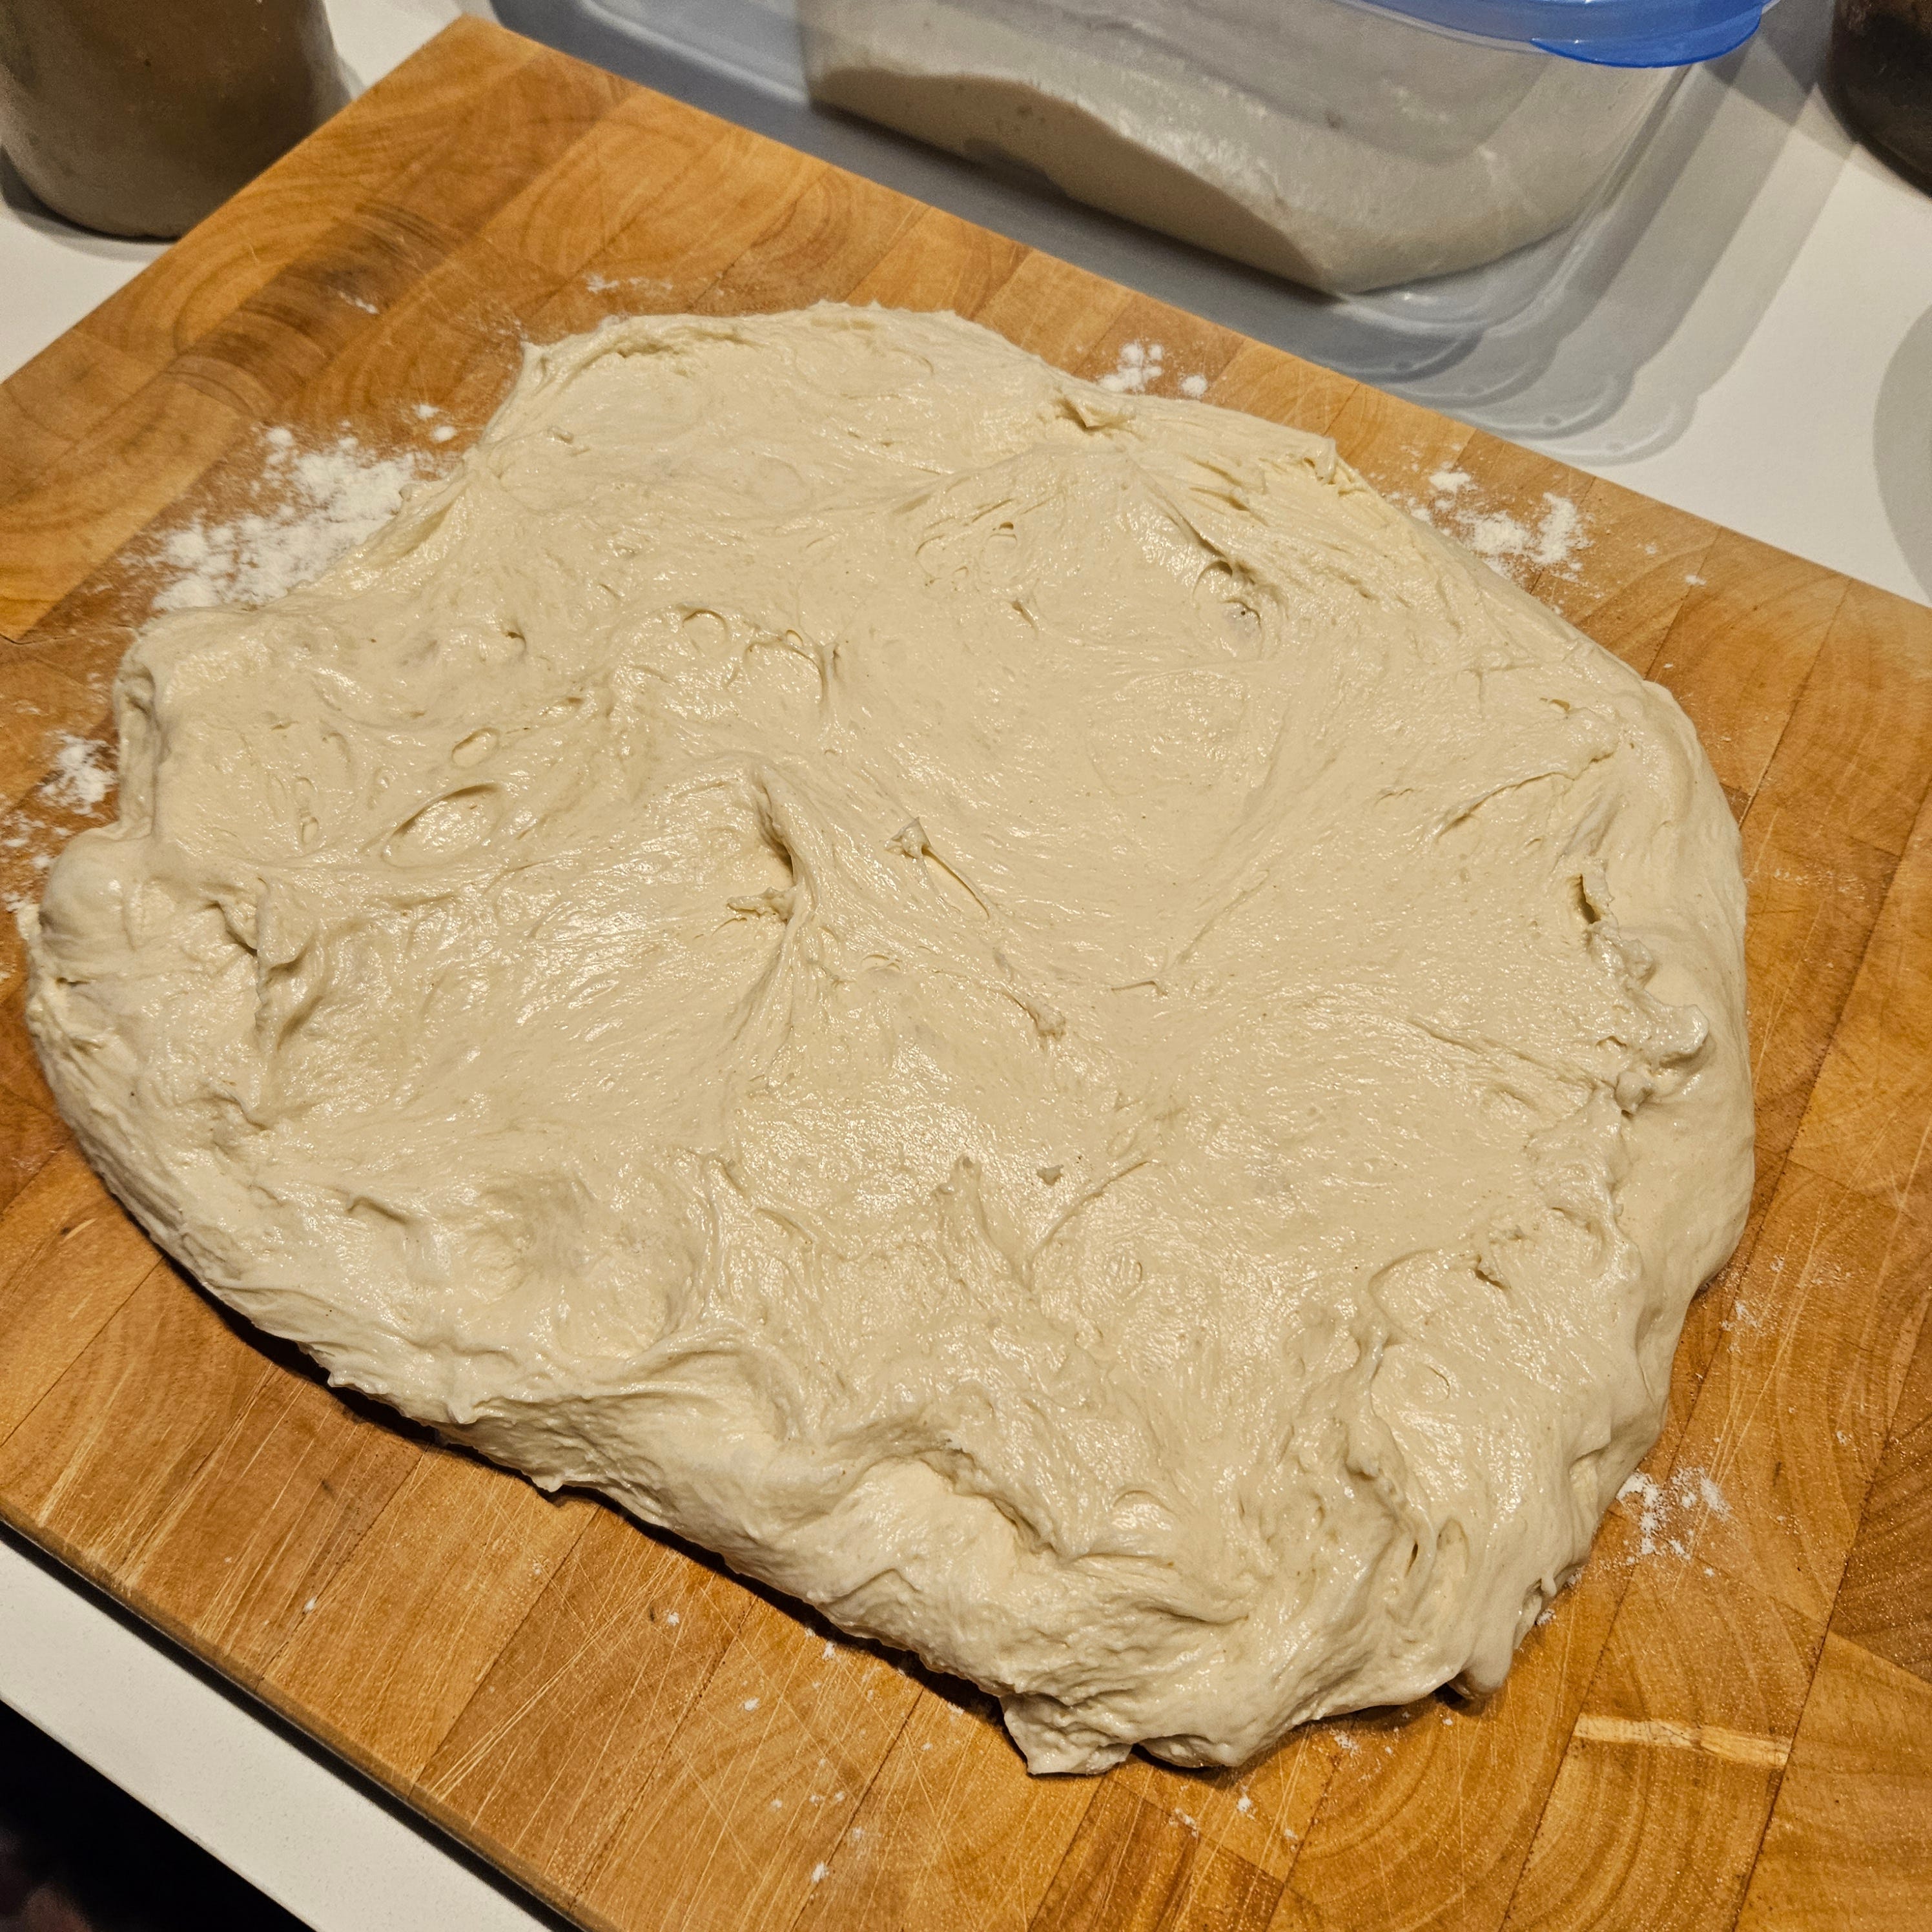
At this point, it kind of looks and feels like very wet pizza dough. Make sure not to put any flour on the sticky side as we are going to fold this over and we actually want it to stick to itself.
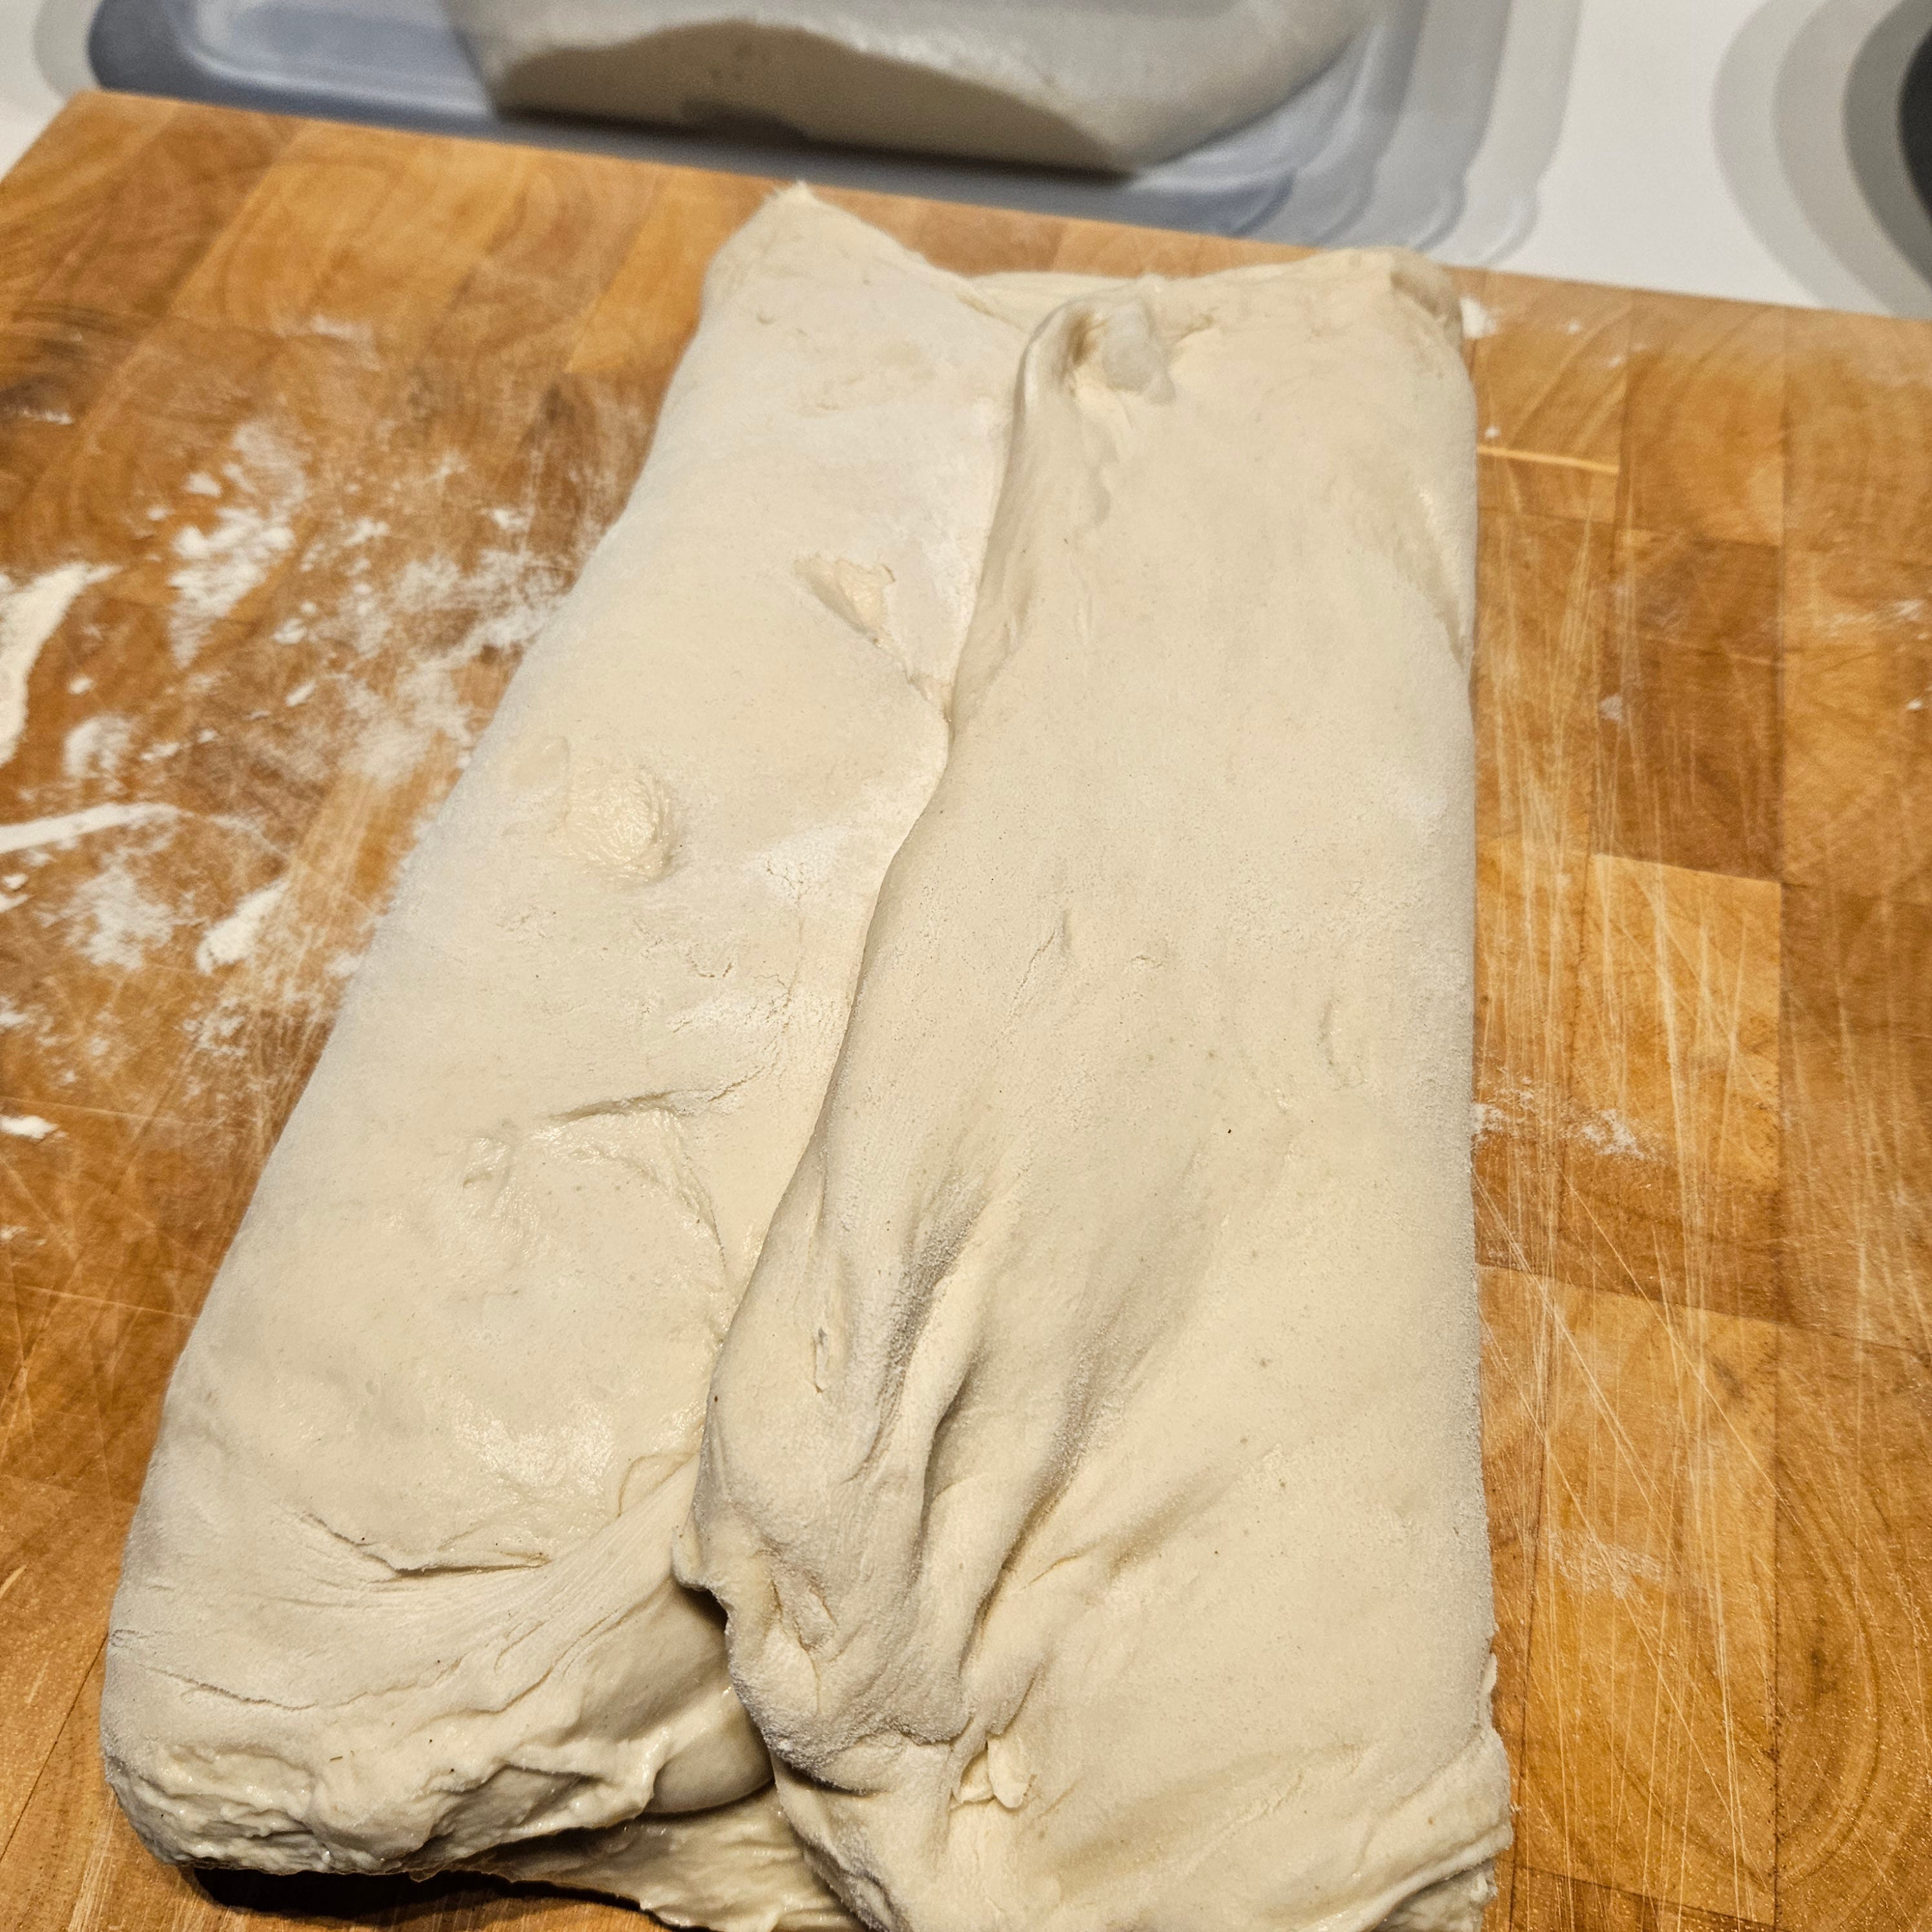

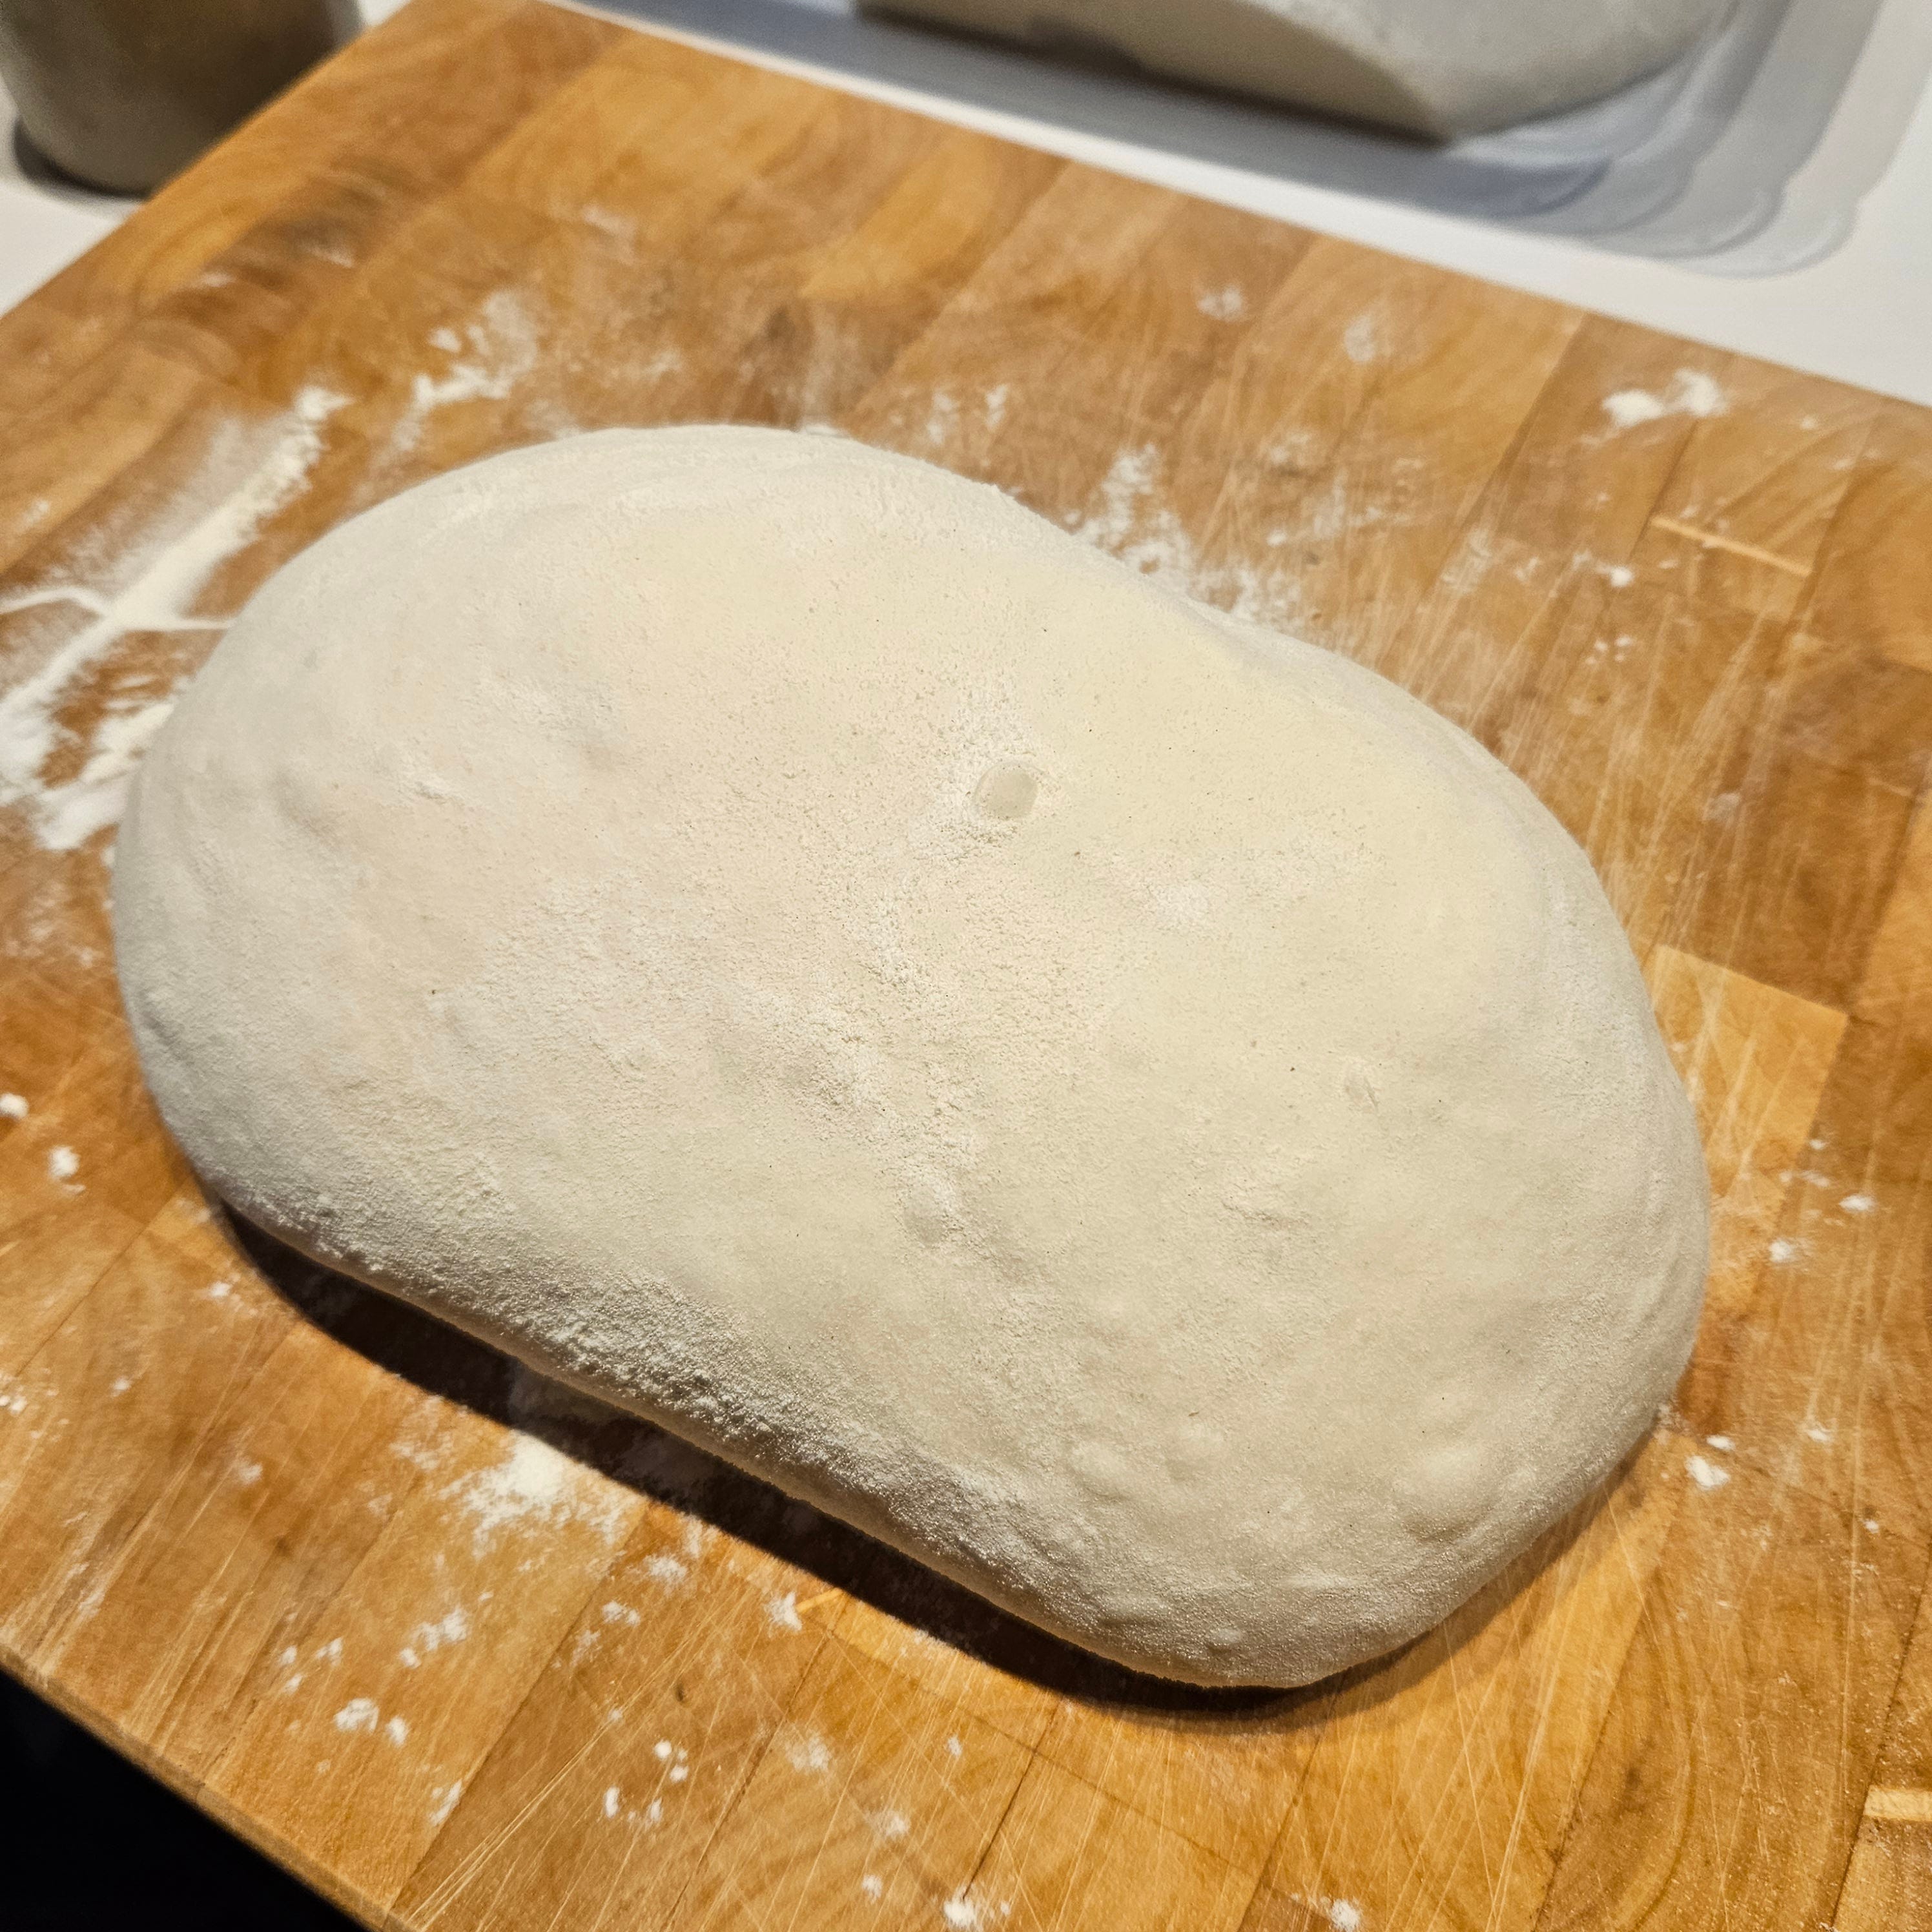
A quick note on shaping your loaf: In these images I’m shaping it into an oval loaf to fit into an oval-shaped banneton (proofing basket.) If your basket is round, or if you’re using a colander with a kitchen towel, you’ll want to do your final shape into a round ball.
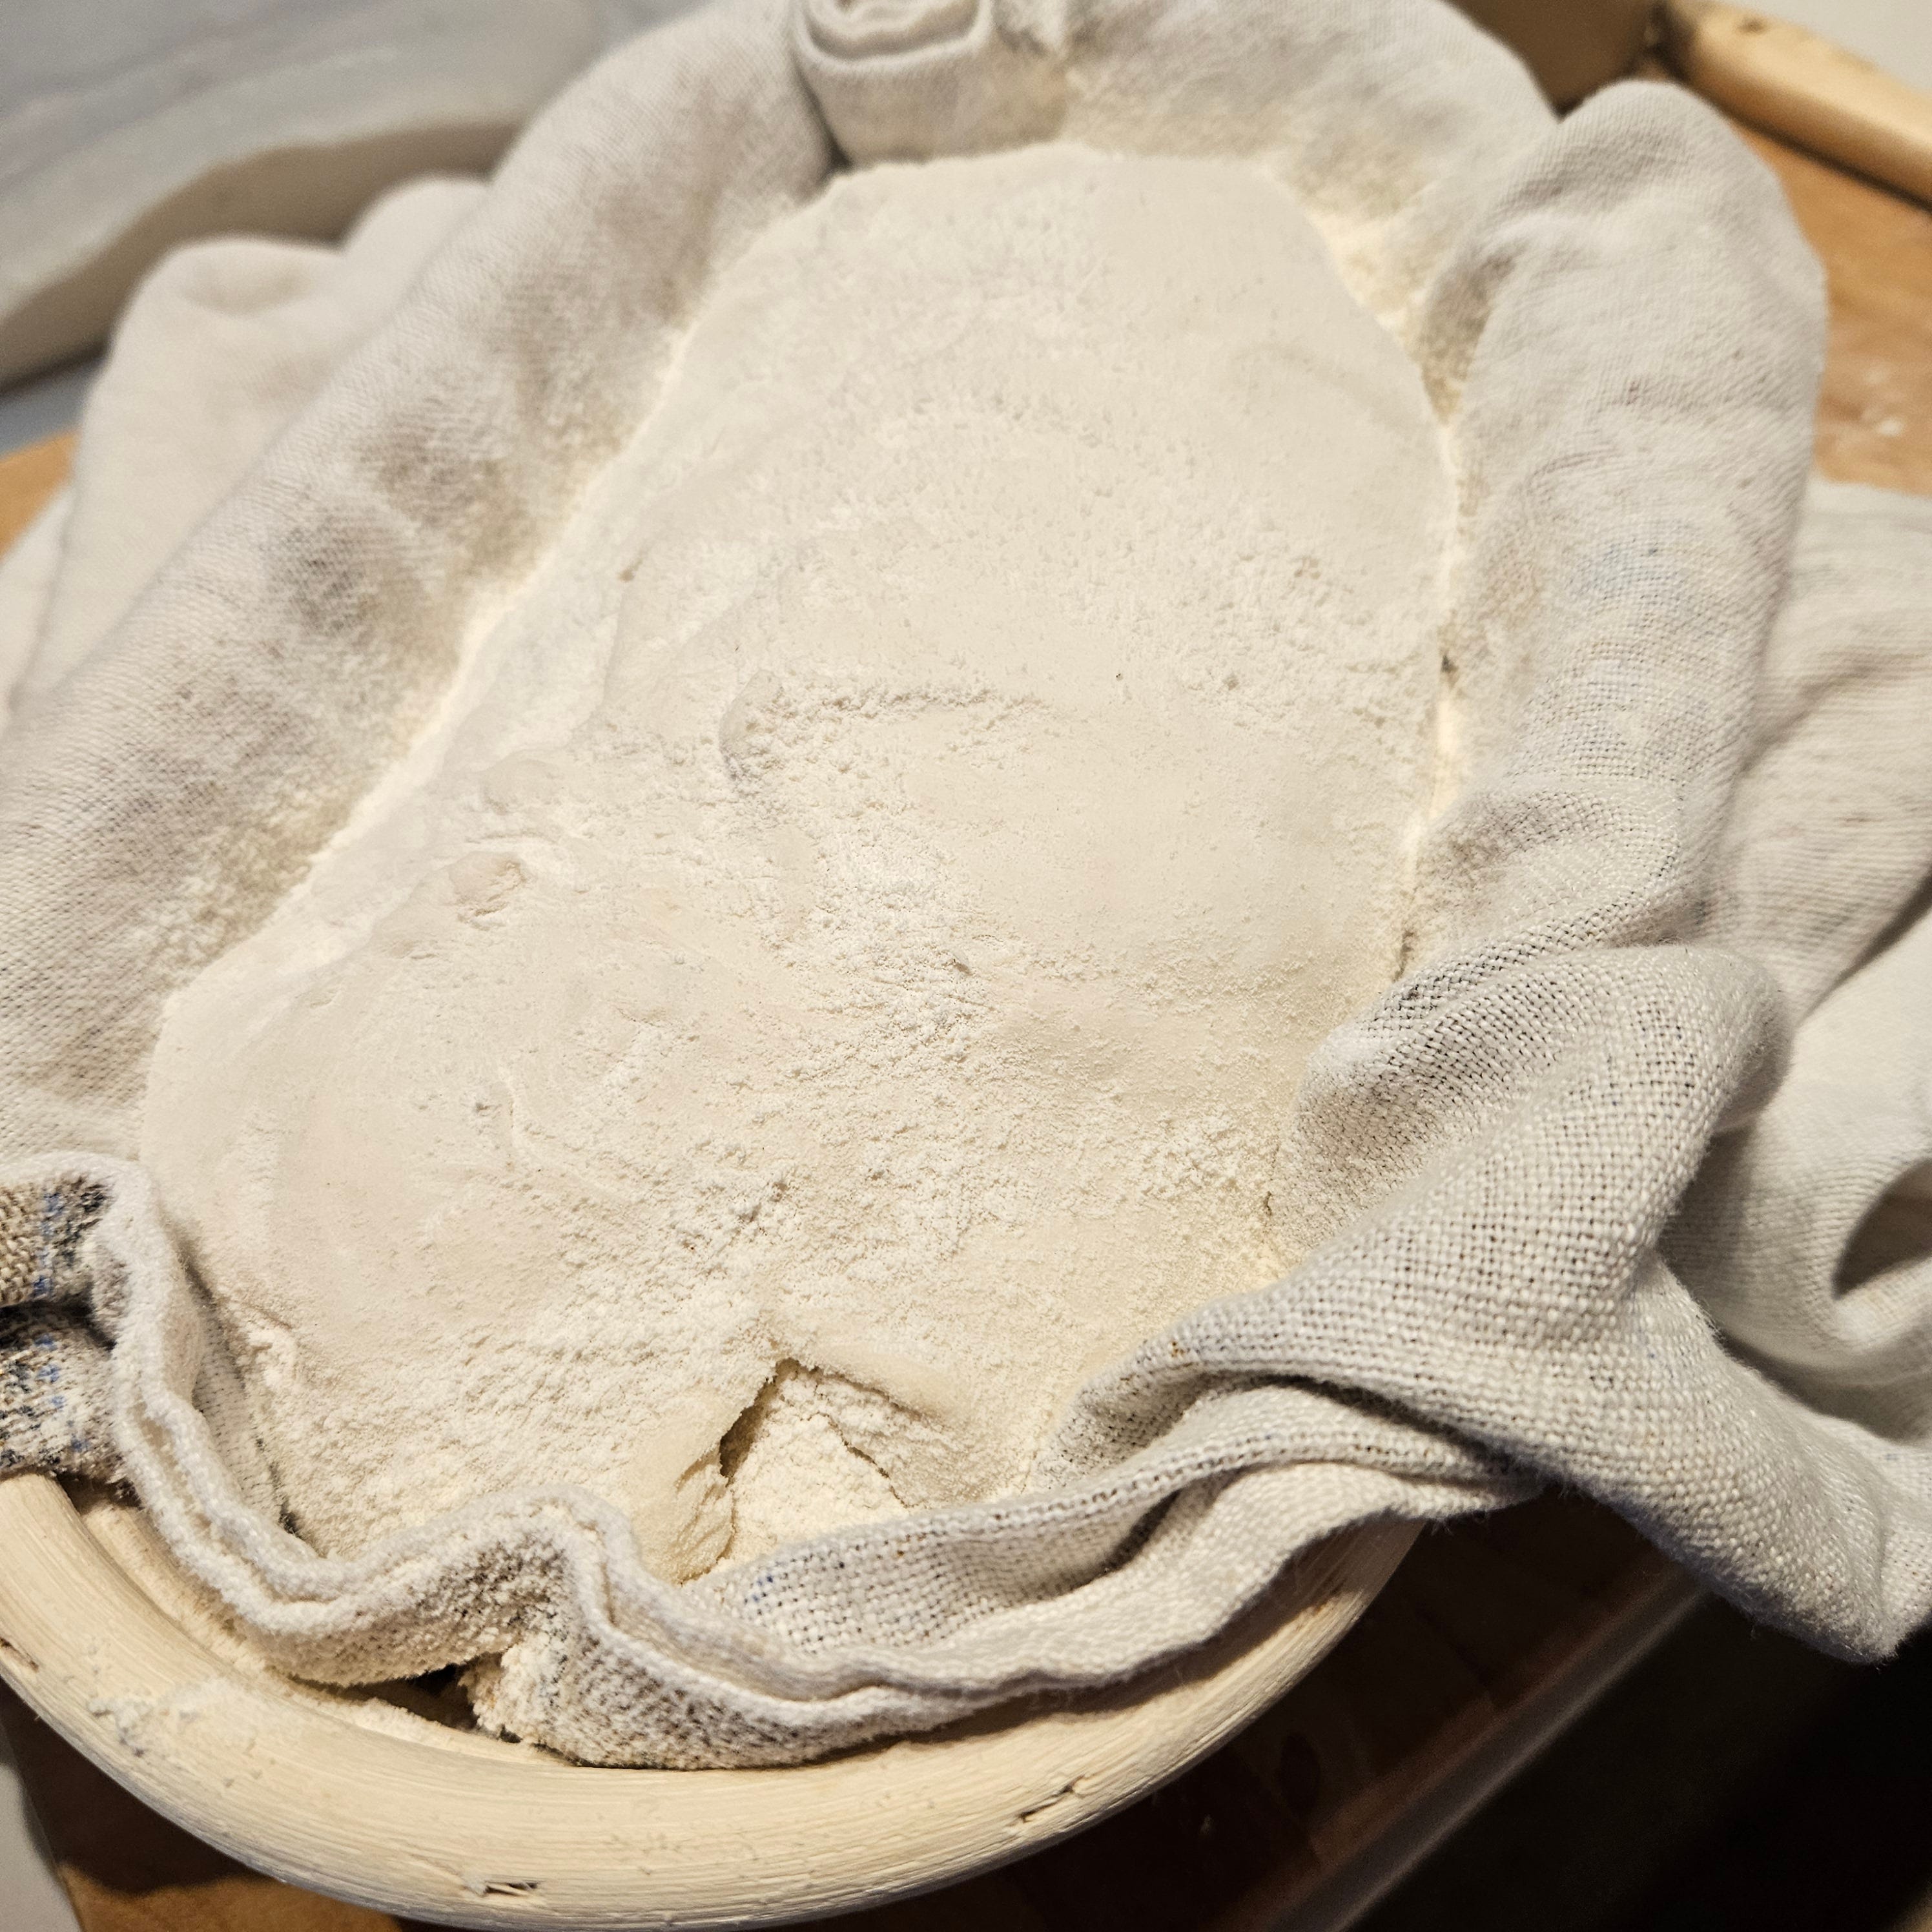
Place the loaf, bottom (or, seam) side up in your proofing basket, lined with a clean and well-floured kitchen towel. The one I use is linen, but don’t use terry-cloth, make sure the surface is smooth.
Put the basket inside a plastic bag and leave at room temperature for 1-2 hours, until you see that it’s risen a bit. Poke it and it should spring back.
Baking the loaf
It’s now early-mid afternoon on Saturday. Put your Dutch oven and lid into your oven and pre-heat it to 500F (or whatever the top temperature your oven will go to.) It takes at least 30 minutes to get up to temperature.
When the oven is ready to go, it’s time to prepare the loaf for baking. Place a piece of parchment paper over the loaf in the proofing basket and invert it onto the paper (so now it will be right-side up) and remove the basket. Brush off any excess flour, but you don’t have to be too perfect with it.
Next, you have to score the loaf. The reason we do this is because as it bakes, steam will build up inside the loaf and unless it has somewhere to escape, it will break and crack at random places, making it look a bit messy.
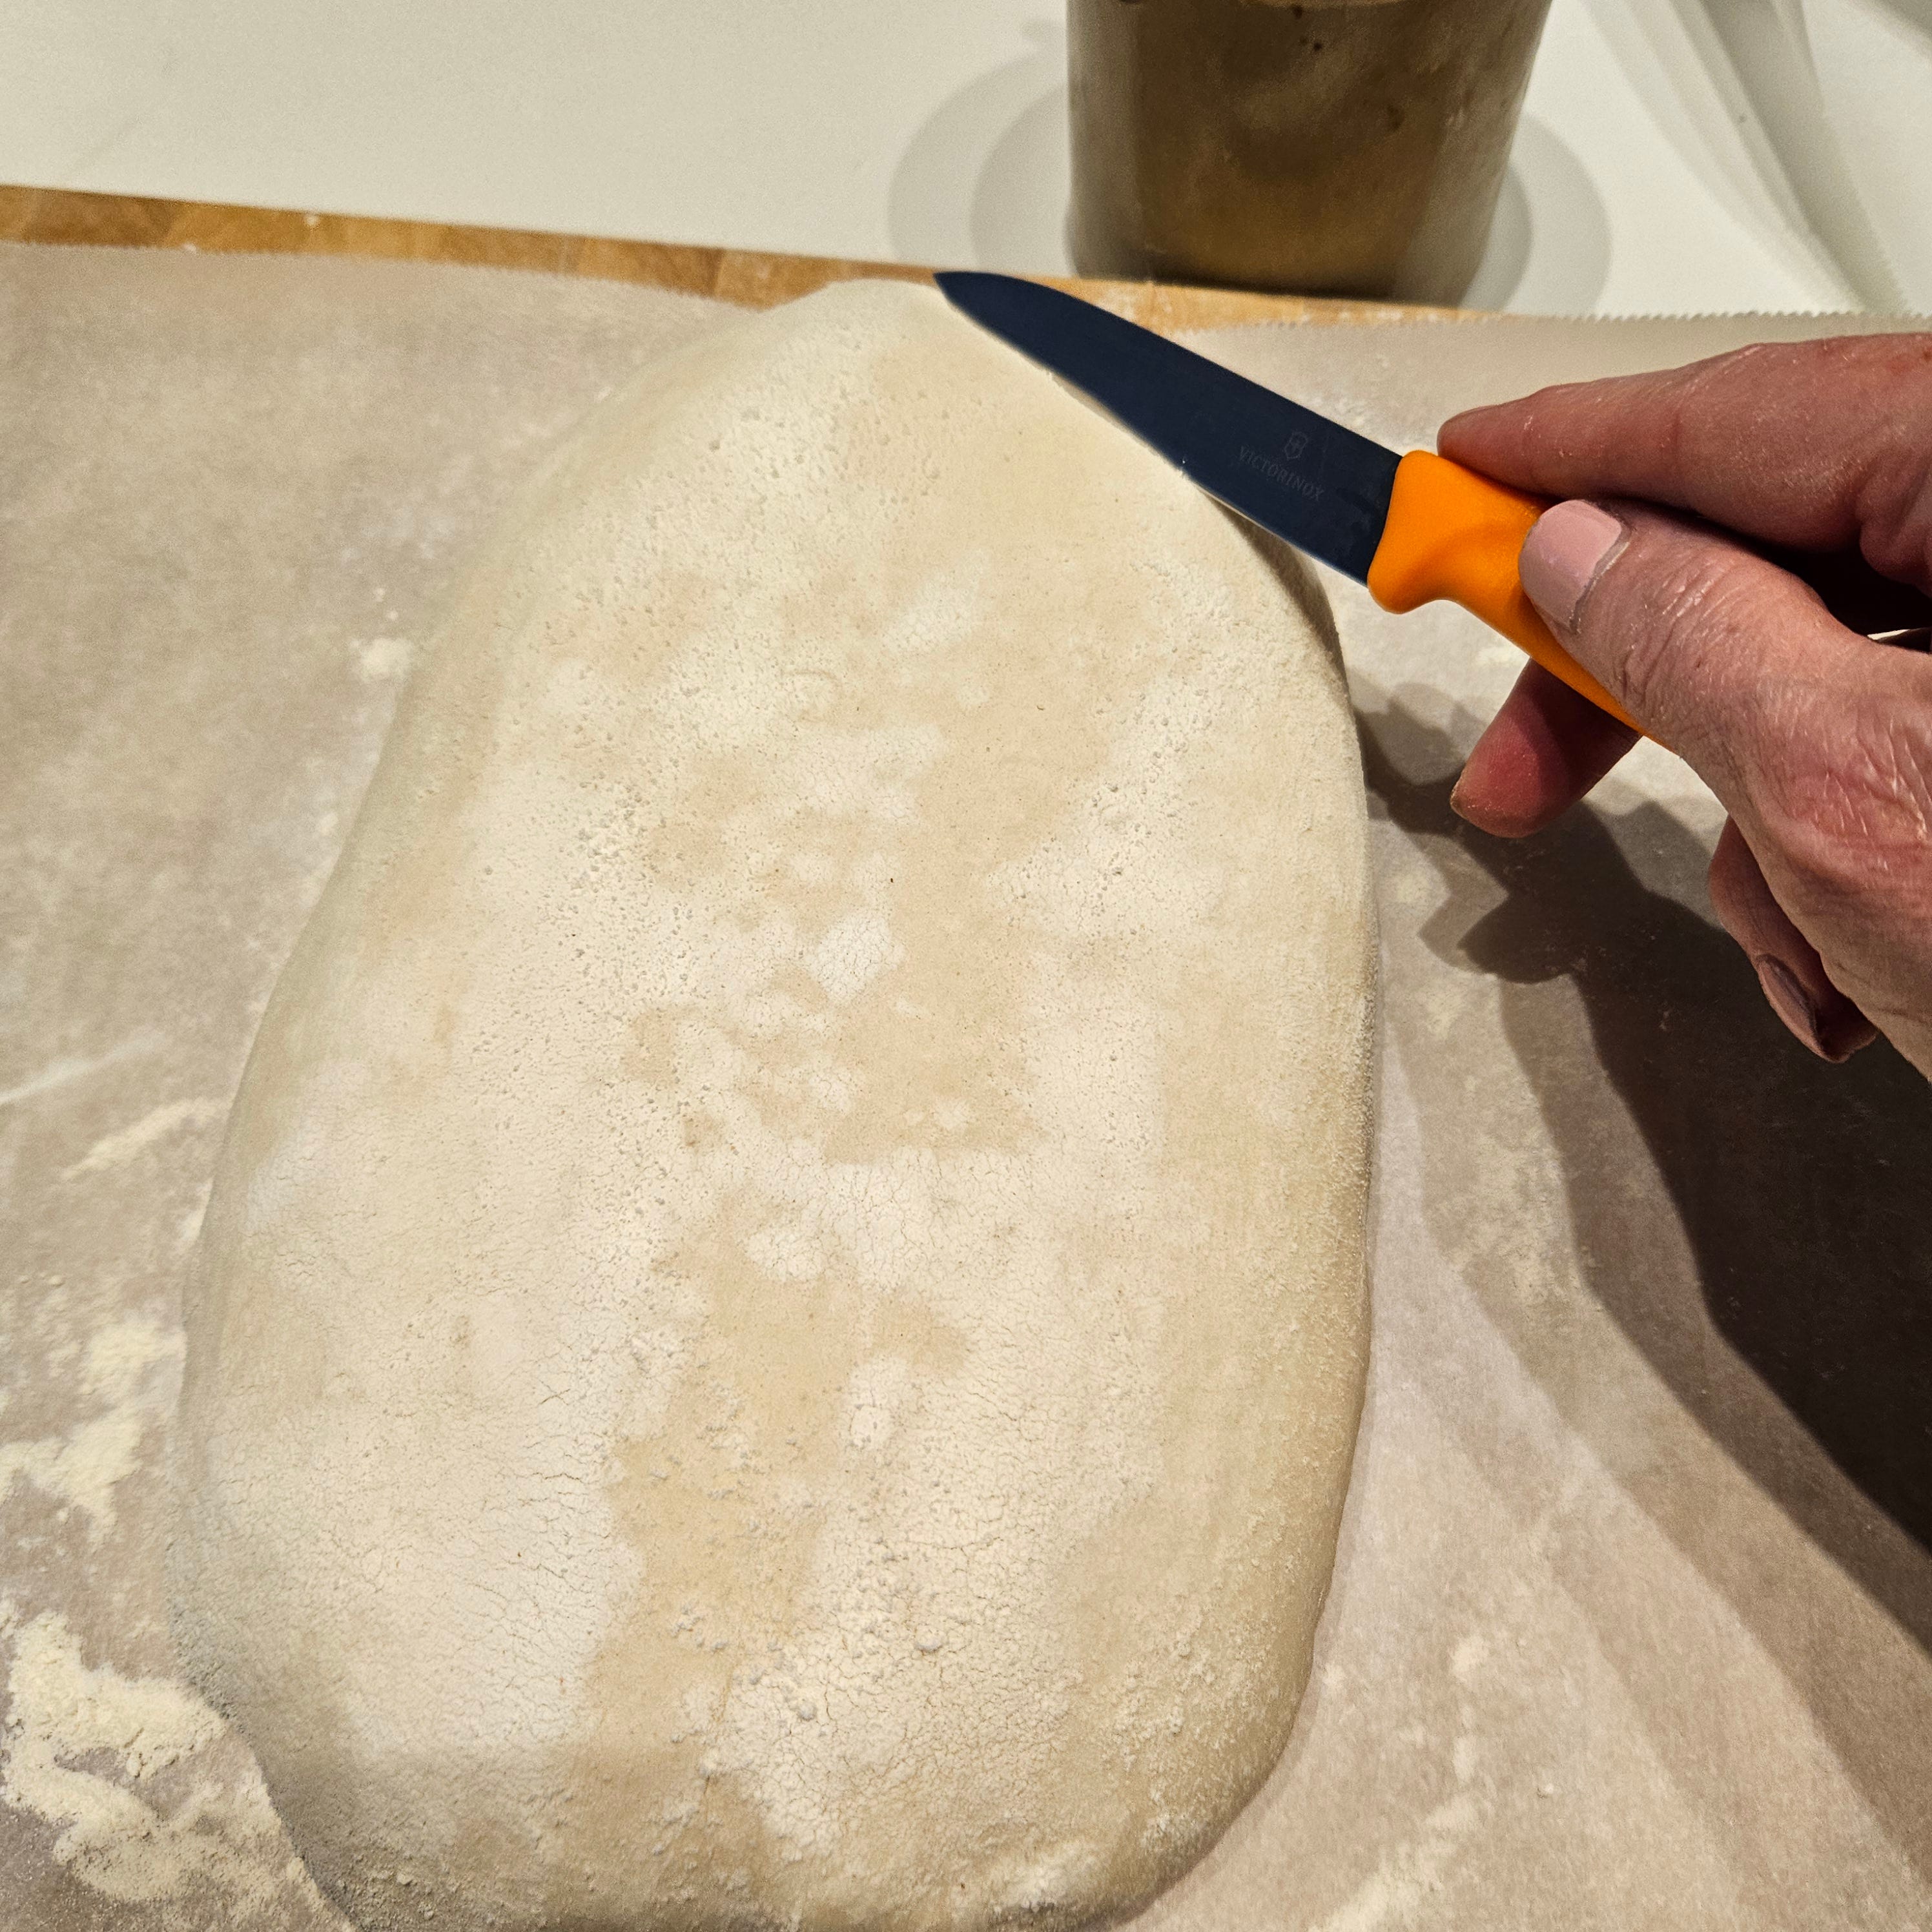
What we want to achieve is what’s call an “ear” on the side of the loaf once it’s baked. We achieve that by making a deep slice down the length of the loaf, off to the side. I also make a few diagonal slices on the opposite side. You can get as fancy with this as you’d like.
Remove your Dutch oven and lid from the oven and reduce the temperature to 450F. It will be scorching hot, so be careful with it. Lift the loaf with the parchment paper and lower it into the pot, then put the lid on. Put it in the oven and set the timer for 45 minutes. Note: this is one of those times where I find the time to be exact, as opposed to some recipes that say “40-50 minutes.”
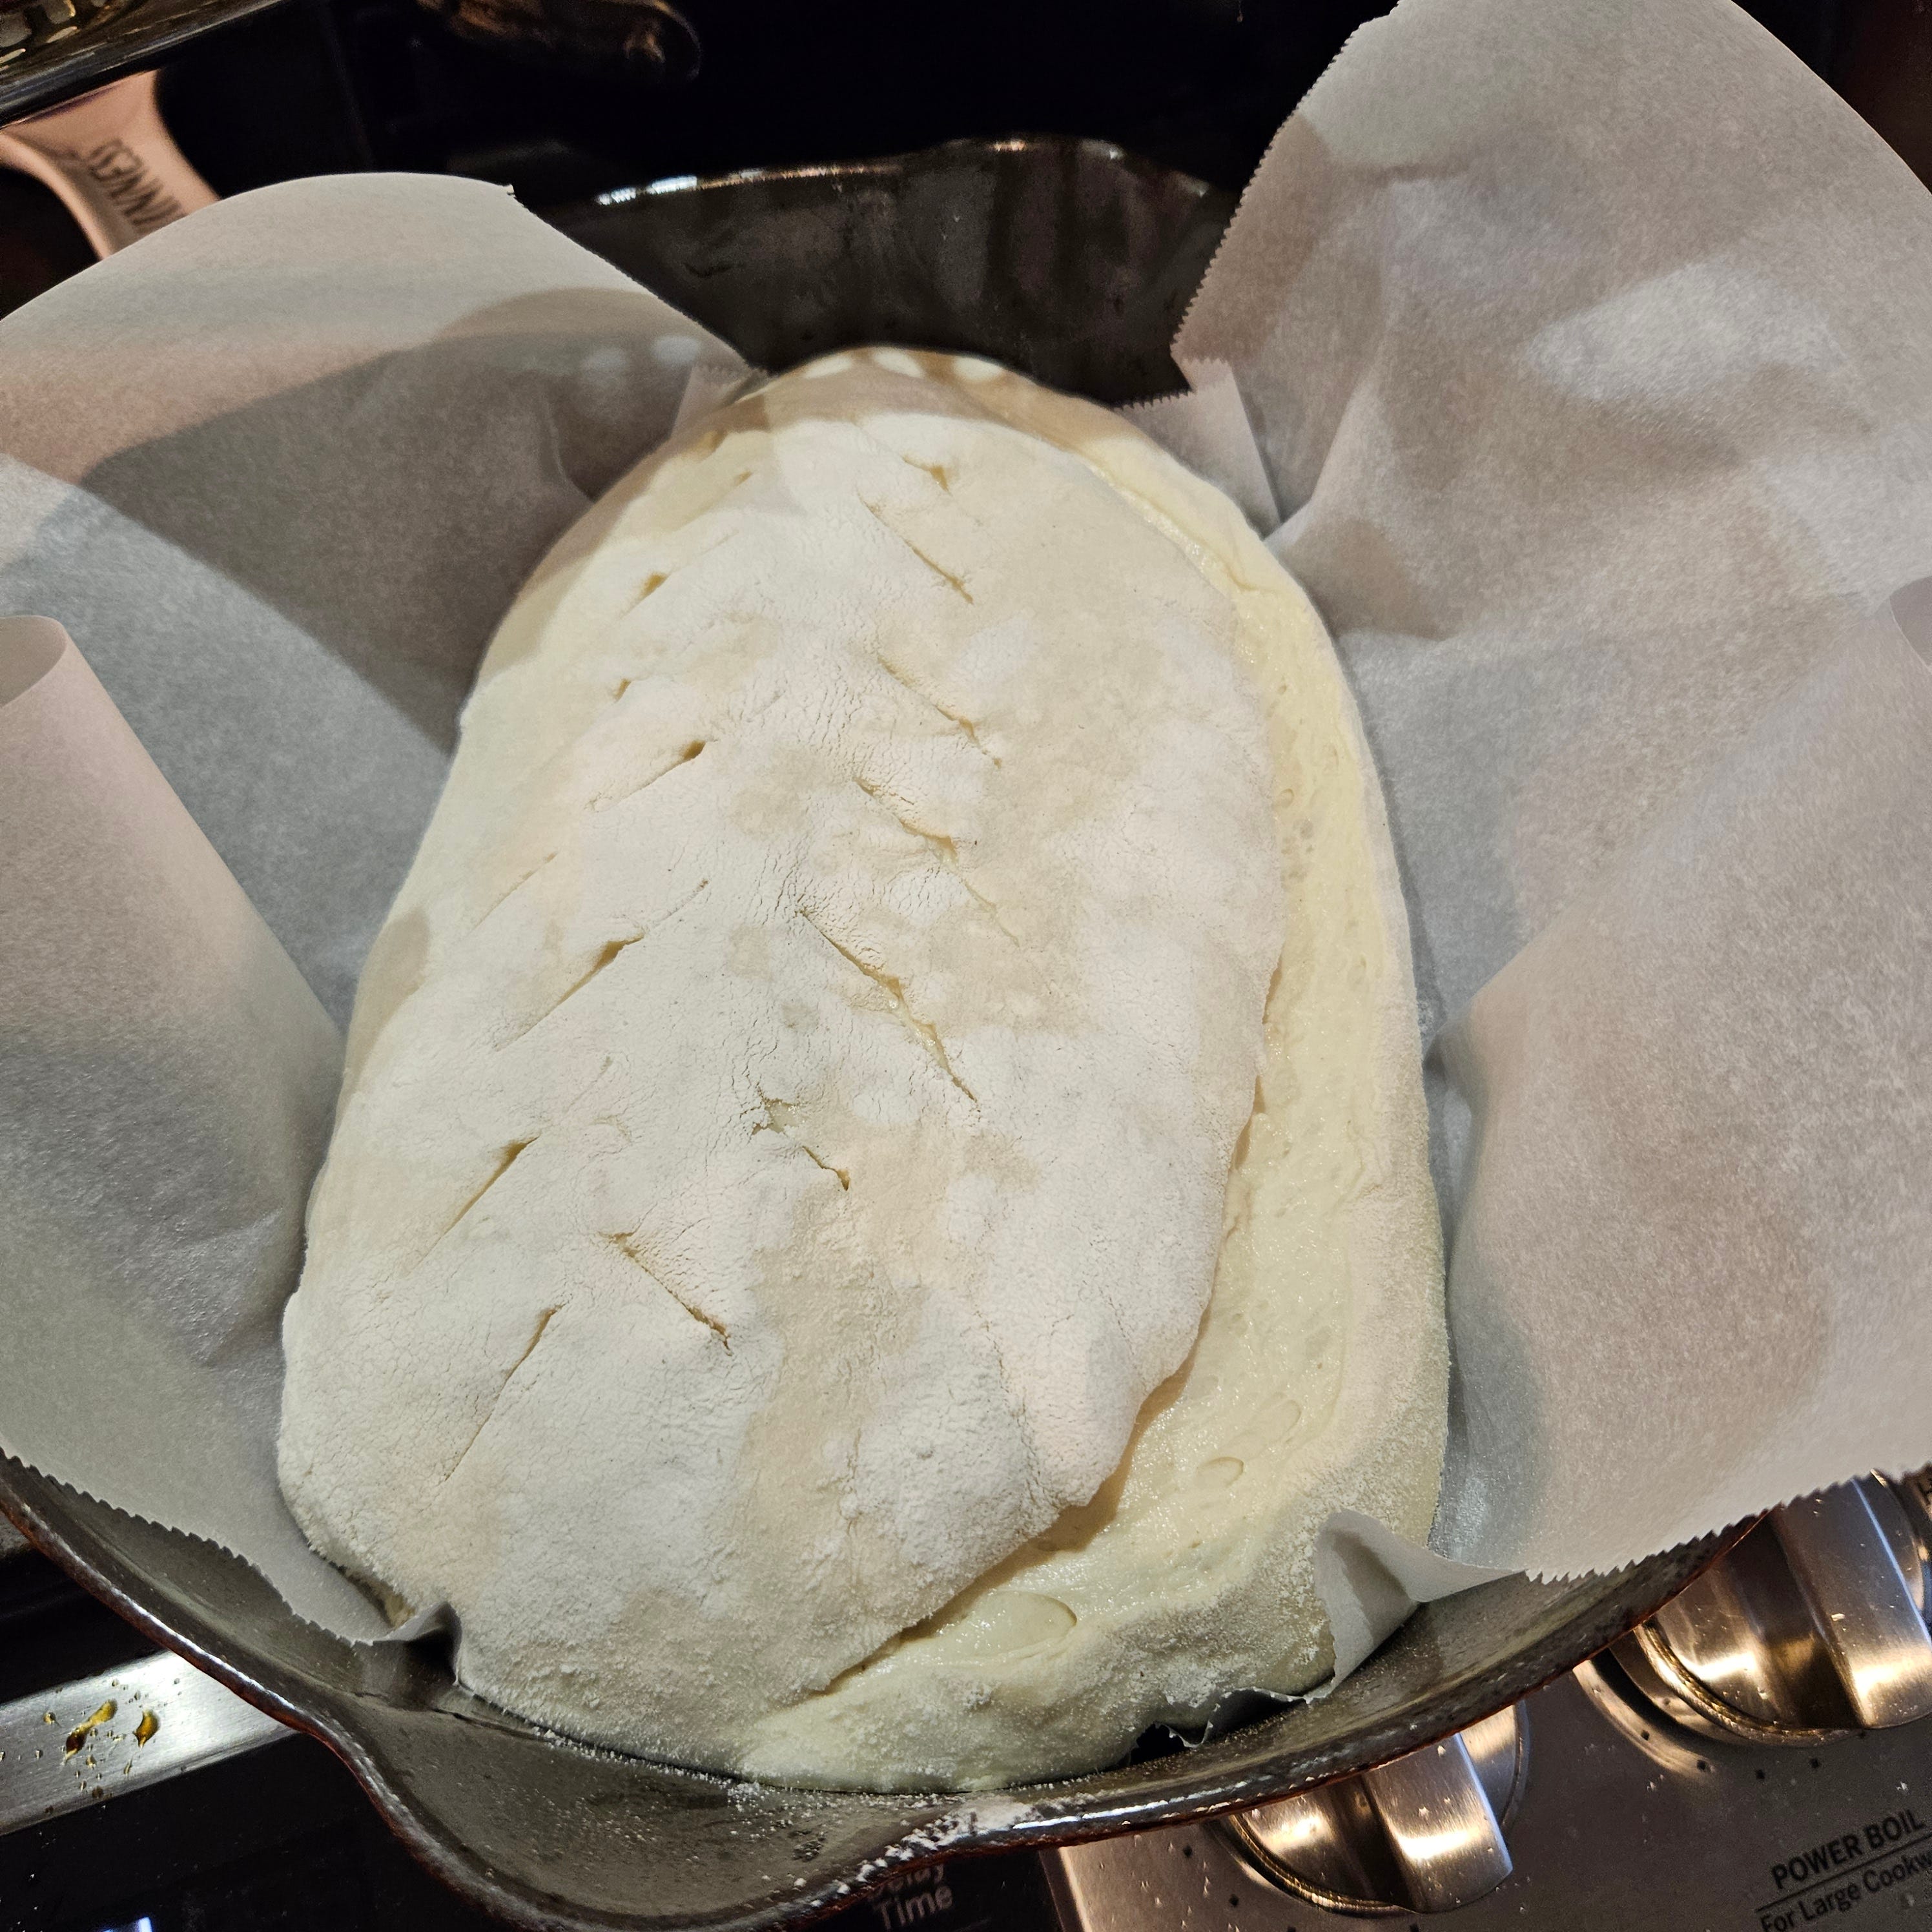
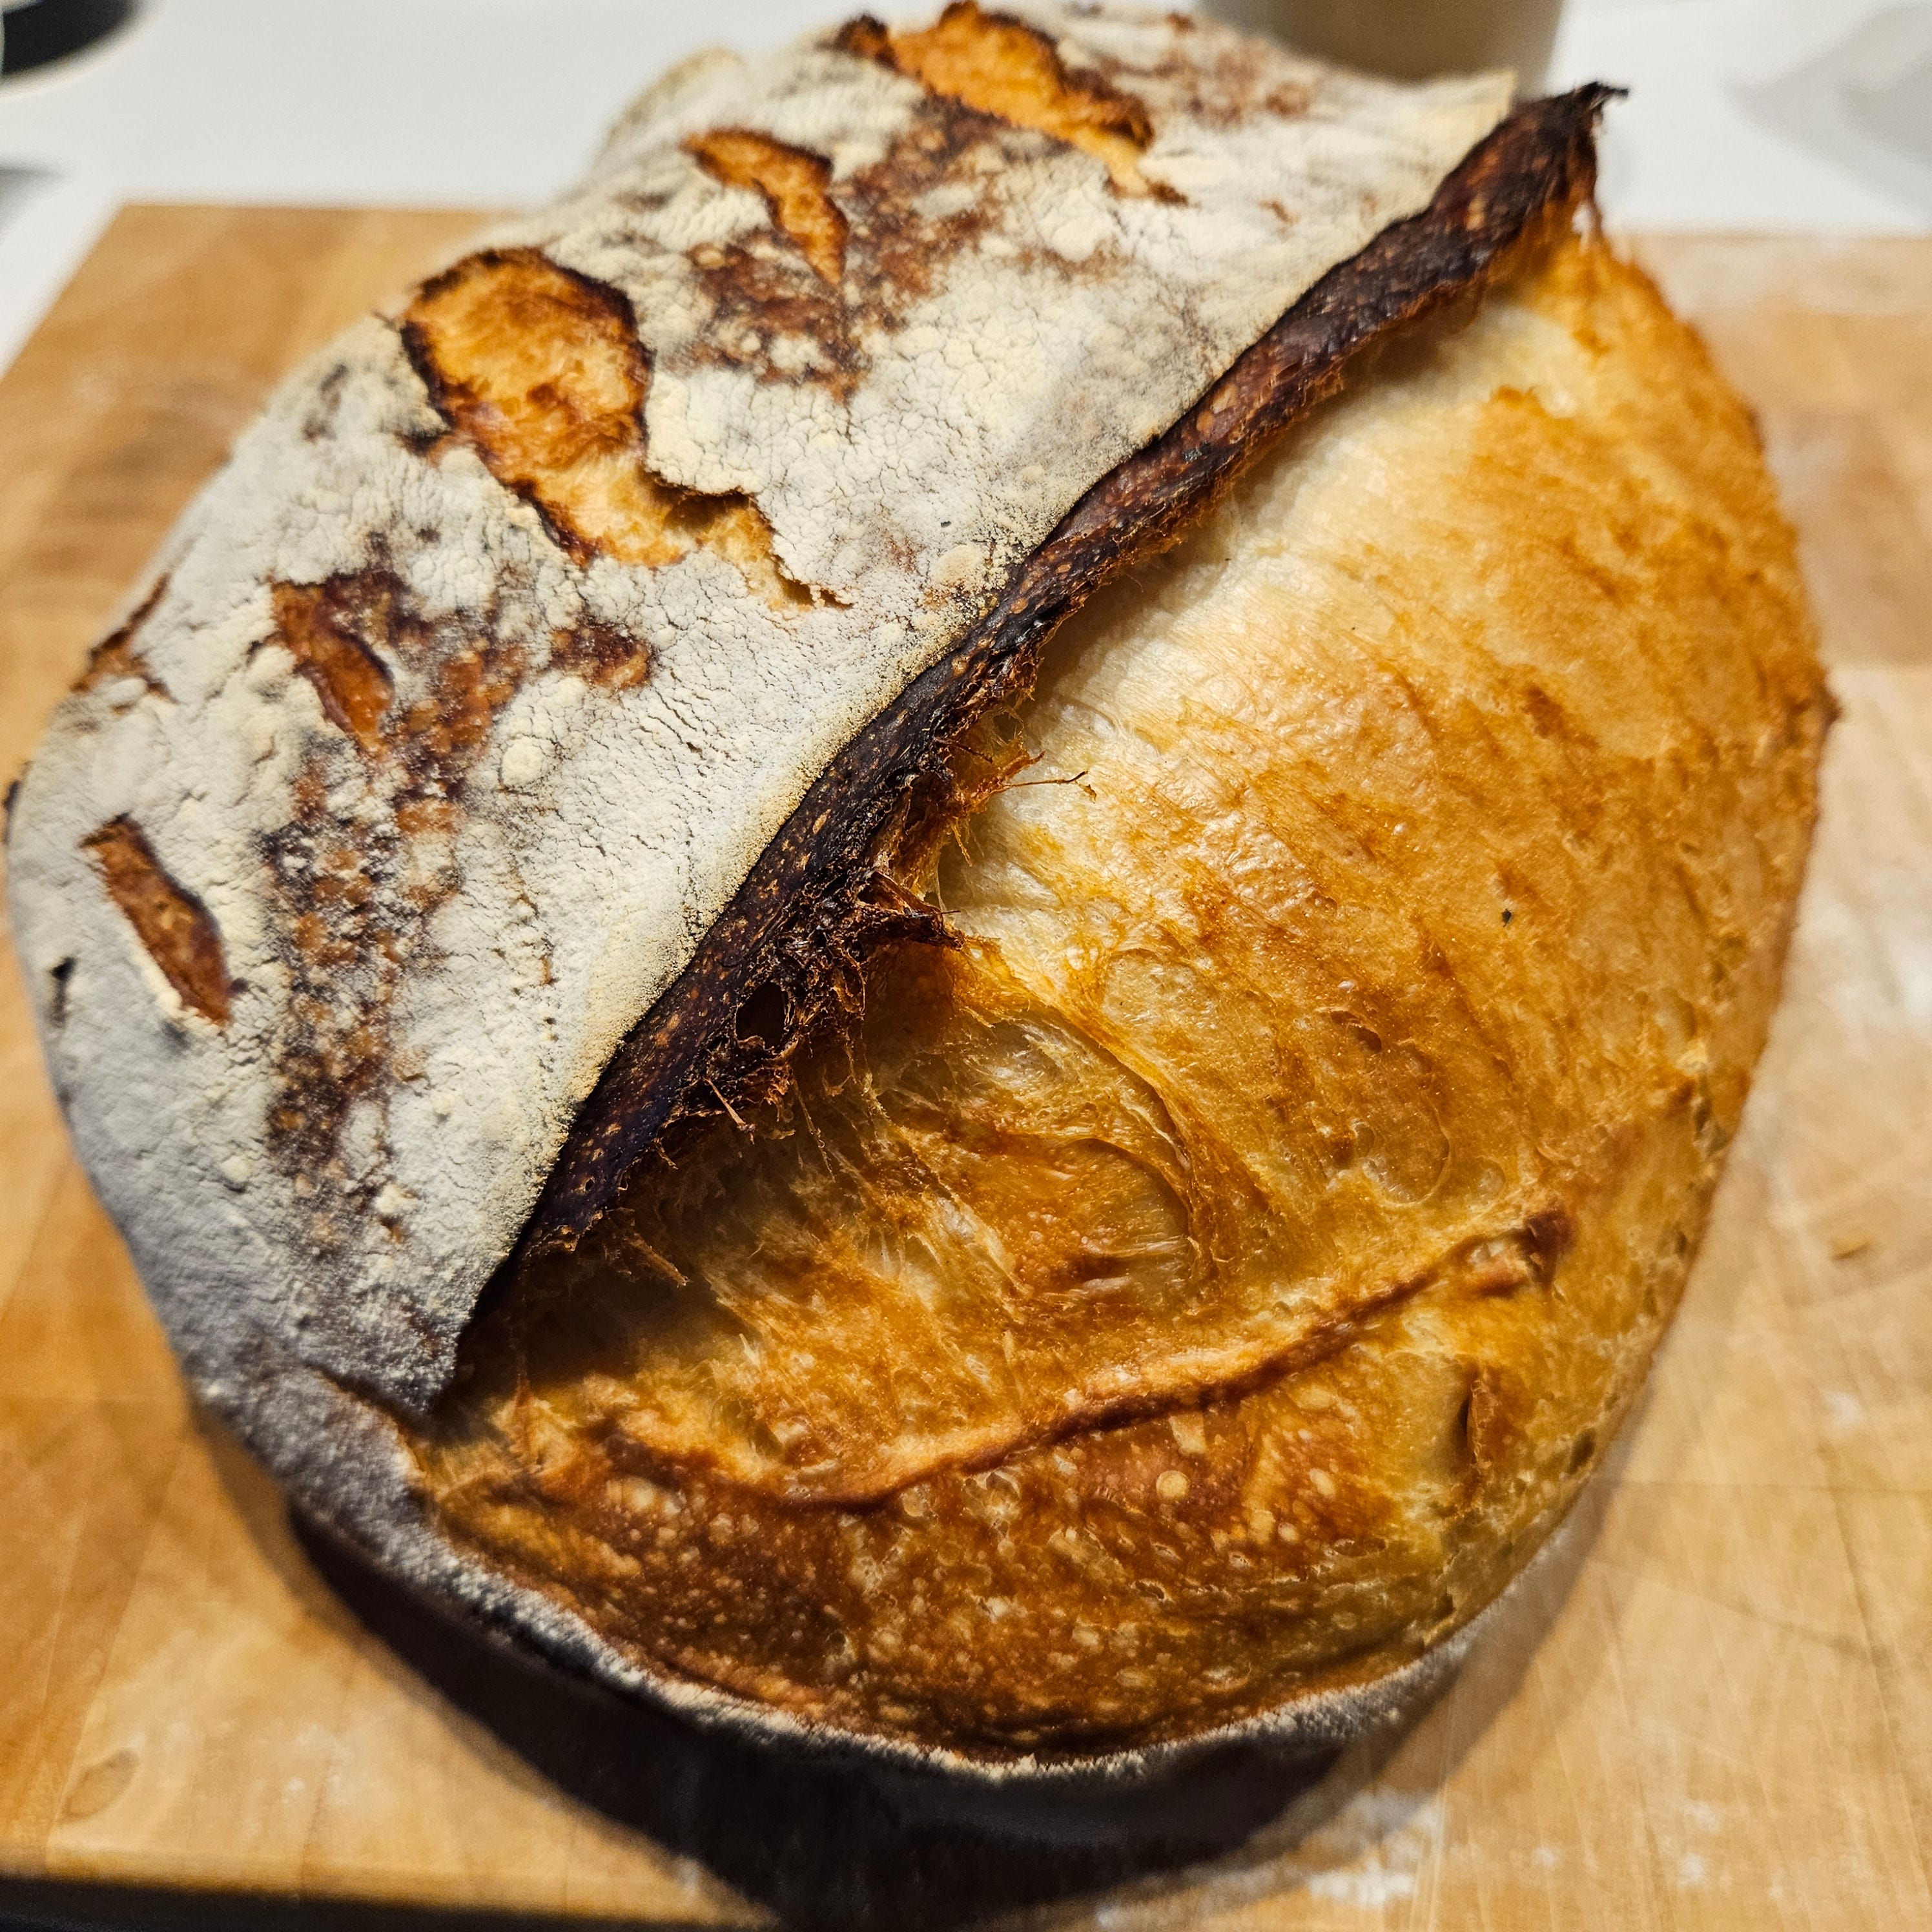
After 45 minutes, take the lid off the pot and return the pot to the oven for another 15 minutes. This is what it will look like after the first 45 minutes:
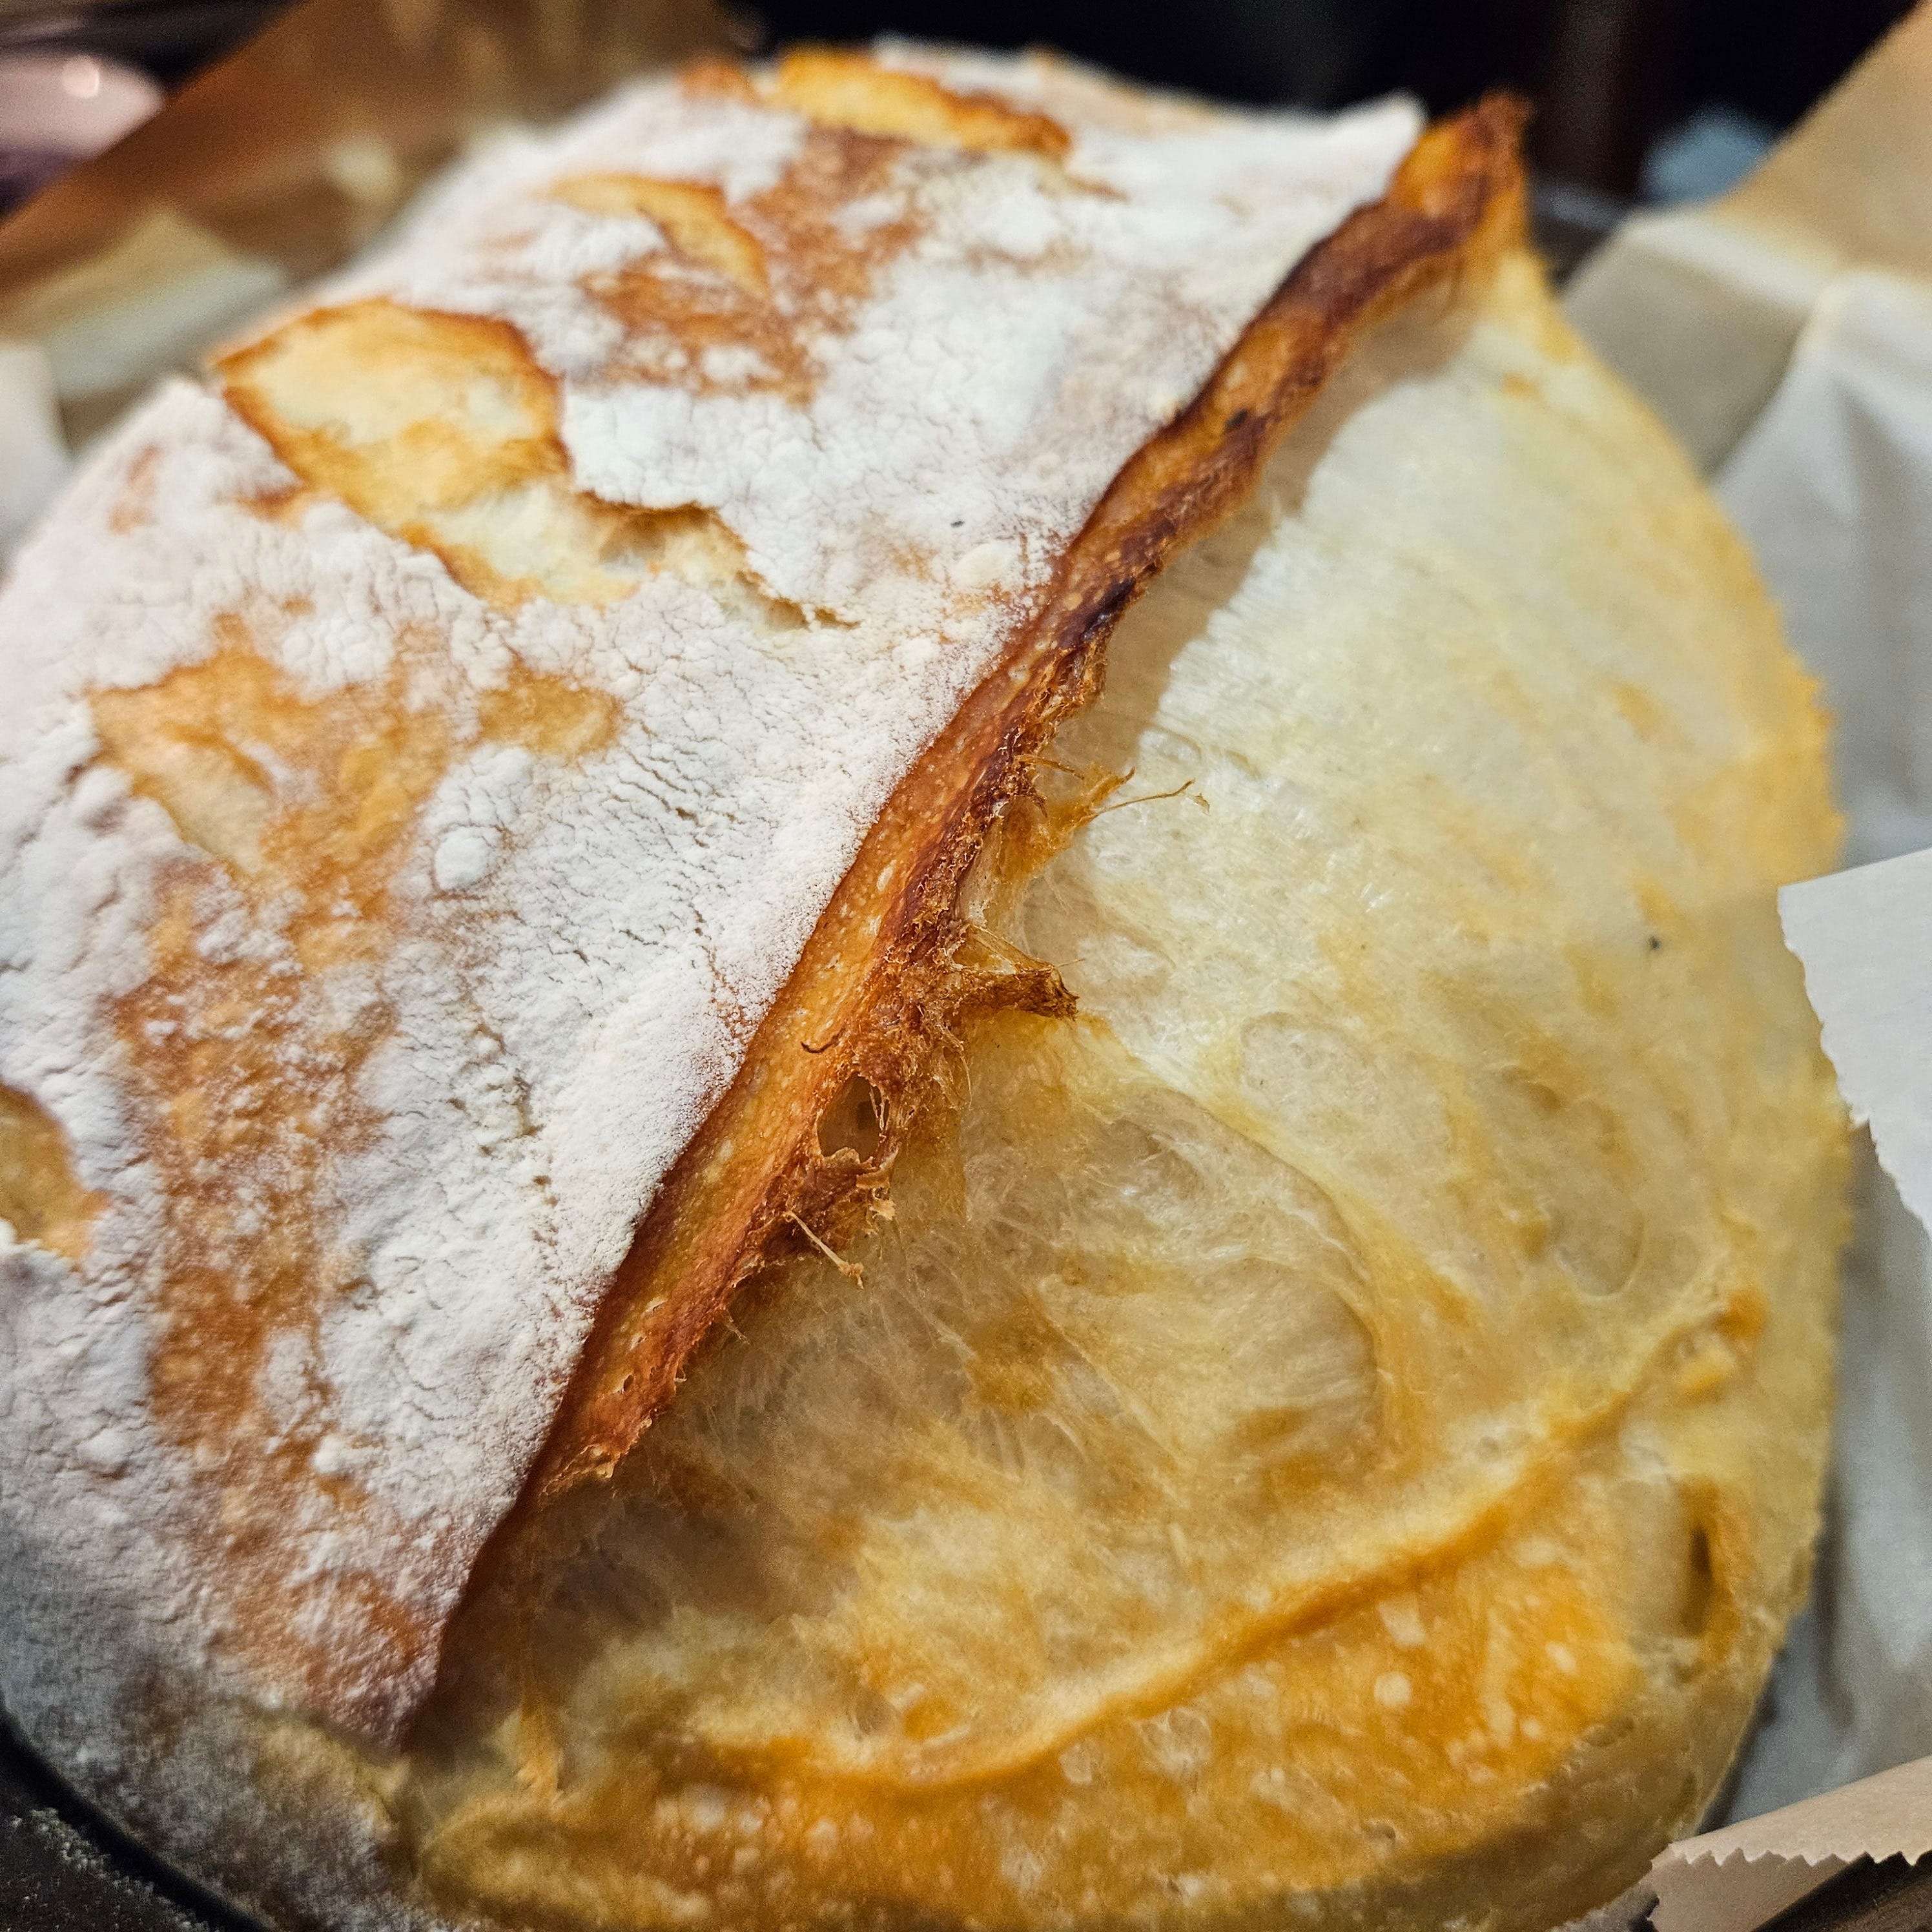
Notice the “ear” has formed along the edge and the loaf has expanded quite a bit. I probably should have made deeper cuts on the left side as you can see the loaf has “split” a bit unevenly near where the cuts are. Even though this loaf may look “done,” it really needs the final 15 minutes uncovered to develop the beautiful, deep golden brown colour. You can see that the flour that was dusting the outside of the loaf before baking is left behind, whereas the brown section on the right is where the loaf opened up while baking (no flour on that section.)
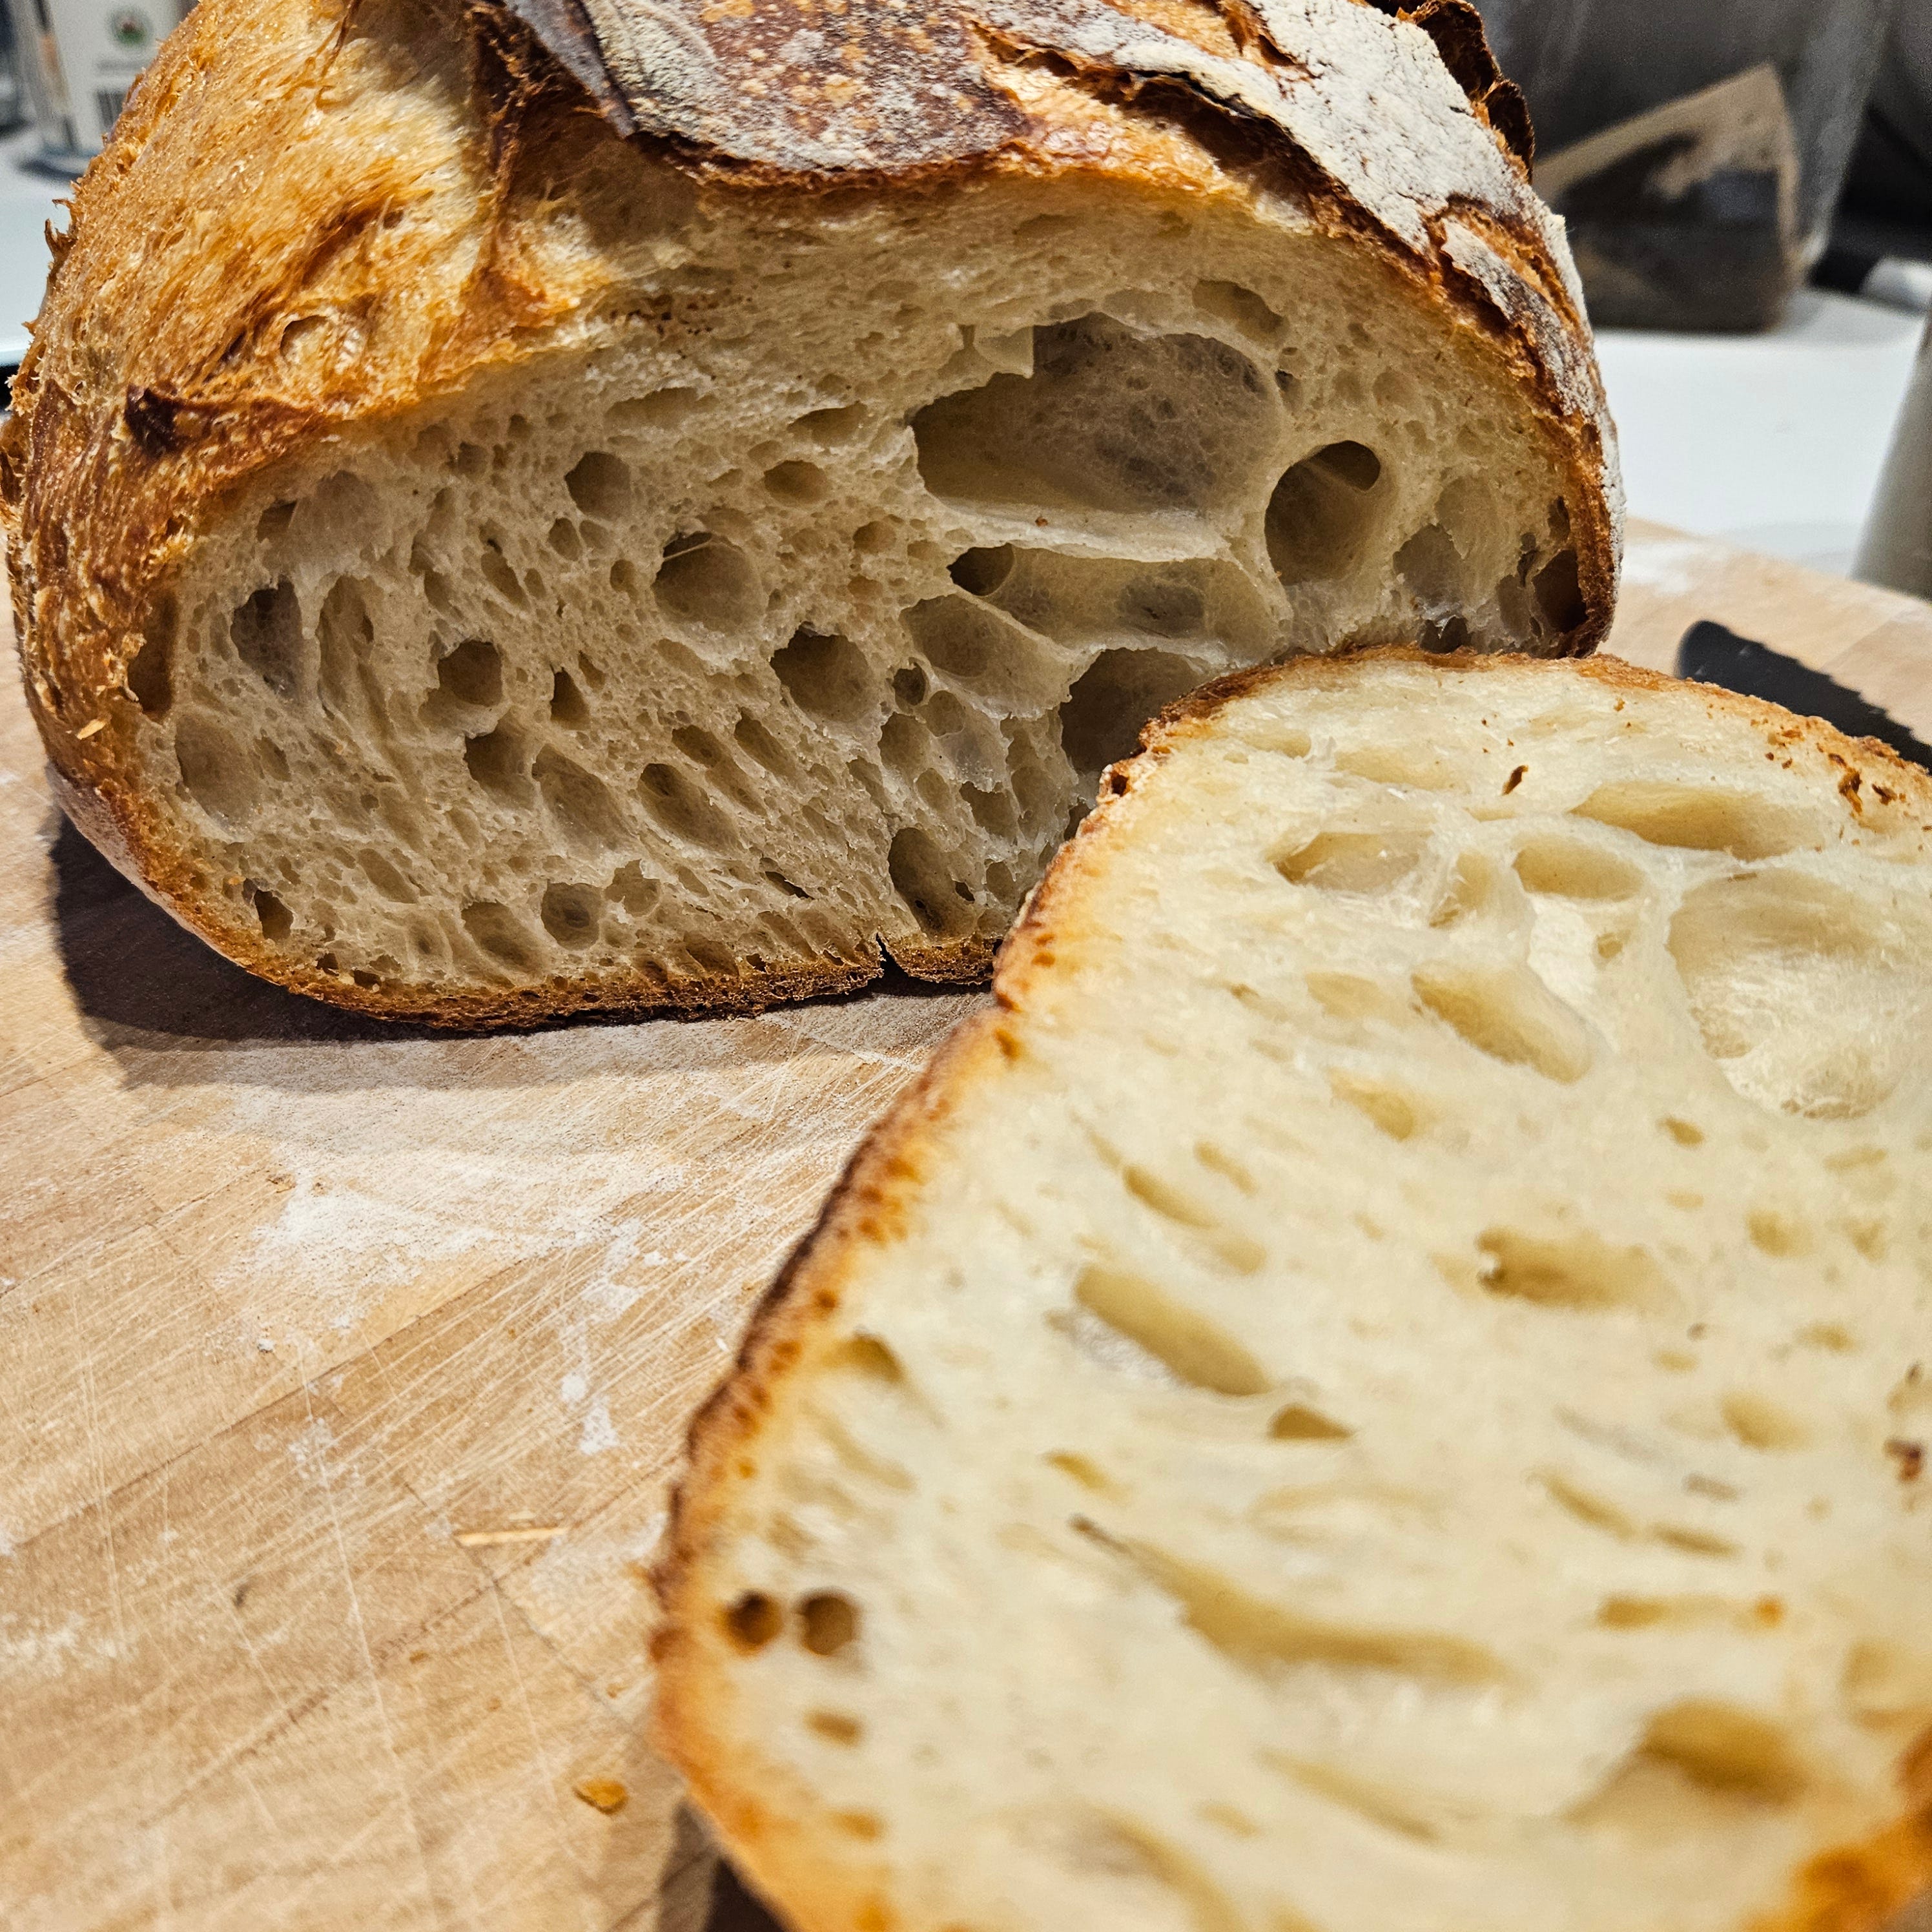
Leave the loaf to cool at room temperature for about an hour before slicing.
Storage
If you don’t manage to eat the whole thing in one sitting, here are some tips for storing your bread:
If you’re going to finish it within the next 24-36 hours, cover the cut end with some aluminum foil, then wrap the whole thing up in a paper bag. The crust will soften overnight, but the loaf will still taste fresh the next day.
If, like me, you won’t be finishing it that quickly, I like to cut it in half down the middle (length wise,) put it cut side down, then slice the loaf into 6-8 slices (per half, for a total of 12-16 half slices.) Once it has completely cooled, I wrap the two half loaves separately in aluminum foil and pop them in the freezer. I can then take out as many slices as I need over the next few weeks and they are as fresh as they were one the first day. If you take them out in the morning, they’ll be defrosted by lunch time. I typically put my frozen slices of bread right into the toaster because I prefer my sandwiches toasted.
Don’t cheat and put your frozen bread in the microwave to defrost it. It will take all the moisture out of the bread and ruin the texture.
OK, so I’ll admit that this isn’t a “simple” recipe, nor is it a quick one. But in comparison to some of the other recipes for sourdough bread, this one IS quite simple. And as I mentioned off the top with the link to the NY Times “no-knead” bread recipe, you can follow the same steps for stretching & folding, shaping, scoring, baking, and storing as I’ve outlined here.
If you have any questions about baking bread that I haven’t covered here, leave them in the comments and I’ll reply. Happy baking!
I DID IT!! I’m so happy. I made sourdough.. what a late adopter I am. :)
I have read this one so many times I think I may have finally mustered up the courage to try it. Got some starter from a neighbour. Will take the sourdough plunge soon.