
Basque Cheesecake
Easier, tastier, and way less fussy than other cheesecakes

I’ve been seeing a lot of discussion online lately about Cheesecake (if you’re not on Threads and don’t care about social media drama, don’t bother clicking the link, but it’s a “thing.”) Anyway, I got in the mood to make cheesecake, but I don’t really like how fussy it can be. The amount of effort and stress that goes into baking a cheesecake that doesn’t crack across the top is outrageous, so I decided to make the one type of cheesecake that is easy, tasty, and NEVER cracks: Basque Cheesecake (sometimes called Burnt Basque Cheesecake.)
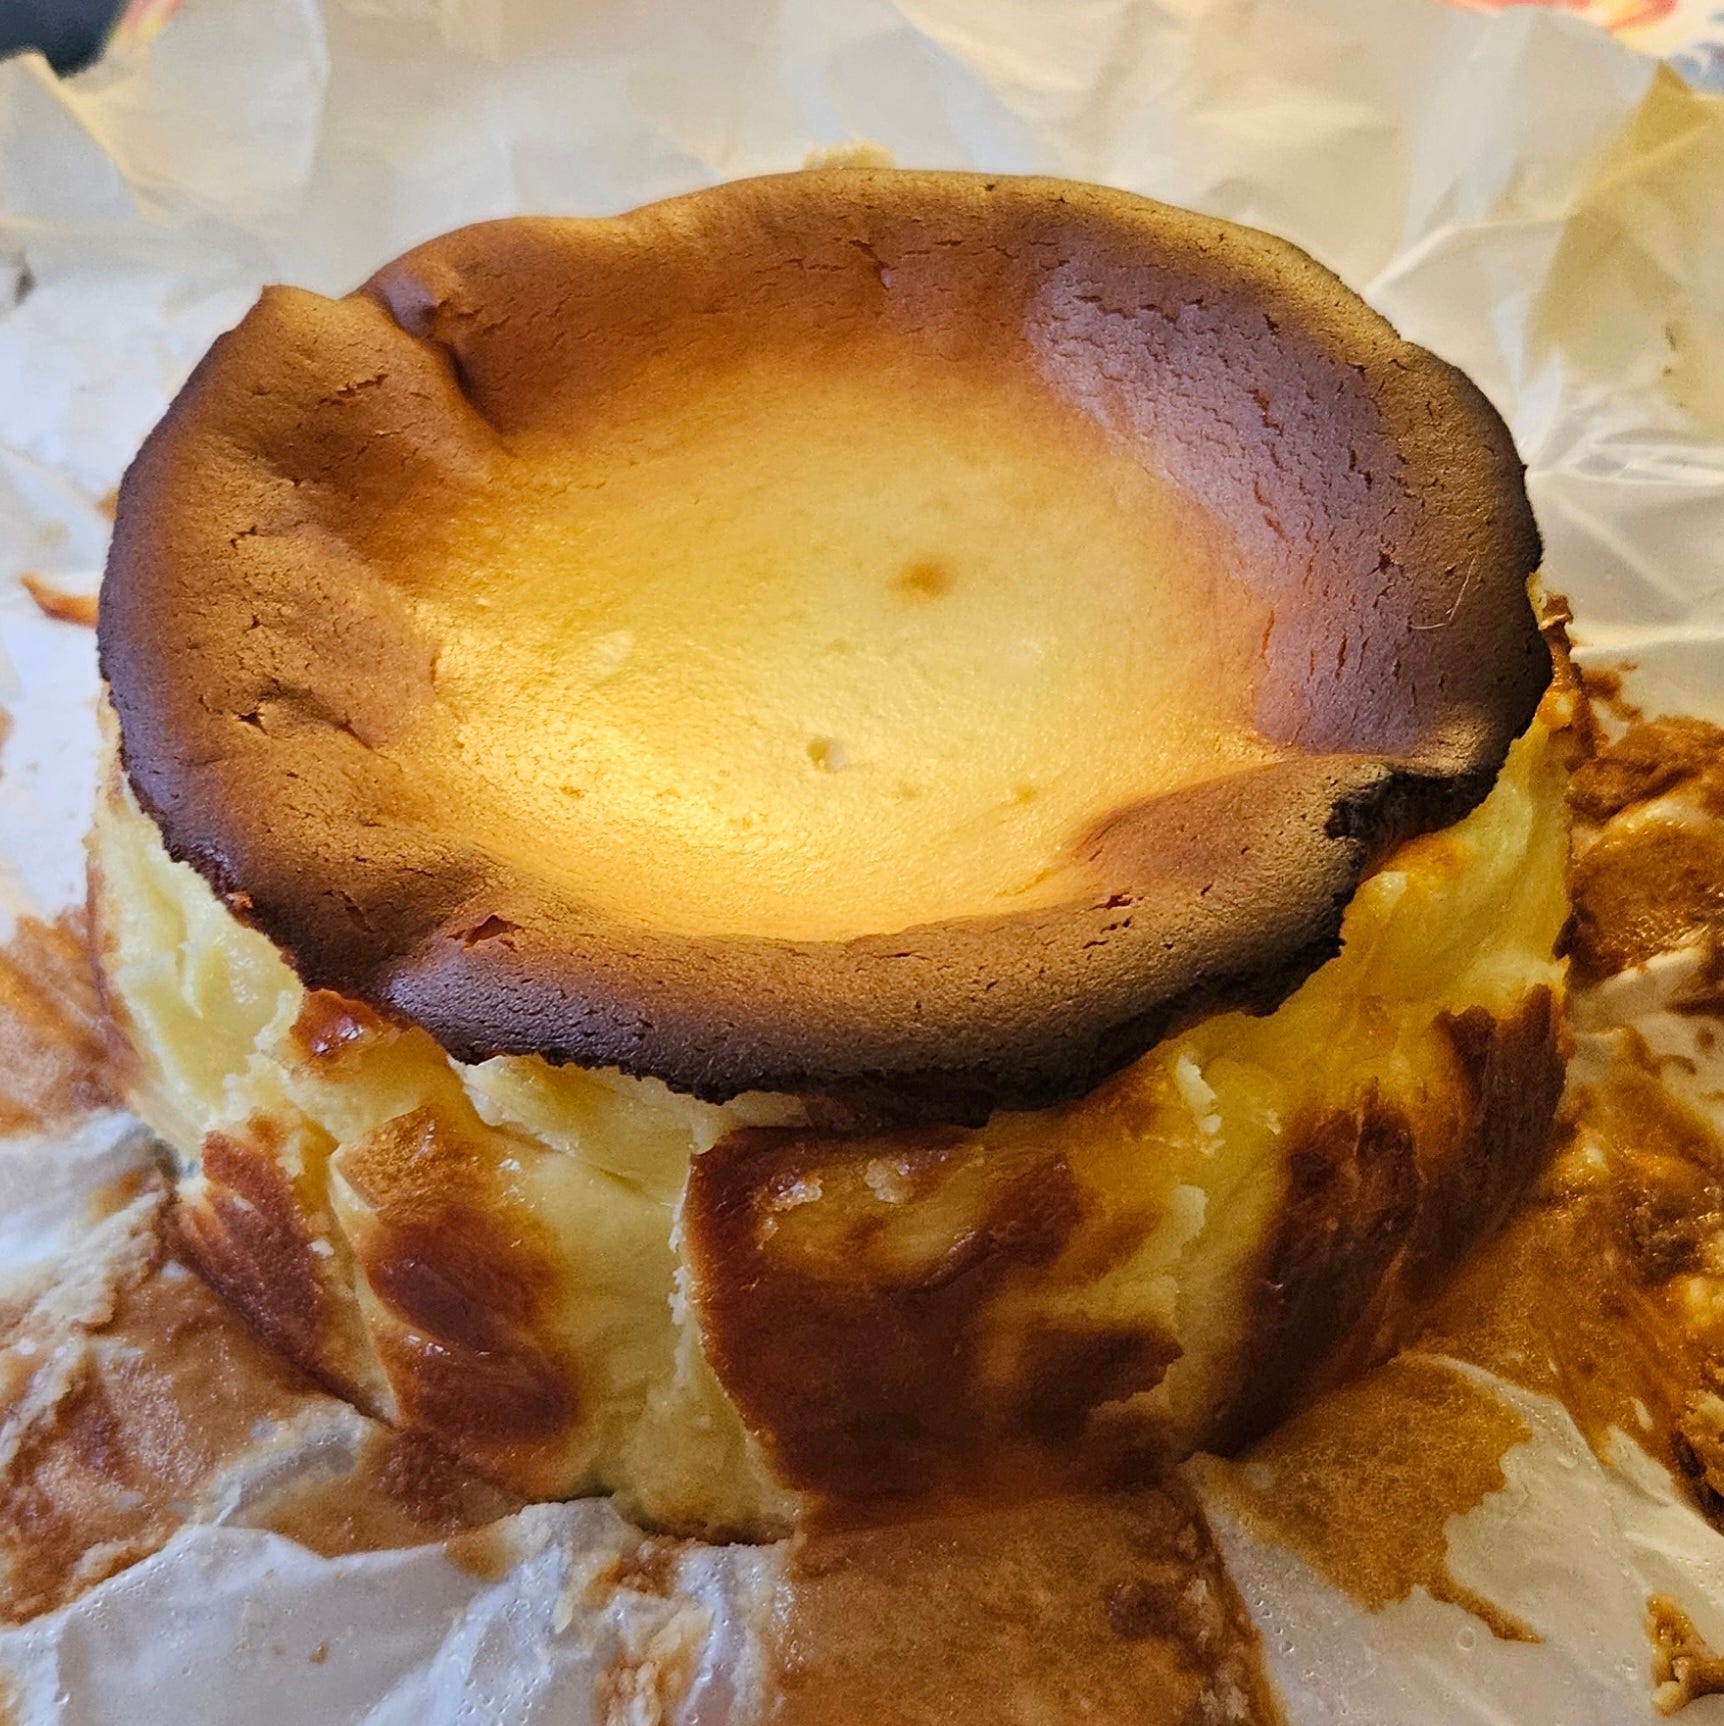
What and where is Basque, you ask? Well, it’s a region and a people in northern Spain, the largest city being Bilbao. There are many recipes online for their eponymous cheesecake, all with different ratios of cream cheese to sugar to eggs, but I decided to go with the one from SpanishSabores.com, which claims to be the original recipe from restaurant La Viña in San Sebastián (the 3rd largest city in the Basque region) to which the recipe is credited.
Equipment
Springform pan: I only have a 6”/15cm springform pan, so I had to adjust the recipe. But as you’ll see in the video, I still had way more batter than I needed, so I also ended up with two 8oz/250mL ramekins worth of filling, and made two smaller ones. But if you don’t have a springform pan, you can use any deep-dish round baking pan since you line it with parchment paper, making it a breeze to remove from the pan after baking.
The only other piece of equipment I used was my KitchenAid mixer, though the original recipe says it can be done by hand (you’ll build up your biceps, that’s for sure!) or even an electric hand mixer.
Ingredients
When I make a recipe for the first time, I almost always follow it to the letter, then make my notes as to what I might do differently next time. In this case, my main concern was the size of my pan (as mentioned above) so I used some “baker’s math” to adjust the amounts of the ingredients to fit the size I had. I probably should have erred on the lower side as I ended up with too much batter, but it all worked out in the end.
These are the amounts for a 10”/25cm pan:
1000g / 4x 250g packages cream cheese (full fat), softened to room temperature
400g sugar
7 large eggs
200mL 35% heavy cream
9g (~1Tbsp) flour - you can omit this or use cornstarch for a gluten-free cheesecake)
Baker’s Math for Nerds
First, I have to say that I was grateful that the recipe was in grams rather than volume because it made the math to scale this recipe so much easier. I’ve mentioned in the past that the ingredient I usually use as the base for all my conversions is the number of eggs since I don’t want to have to figure out fractions of eggs in baking. Worth noting, the contents of one large egg weigh approximately 50g. The other way to do it is based on the size of the pan you have, which I did factor in when deciding how to scale the recipe (though I misjudged, more on this later.)
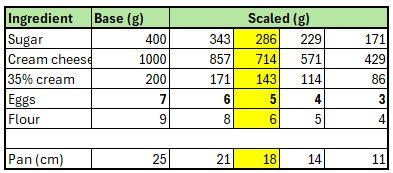
My pan was 6”/15cm, but I had a brain fart and thought it was 16cm, so I opted to go with the amounts required for 5 eggs. In retrospect, I could have gotten away with using the amounts for 4 eggs. Live and learn. Here are the amounts I used, along with the imperial measurements for those of you who still haven’t seen the light and bought yourself a kitchen scale for $20 at Canadian Tire! [No, I don’t get any commission from any sales of kitchen scales.]
Scaled Recipe Ingredients
3x 250g packages of full-fat cream cheese
286g / 1 1/3 cups sugar (in the video I said 1 and 1/4, but it’s somewhere between 1/3-1/2 cup—see, this is why we weigh things!)
5 large eggs
143mL / 2/3 cup 35% heavy cream
This was enough for my 6”/15cm pan, and two 8oz/250mL ramekins.
Method
Preheat your oven to 410°F / 210°C, and set your rack to the middle of the oven.
Prepare your pan by lining it with one or two sheets of parchment paper (depending on the size of your pan—I only needed one sheet for mine) ensuring that it’s completely molded to the inside (don’t worry if there are creases) and there is plenty of paper overhanging the edges of the pan.
Using the paddle attachment of your stand mixer (or using your hand blender) beat the softened cream cheese until light and smooth, about 3-4 minutes, scraping down the sides of the bowl a few times.
With the machine running, add the sugar and continue beating (and scraping down) until it’s fully incorporated.
With the machine running, add the eggs one at a time, mixing for 15-20 seconds in between each addition.
Scrape down the sides and bottom of the bowl, then beat it for another 30 seconds.
With the machine running, slowly add the heavy cream until it’s fully incorporated (about 30 seconds.)
Remove the bowl from the stand mixer and give it another stir, ensuring that it’s well mixed and that there are no lumps of cream cheese.
Pour the batter into the prepared pan, leaving about 1/2” / 1cm of space from the top edge.
Bake the cheesecake for 40-50 minutes, depending on size and how well done you want it (see notes below.) Mine took about 45 minutes for the large one, and 40 minutes for the two smaller ones.
Cool the cheesecake in the fridge for several hours (preferably overnight) before cutting and serving (see notes below.)


Video
I made a few changes to the resolution for one of my cameras, so my editing software didn’t crash on me this week. Hope you find this videos useful.
Notes and Tips
This cheesecake needs to fully chill before slicing and serving, so it’s best to make it early in the morning or the night before you plan on serving it.
If the size of your pan falls in between two of the measurements in the chart above, go with the smaller amount.
While mine ended up a lovely dark golden brown, I found that baking the cheesecake at 410°F / 210°C didn’t really give it that burnt look I was going for. I’ve seen some recipes call for sprinkling sugar on top to help with the caramelization, but I think if I’d just baked it at 425°F / 218°C it would have gotten darker without over-baking it.
The decision as to how long to bake it is a matter of personal preference. If you want a creamier cheesecake, bake it for less time. If you want a firmer cheesecake, bake it longer. I was going for a creamier texture, which is why I struggled with deciding how long to leave it in as it wasn’t getting as brown as I wanted, but I was also worried it would get over-baked and dry. For a creamy texture, you want it to be slightly jiggly in the middle when you take it out of the oven.
The next day when I went to cut it (as you can see on the video) the larger one that was baked in the springform pan was nice and dark on the outside, but what you didn’t see is that it was also a lot creamier on the inside than the smaller one. So, if you’re going to make small ones, for sure set your oven temperature higher and bake them for less time. That way you’ll get the browning on the outside and it will still remain creamy on the inside.
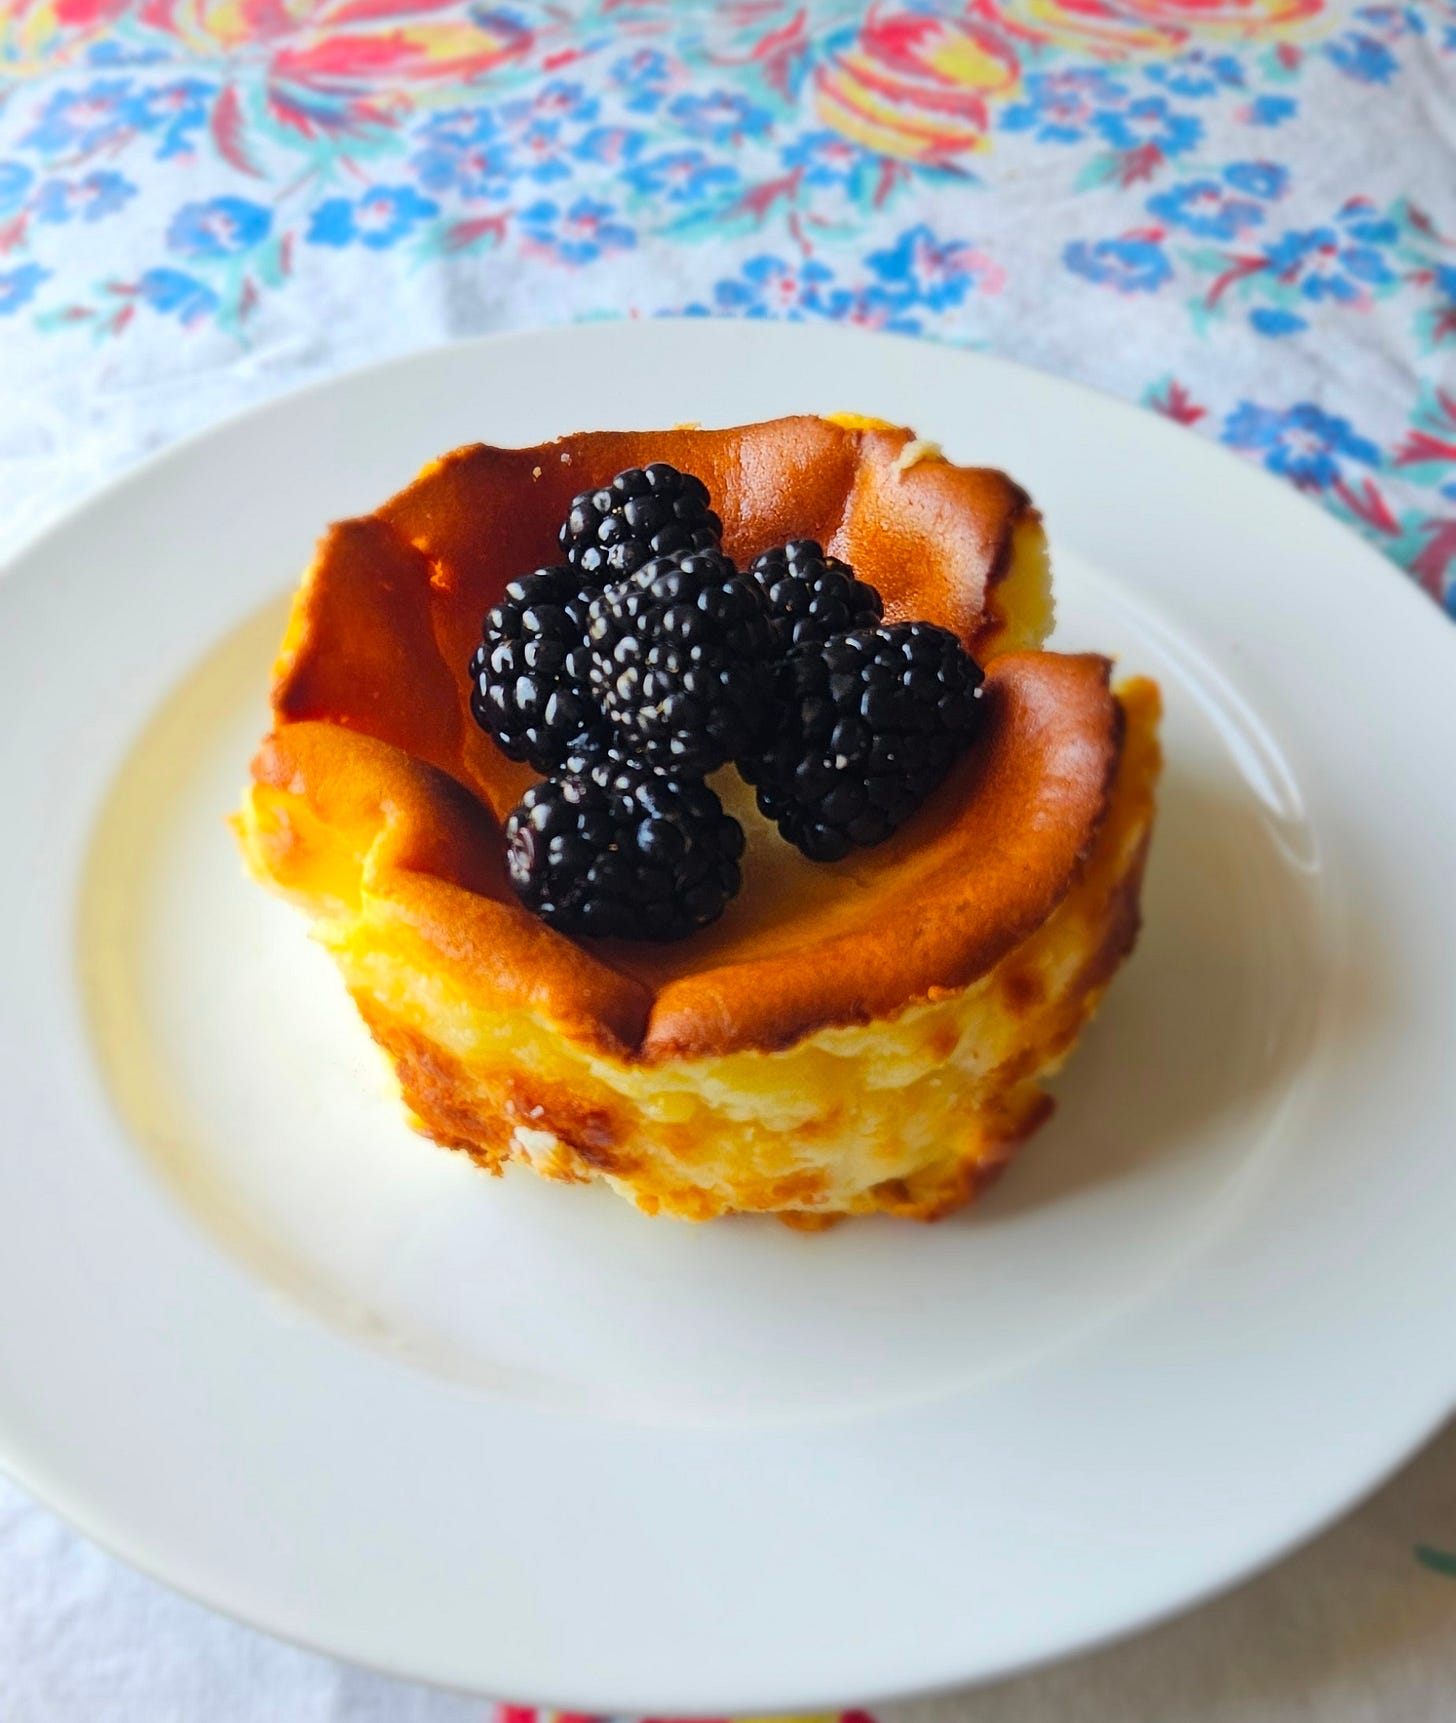
Basque Cheesecake baked in a ramekin Use a hot knife to slice it and wipe it clean in between cuts.
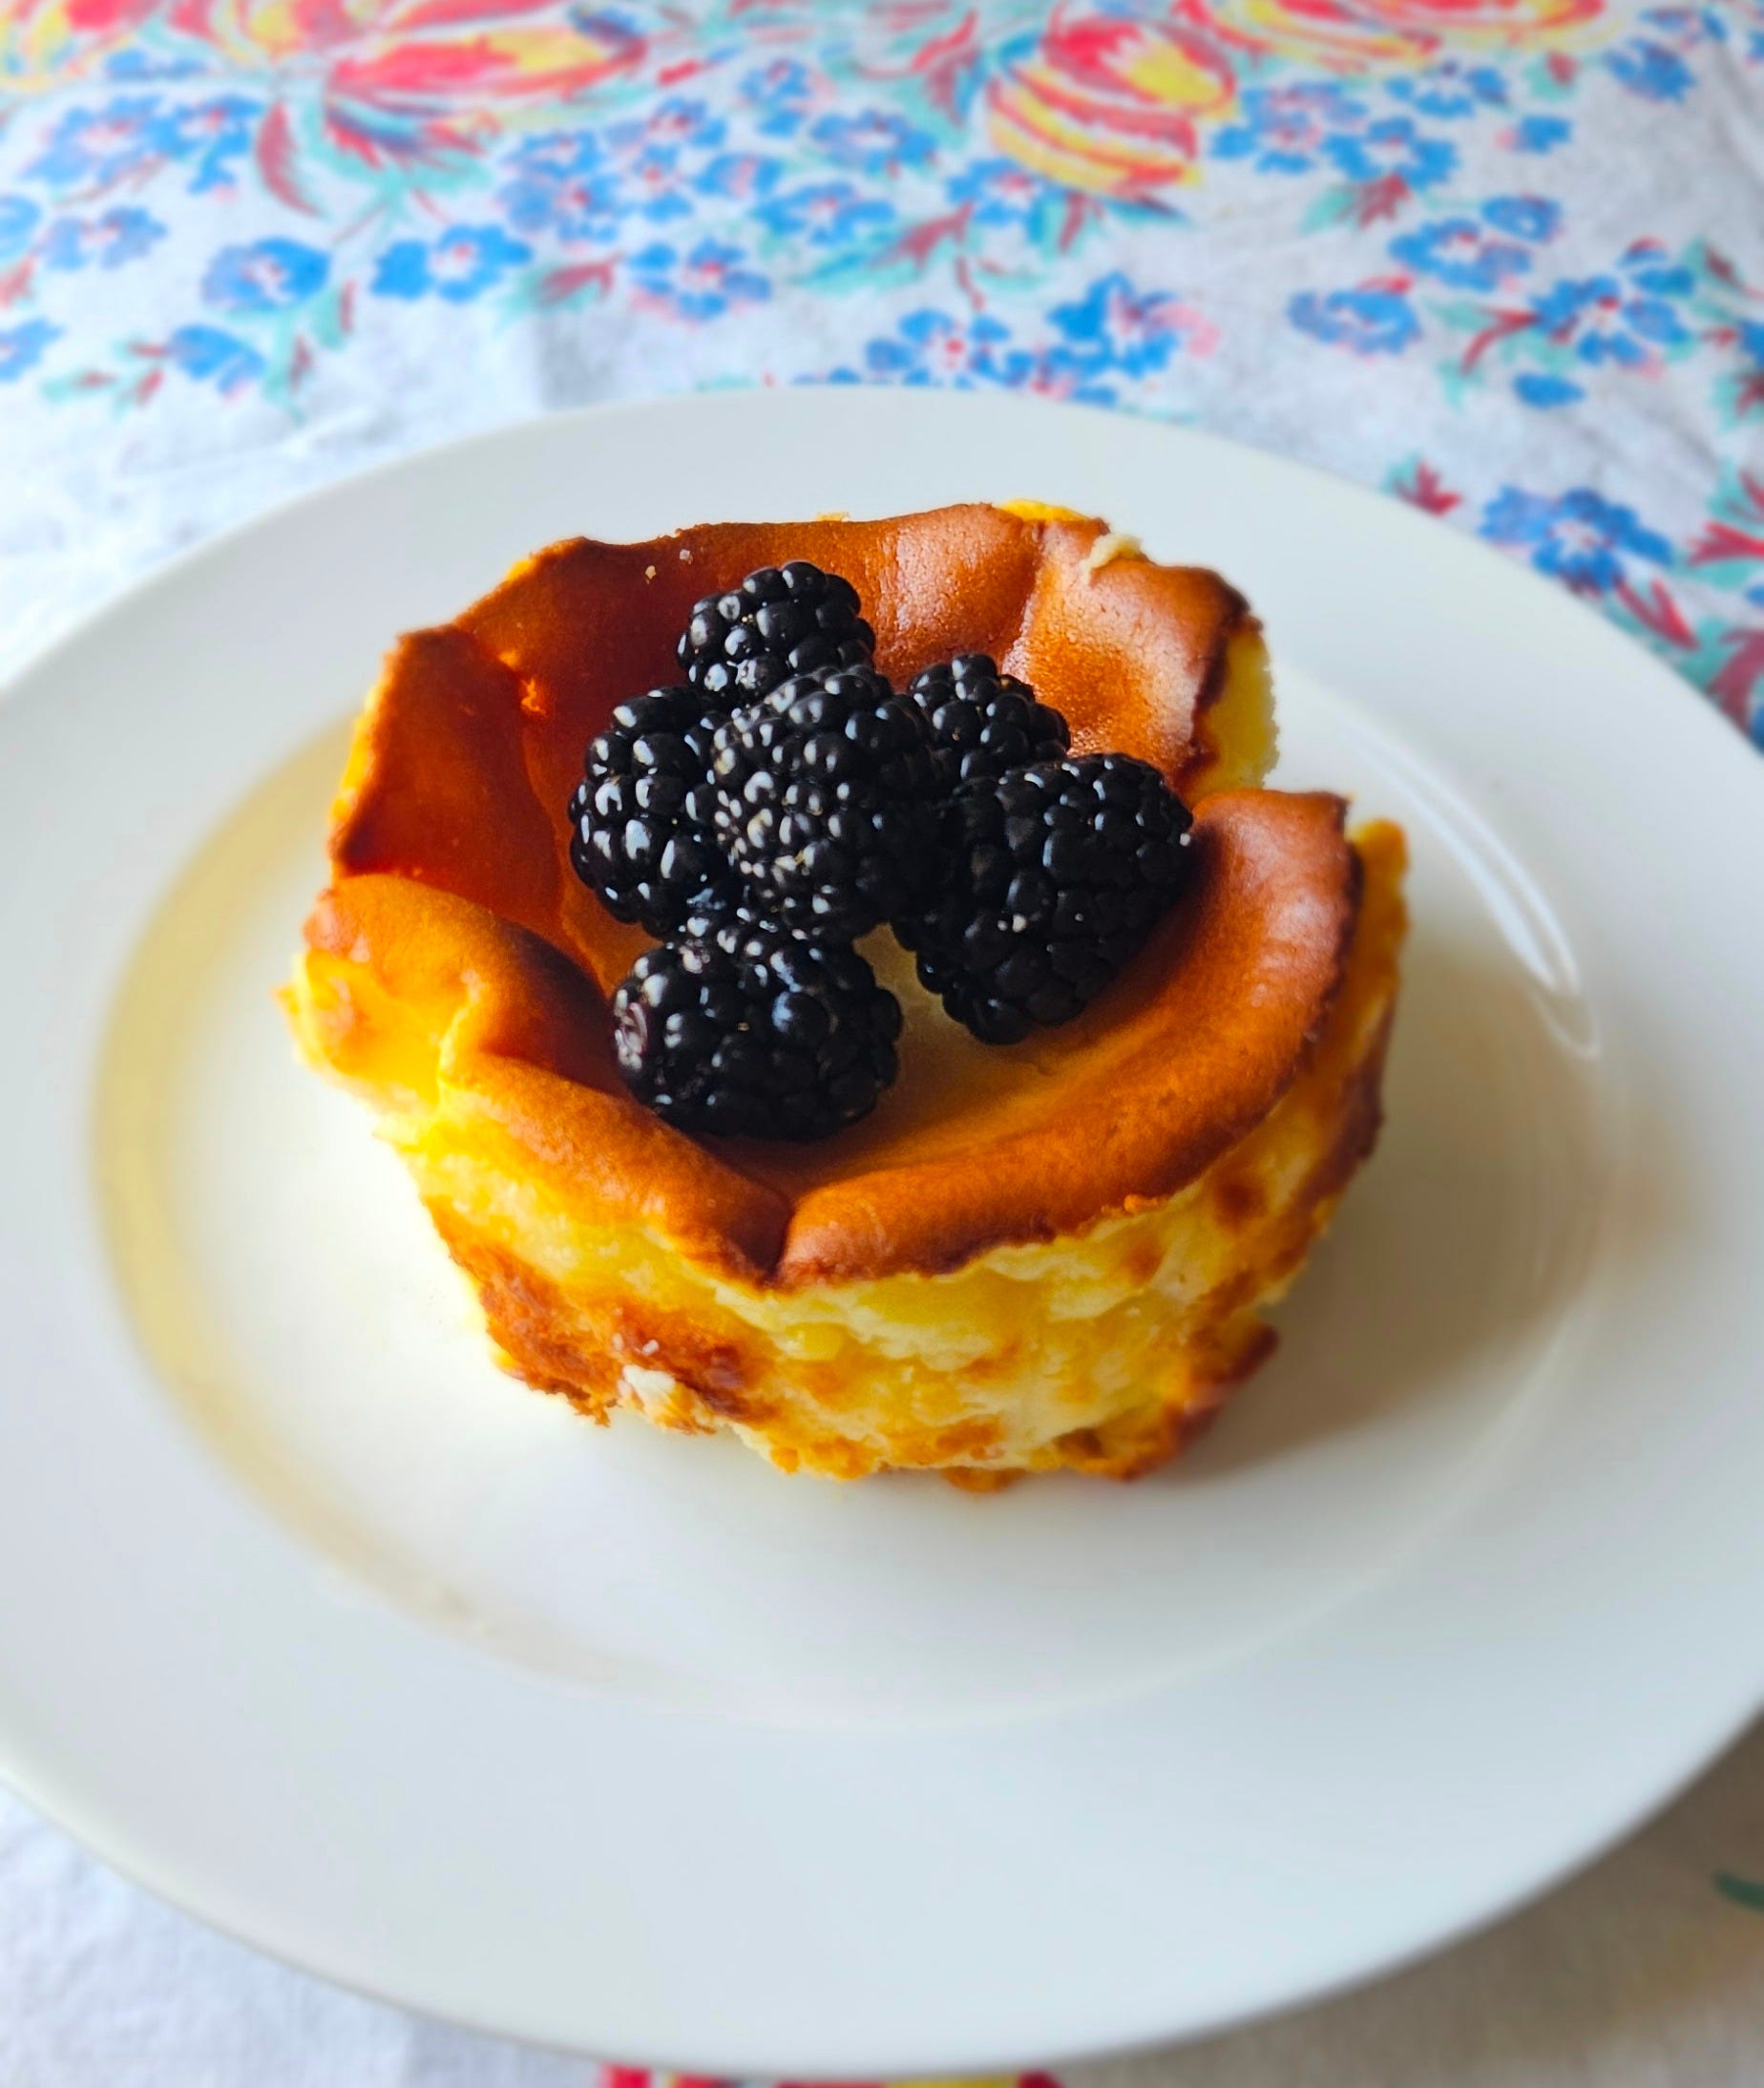
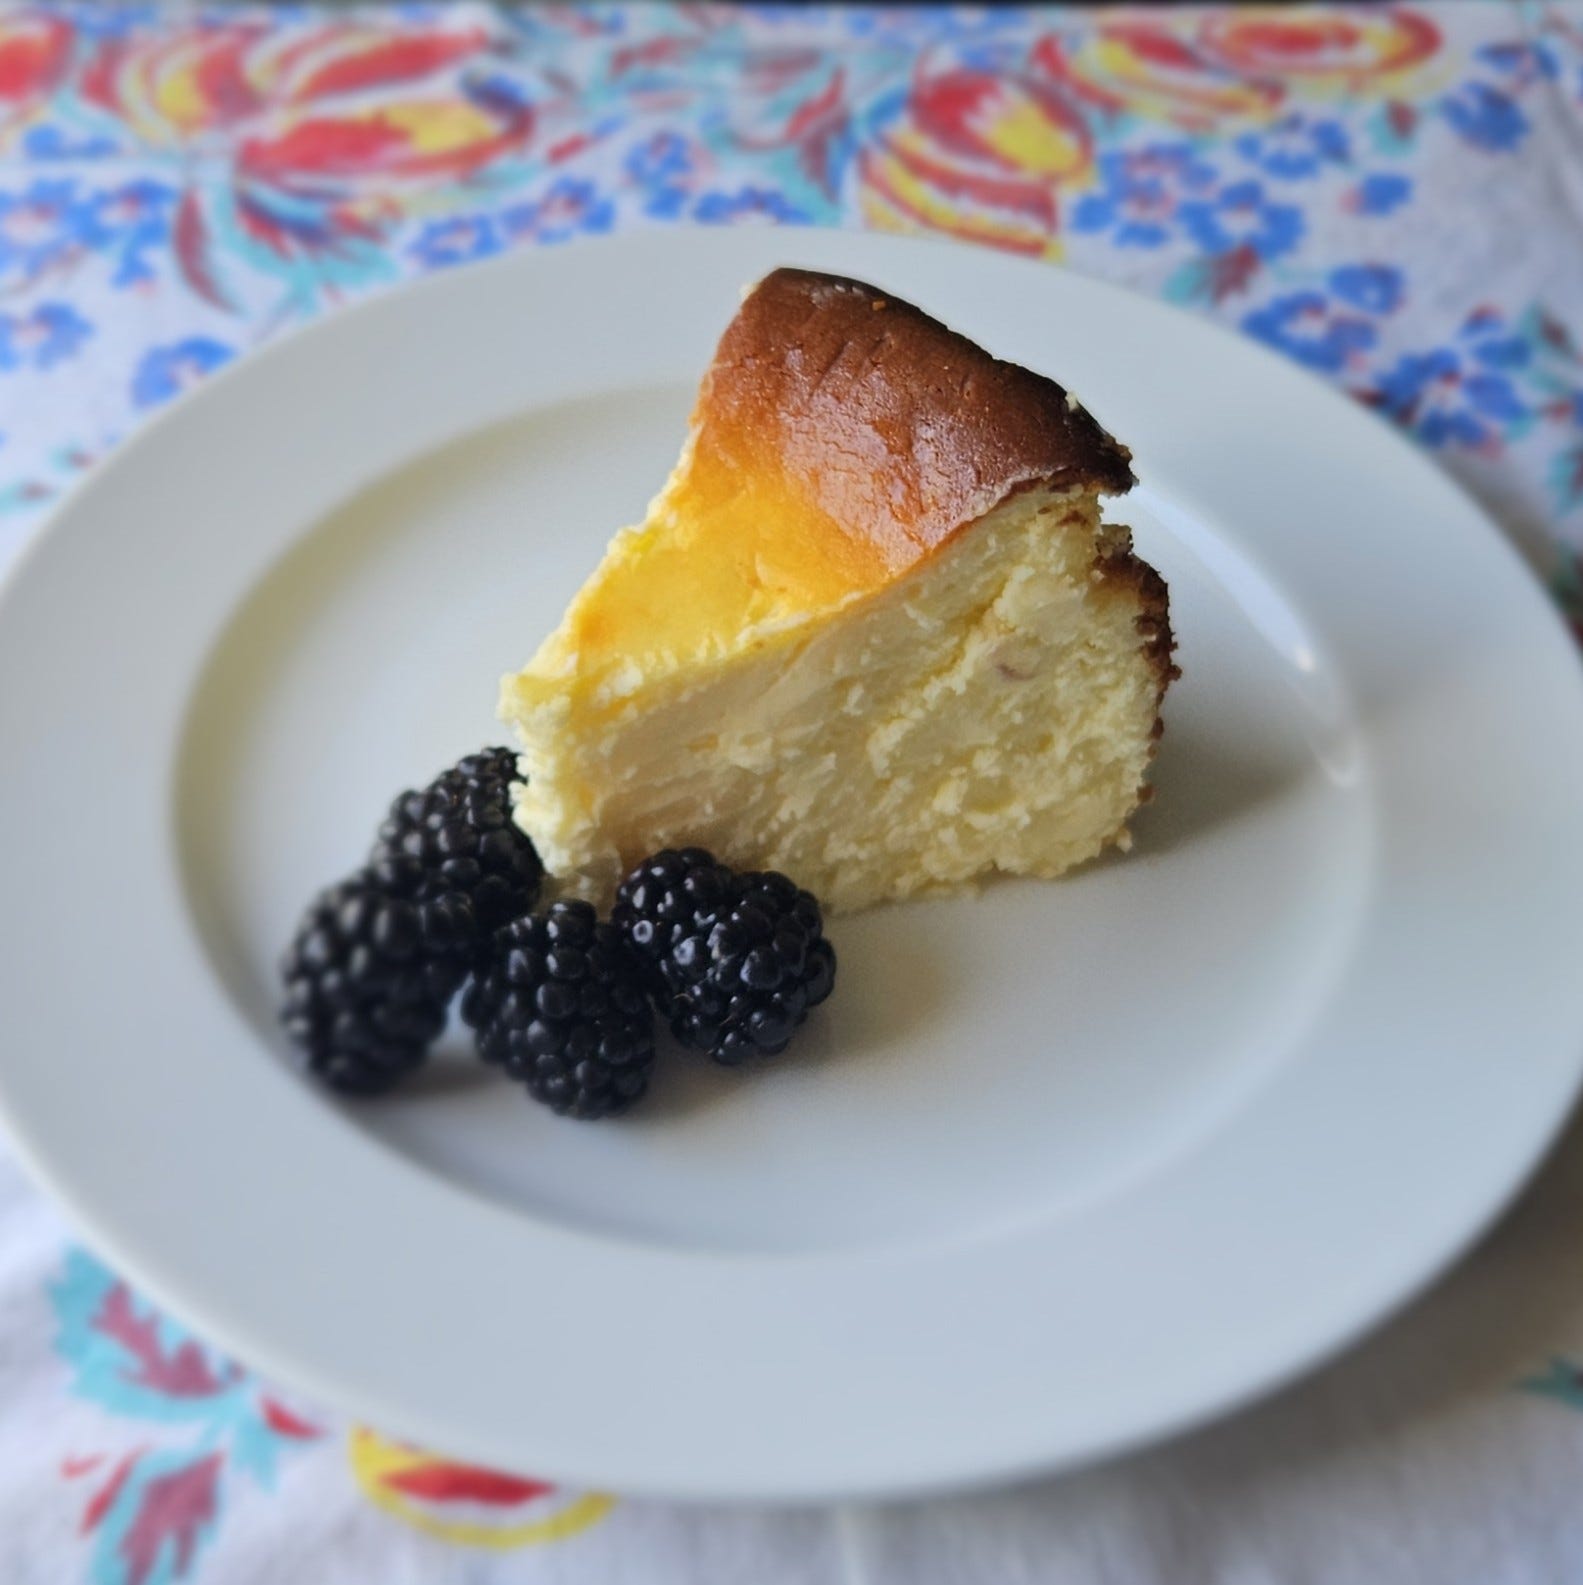
This cheesecake is perfect to serve as is, or with fruit or any type of sauce you desire. It’s entirely your preference.
Wine Pairing
The typical pairing for this dessert would be a sweet sherry, such as Pedro-Ximenez. I’m not really a fan of sherry, so I’d be more inclined to go with a vintage port, an Ontario ice wine, or a sweet German Riesling (the older the better.) Here are some suggestions.
Hidalgo La Gitana Triana Pedro Ximenez Sherry, 15% ABV, $25.95
Stratus Riesling Icewine VQA 2023, 12.5% ABV, $44.95
Hassel Riesling Auslese 2023, 9% ABV, $54.00
Quinta Do Crasto Vintage Port 2018, 20% ABV, $59.95